TRAVEL PHOTOGRAPHY

Olympus 7-14mm F2.8 PRO | Primary Lens for Travel Photography & Videography

If you watched last weeks video you know that my primary lens on my recent trip to the Rocky Mountains was the M.Zuiko 7-14mm F2.8 PRO. So today I'm sharing with you how I found using the Olympus 7-14mm F2.8 PRO as my primary travel lens went on this recent trip.

I am going to be comparing the 7-14mm to the 12-40mm but this isn't a true comparison video because I didn't equally test both on this trip.


I post weekly to my YouTube Channel so if you found this helpful please consider subscribing to the channel or buying me a coffee.

Beautifully Wander | Robynne MacLeod

What's in My Bag for Travel Photography & Videography | *what I actually used on my trip*

Recently I got back from our babymoon to the Rocky Mountains and I thought I’d share the camera gear I brought with me (and what I actually ended up using)!

*None of the links below are affiliate or sponsored

My Camera Bag

The camera bag I was originally going to bring was my 6L Peak Design Sling. I brought the Sling with me on our trip to Vancouver Island last summer and it was able to fit all of my camera gear, and it’s versatile.

However, I realized when I was packing for this trip that I had extra essentials that I needed to bring with me because I’m pregnant, such as my belly belt, glucose kit, etc., So I switched to packing all my stuff into a backpack that I bought for the purpose of using as my babies diaper bag!

I used this bag on the first day and it was horrendous on my back (not the backpacks fault) so on the evening of the first day I bought the Lululemon Clean Lines Belt Bag.

For the rest of the trip I pretty much only carried my camera and the belt bag.

Camera Gear

For camera gear I’m bringing the following:

Normally, the M.Zuiko 12-40mm F2.8 PRO is my primary lens for travel photography because it’s very versatile for all types of photography. However, since I’ve been exploring more into videography I find due to the crop factor of the Olympus EM1 Mark II, the M.Zuiko 12-40mm F2.8 PRO isn’t wide enough. Thus, on this trip I’m making the M.Zuiko 7-14mm F2.8 PRO my primary lens and the M.Zuiko 12-40mm F2.8 as my backup.

Ever since I bought my Olympus I don’t often use my Canon M100. However, on this trip I decided to bring it for two reasons: (1) I had never filmed a trip on my Olympus so I brought the Canon as a backup, (2) we were going to a hockey game that has limitations on the length of lens that you can bring in with you (I might have been able to get into the hockey game with the M.Zuiko 12-40mm F2.8 PRO but I wasn’t in a position to run my camera back to the hotel if I wasn’t allowed in so I ended up opting to using my phone to photograph and film the hockey game).

I’ve also included my iPhone 12 PRO in the camera gear mix because I love creating films on my phone. It’s very convenient and easy to use and edit! I try to remember that although quality is important, what’s more important to me is the story and why I’m documenting what I’m documenting.

Camera Accessories

Some camera accessories I’m bringing on this trip:

Out of all the camera accessories I brought with me I only used the Rode Video Micro, battery pack, Peak Design Leash Strap, and extra battery.

Day-to-Day

My original plan was to carry the backpack with all my camera gear and essentials in it. However, what actually ended up happening was very different. I pretty much only carried my camera (using the Peak Design Leash Strap) and my belt bag that had the microphone, extra battery, extra memory card, wallet, phone and sometimes my glucose kit.

I pretty much left everything else back at the hotel room or car.

Extra’s in the Luggage

The following items are accessories that I brought with me but stayed back at the hotel room:


That’s it! That is all the camera gear I brought with me on this trip. Stay tuned because in the following weeks I’ll likely post a vlog or video with photos and footage from the trip.


I post weekly to my YouTube Channel so if you found this helpful please consider subscribing to the channel or buying me a coffee.

Beautifully Wander | Robynne MacLeod

Easy Way to Document Small Moments | iPhone Films & CapCut

Life is full of these small moments! Moments that may be silly or insignificant to others but are important to you. I’ve found over the past few months that my favourite way to document these small moments that is fun and creative is by creating these small films.

Some of these films are more complex, longer in length, and require more planning like my cinematic gender reveal video. While other’s I create on the go, they’re short at 30 seconds long and I make it up as I go along.

No matter their length, complexity, or the gear that I use what’s important is that they document the moment and tell a story.

In todays post I want to share with you how I create these small films on my phone!

What is the film about?

Before I even create the film I take a minute to think about what the film is even about. For example, in my cinematic gender reveal film it was about revealing our baby’s gender to our friends and family.

In the film we are creating today it was about attending our prenatal class!

Getting the clips

As I said earlier, some films I spend more time planning what clips I want to get, and really think through the sequence of the story. However, with this film I was creating it on the go.

I do find if I am travelling somewhere I like to get two types of shots: (1) transportation shot and (2) establishing shot.

  • Transportation shot: This kind of shot in the storyline shows that I’m travelling somewhere. It could be a shot showing that I’m getting in the car, driving somewhere, walking somewhere, etc.,

  • Establishing shot: This kind of shot shows my surroundings (where I am) once I arrive.

Because I was filming this story on the go, once I arrive I’ll get whatever small clips I see that I feel will add to the story (this is where having a clear definition of your film comes in handy, especially if you’re creating without a plan).

When I’m filming these clips a few things I consider:

  • Frame Rate: I film these clips in 60 FPS so I can slow any of them down by 50% in post

  • Movement: I’ll add as much movement as I can (moving the camera side to side, up and down, moving into the subject and back, etc.,)

  • Horizontal vs. Vertical: If I know I want to post the film to Instagram Reels I will film the clips vertically. However, every other time I’ll film horizontally.

Culling & Color Correction

After I have all my clips, my next step is to cull - select the shots that I want to edit and insert in the film. If I filmed the videos on my phone I’ll favourite the clips that I want to edit.

After I have my clips selected I’ll color correct. Again, if I am filming and editing on my phone then I’ll color correct using either the software in my photos app or within the editing app.

Editing in CapCut

Once color correction is done I’ll start editing in CapCut. CapCut is the editing app on my phone that I prefer to use for editing phone films because it’s got a lot of functionality and it’s easy to use.

Step 1: Importing the Clips

The first step is importing the clips into the app. I prefer to import the clips in the order that I would like to see the film. This way I don’t have to spend a chunk of time re-arranging the clips afterward.

Step 2: Rough Cut

After all the clips are imported and in the correct order I’ll rough cut the clips. I’m essentially, shortening each clip to the most important part and slowing down any clips by 50%. Doing this step makes the film more manageable to work with.

Step 3: Add Music

By preference I like to sync the clips to the beat of the music. I’ve really been liking the online source Uppbeat for my copyright free music needs. After I know what soundtrack I want I’ll add the track to the app and cut the clips down to the beat of the music. This step normally takes the longest!

Step 4: Add Text

This is optional. Many films don’t have text overlaid, however, I find if there are no talking or voiceovers I like to add some text for context as to what is going on in the film.

Exporting

Once I’m happy with the edits I’ll export the film!


Creating these small films has been my favourite way lately to document small and big moments! If you’re looking for a way to document moments without taking away from them in a creative format I highly suggest giving this a try!


I post weekly to my YouTube Channel so if you found this helpful please consider subscribing to the channel or buying me a coffee.

Beautifully Wander | Robynne MacLeod

Photography Haul for an Upcoming Trip ft. Peak Design & Ulanzi

Our babymoon is just around the corner and I’ve picked up some photography accessories to help me capture our memories and hopefully make my photography easier!

Ulanzi MT-47 Tripod

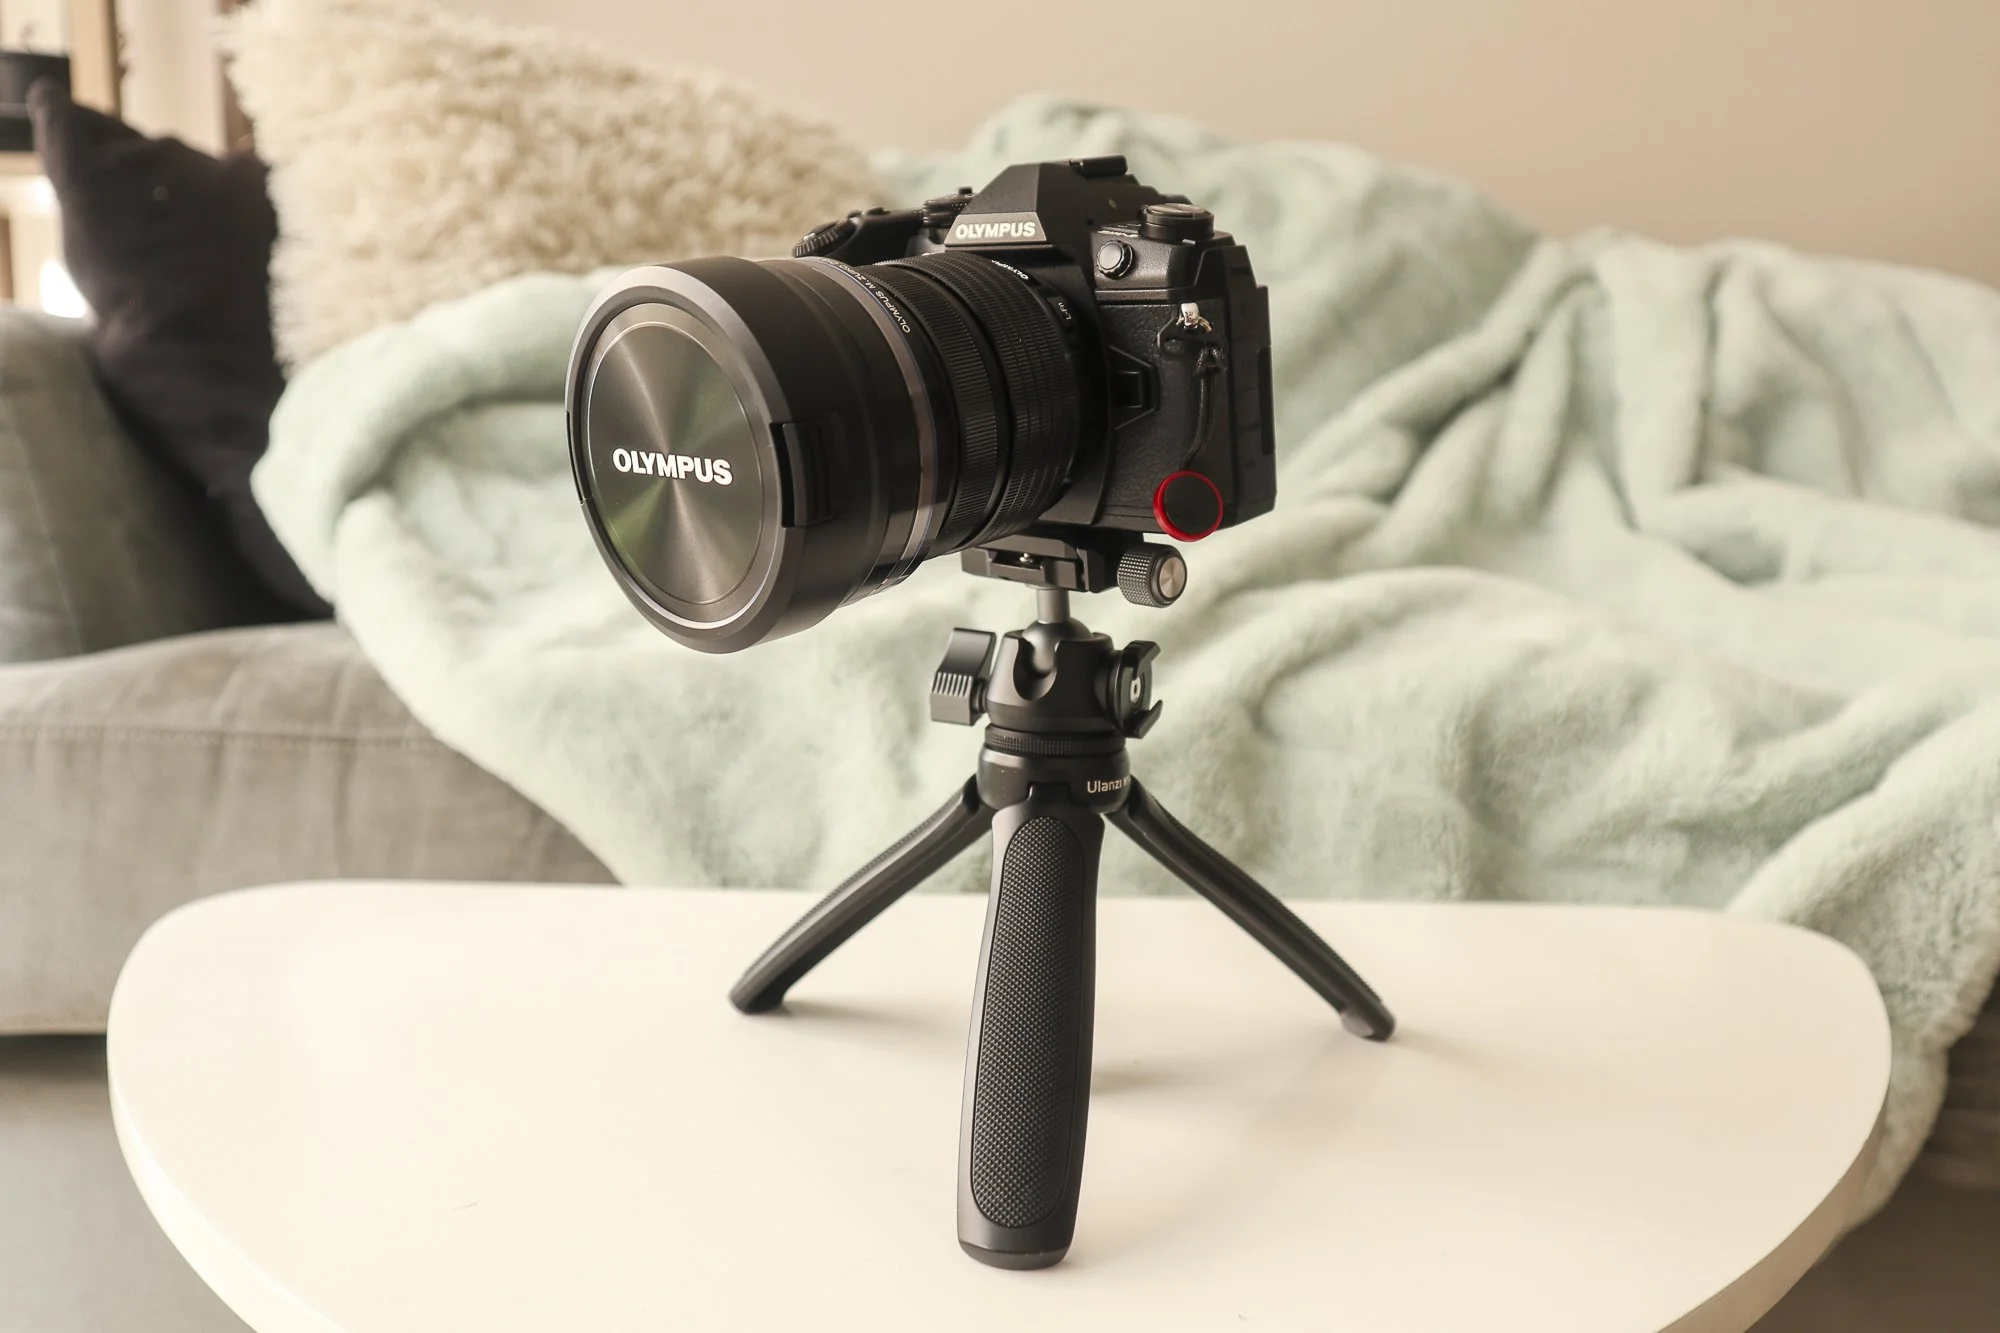
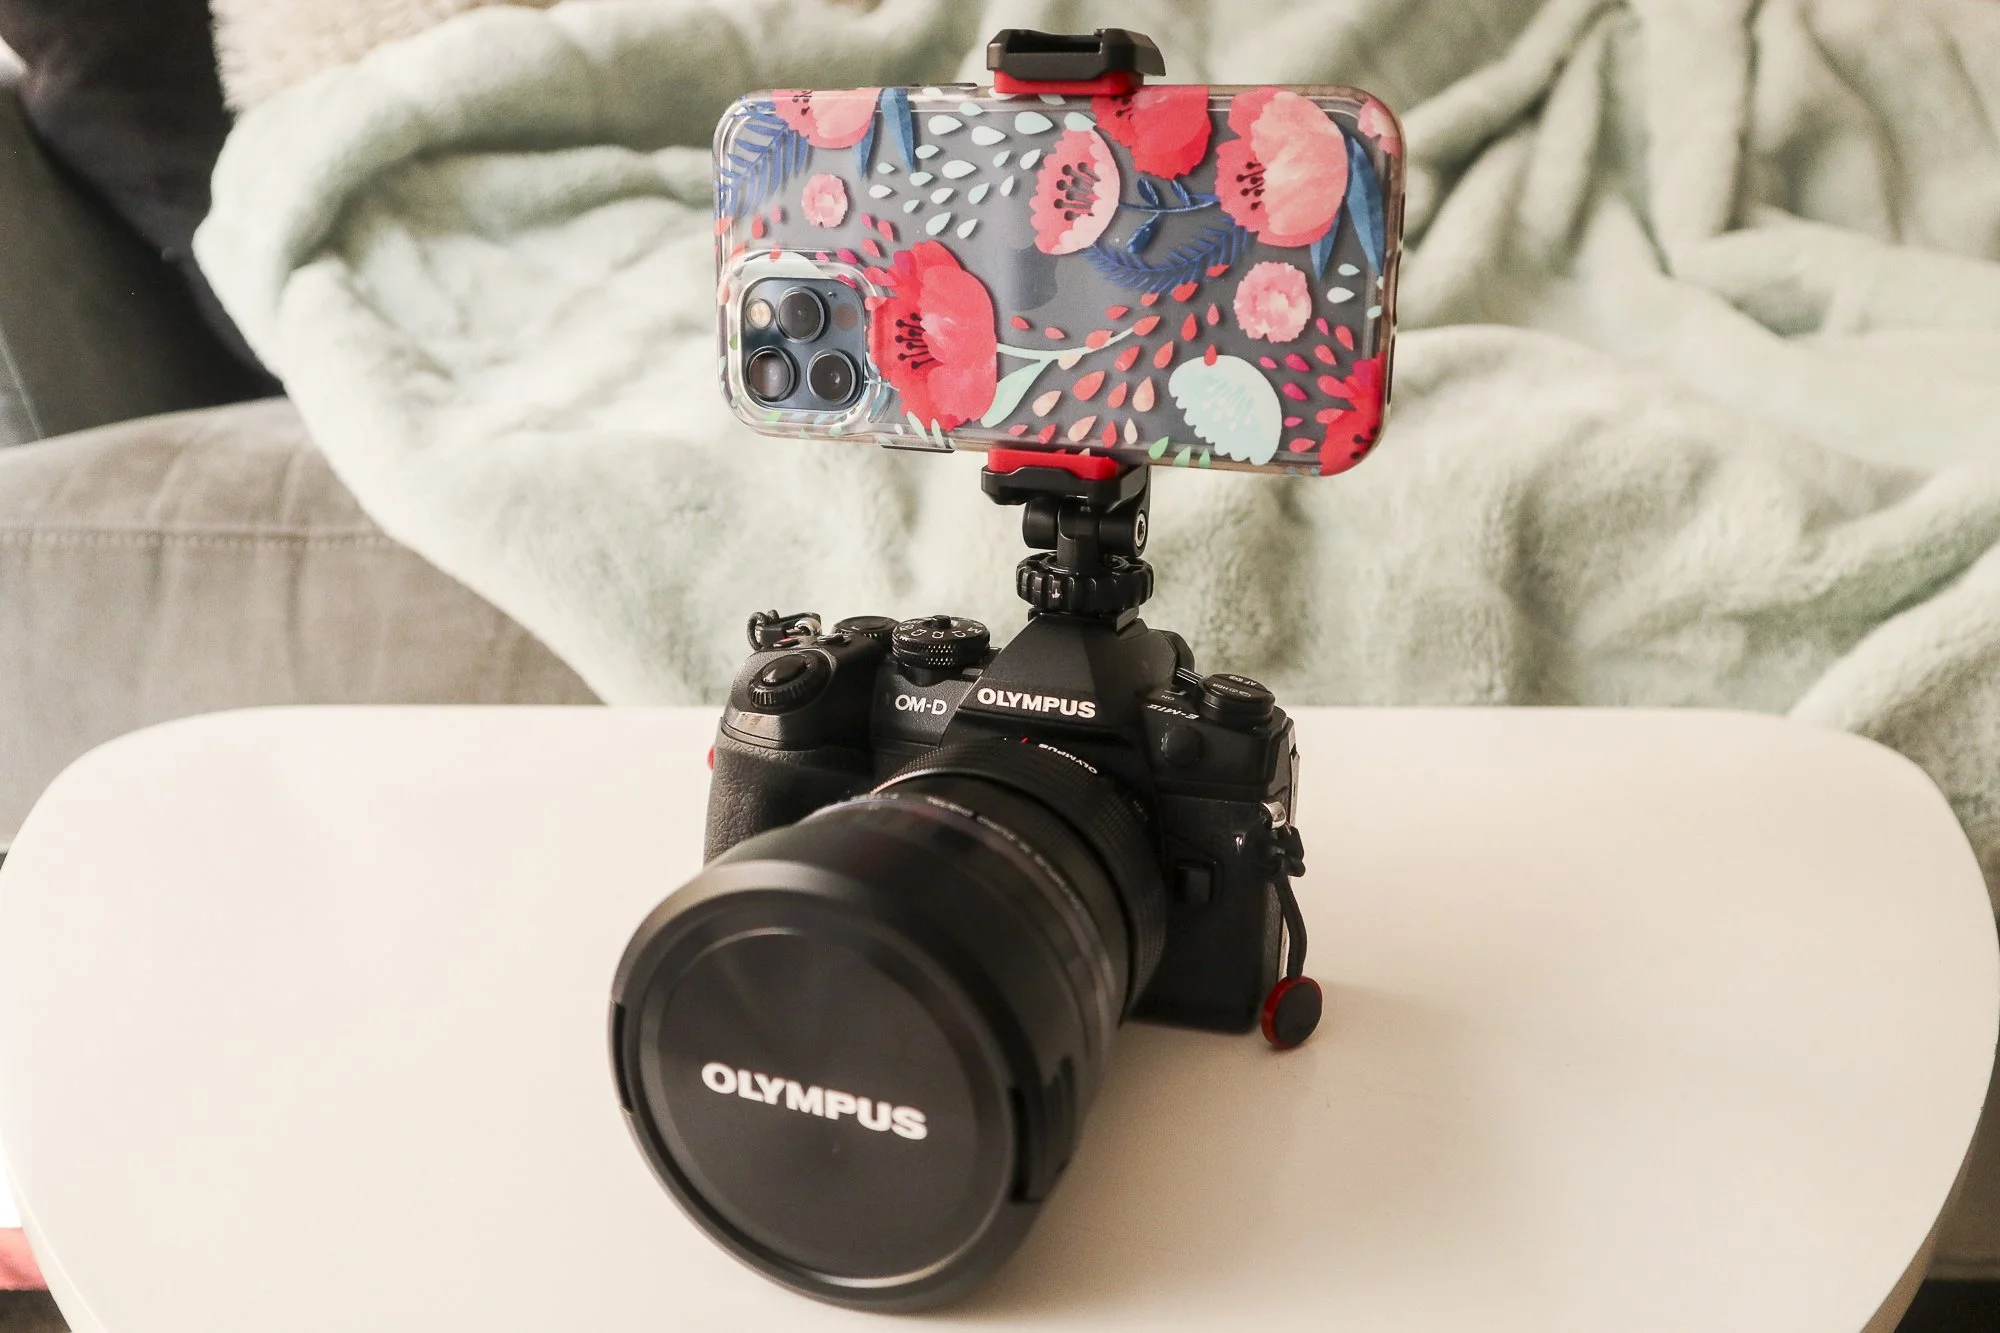
I purchased this mini tripod because I was looking for a mini tripod that was small, compact but sturdy enough to hold my Olympus camera and phone, so I can vlog, take better selfies and setup self-portraits with on this trip.

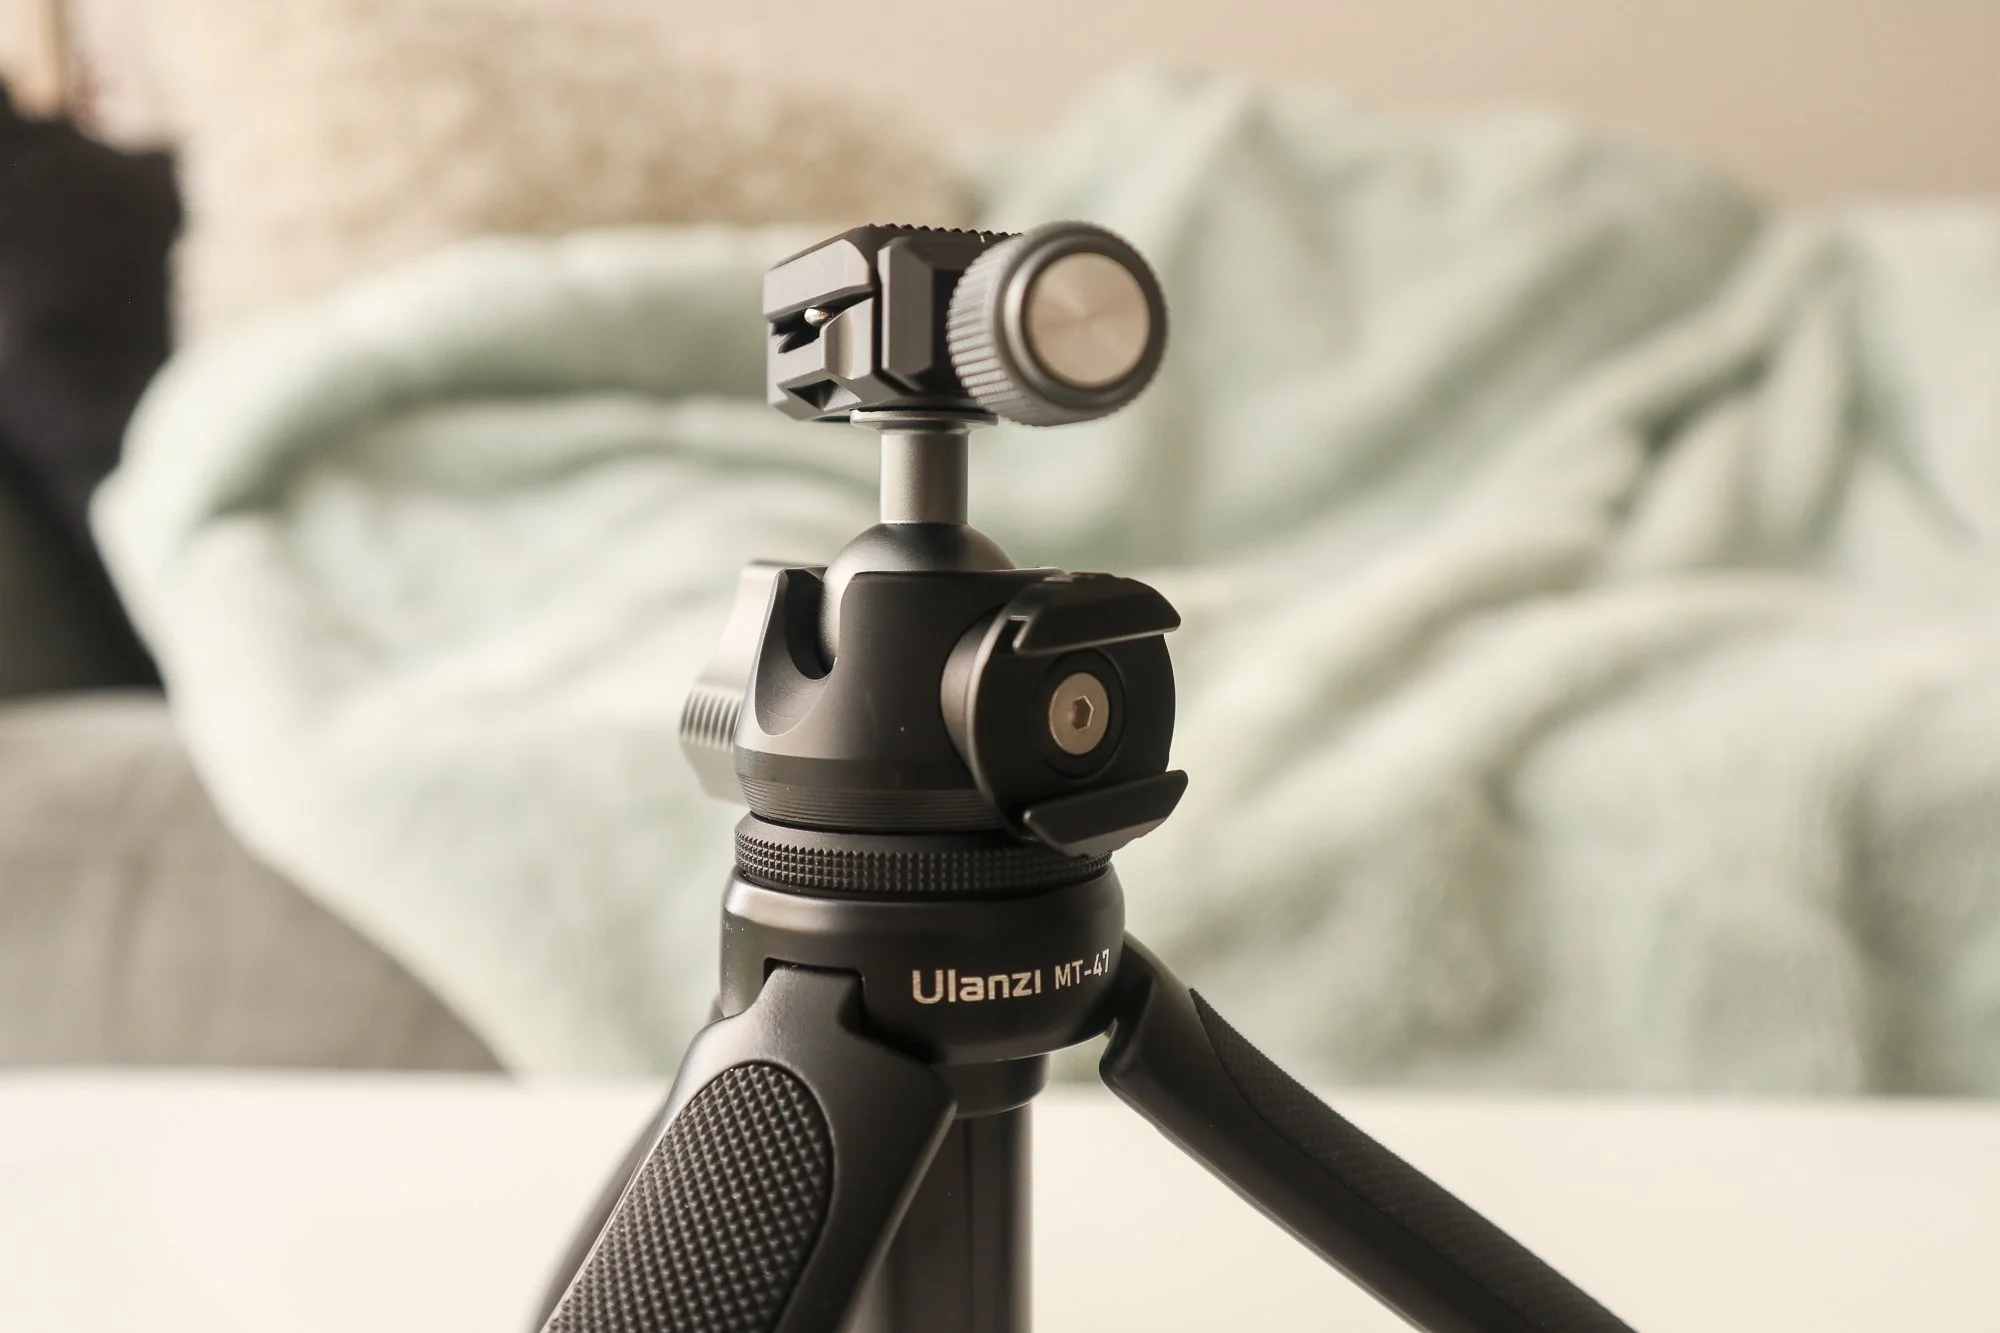
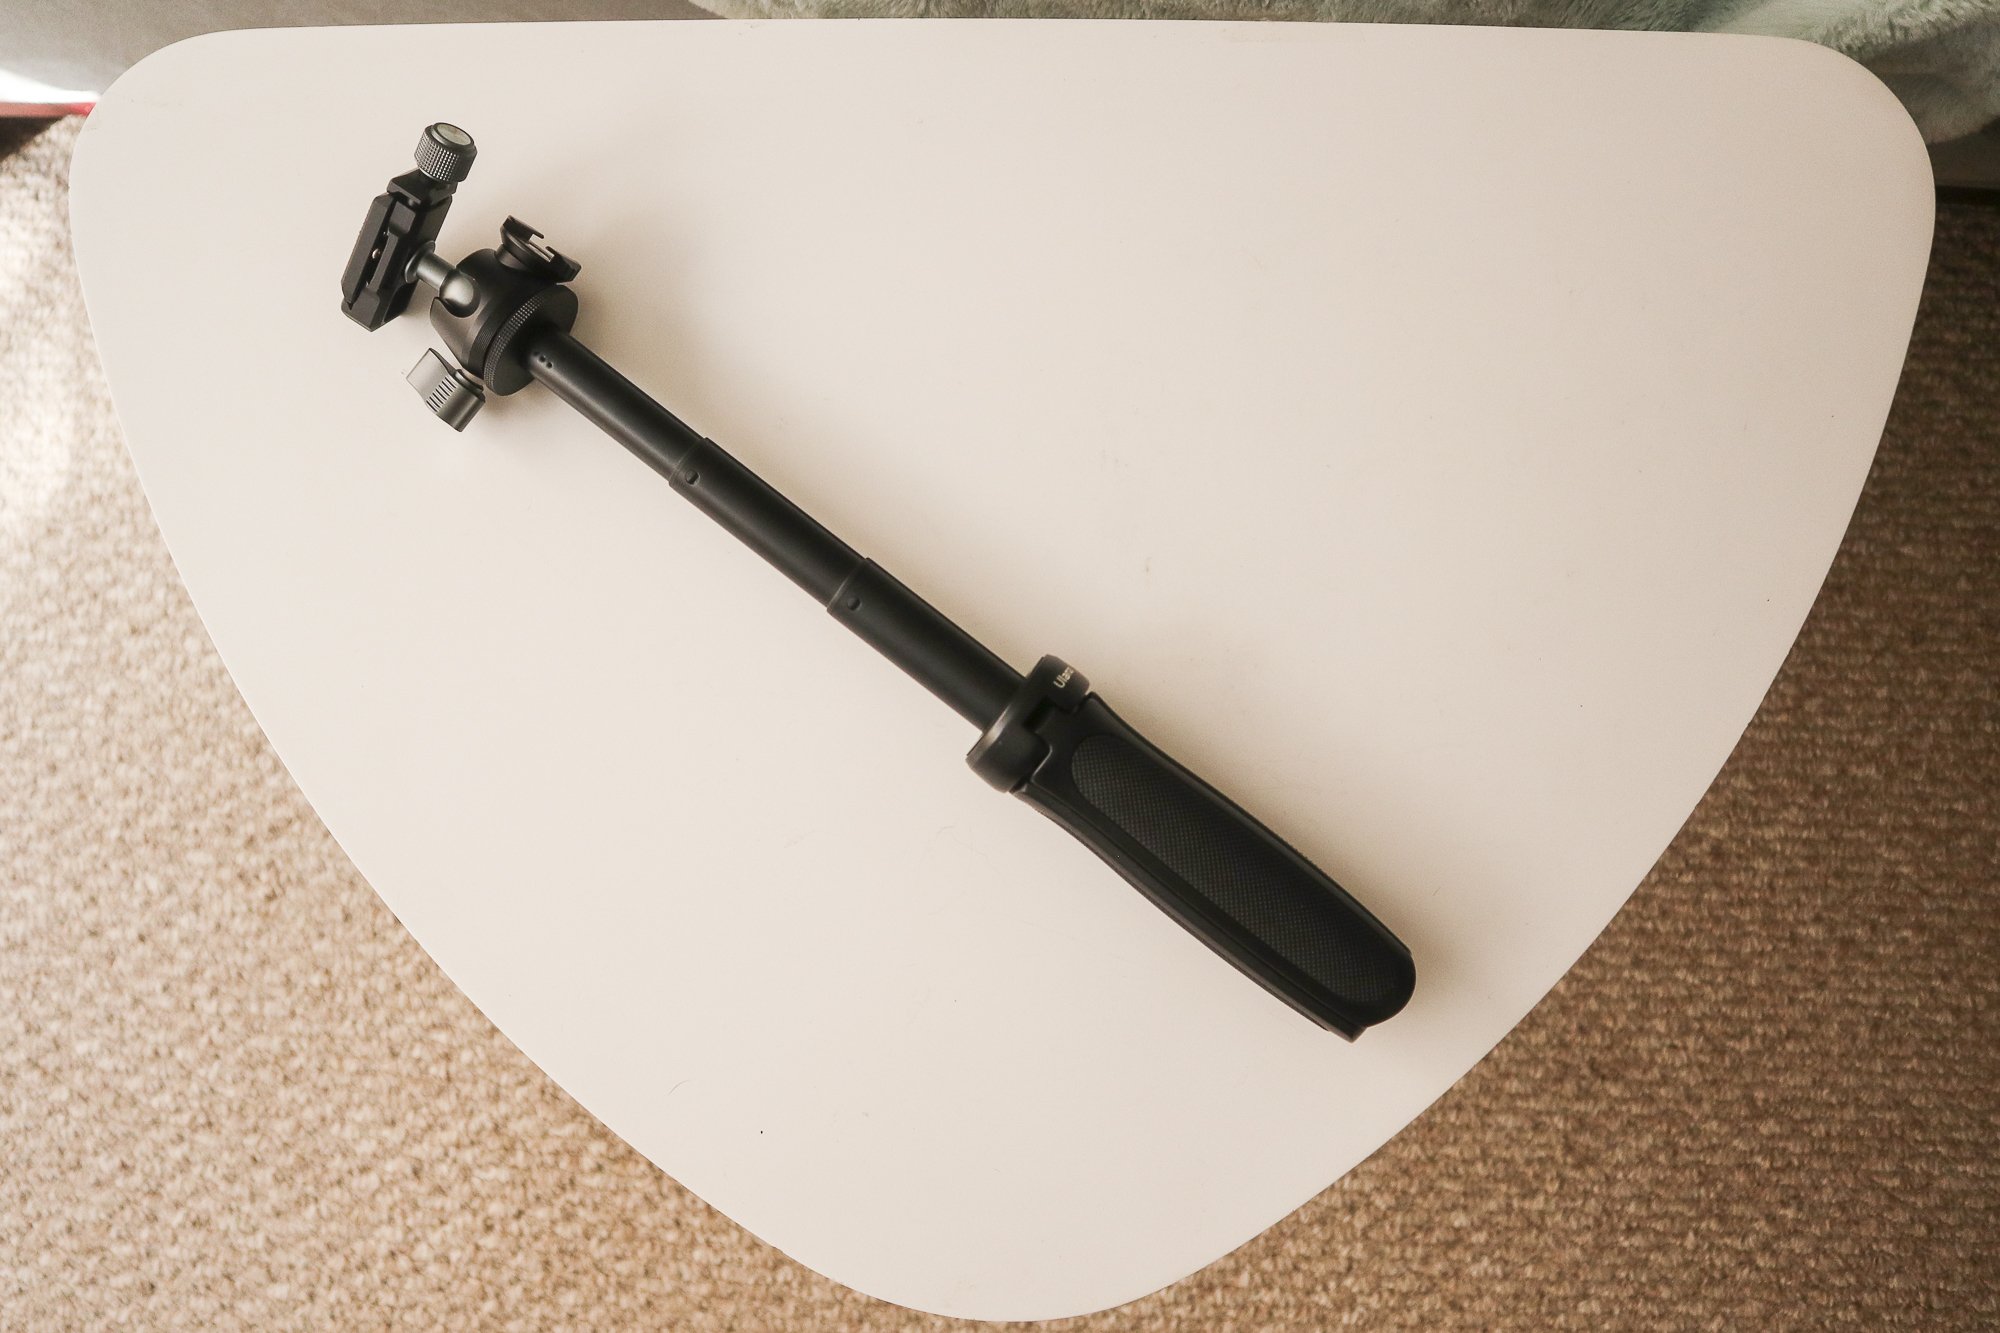
I ended up coming across the Ulanzi lineup which has several mini tripod’s to choose from. I liked the MT-47 because it:

  • Can setup like a tripod

  • Extend 6.5 inches

  • Ball head can move (even go vertical)

  • Has a detachable plate that you can screw onto the bottom of your camera for easy attaching

  • Shoe on the side so you can attach a microphone or light onto it

  • Has a load capacity of 4.4 pounds (my Olympus EM1 Mark II with the M.Zuiko 7-14mm lens as pictured weighs 2.44 lb)

For its versatility and features I found this accessory was a steal at $55 on Amazon.

Ulanzi ST-06S Phone Tripod Mount

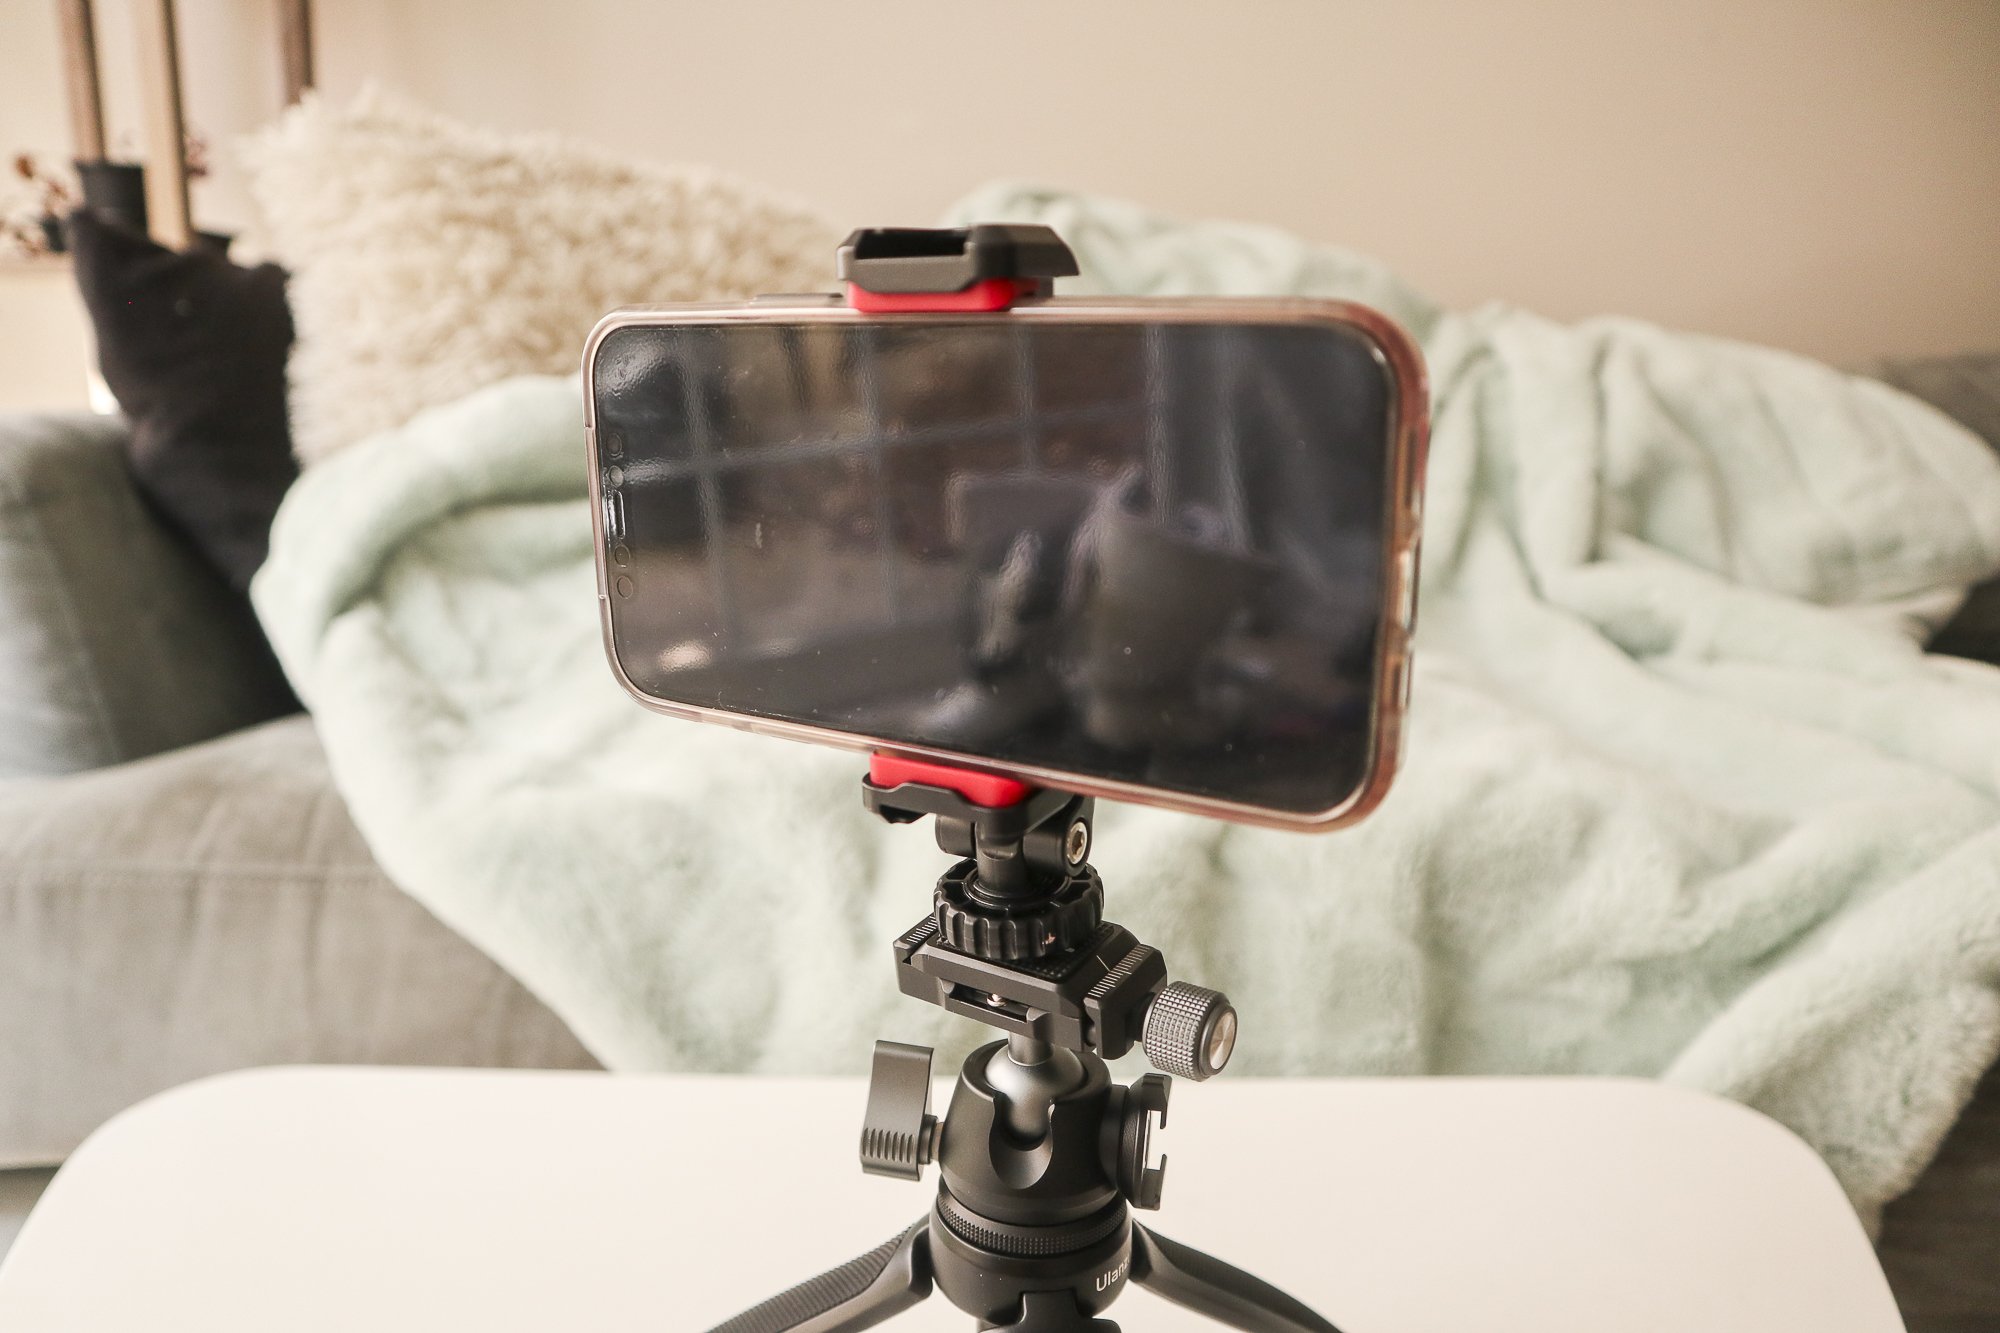
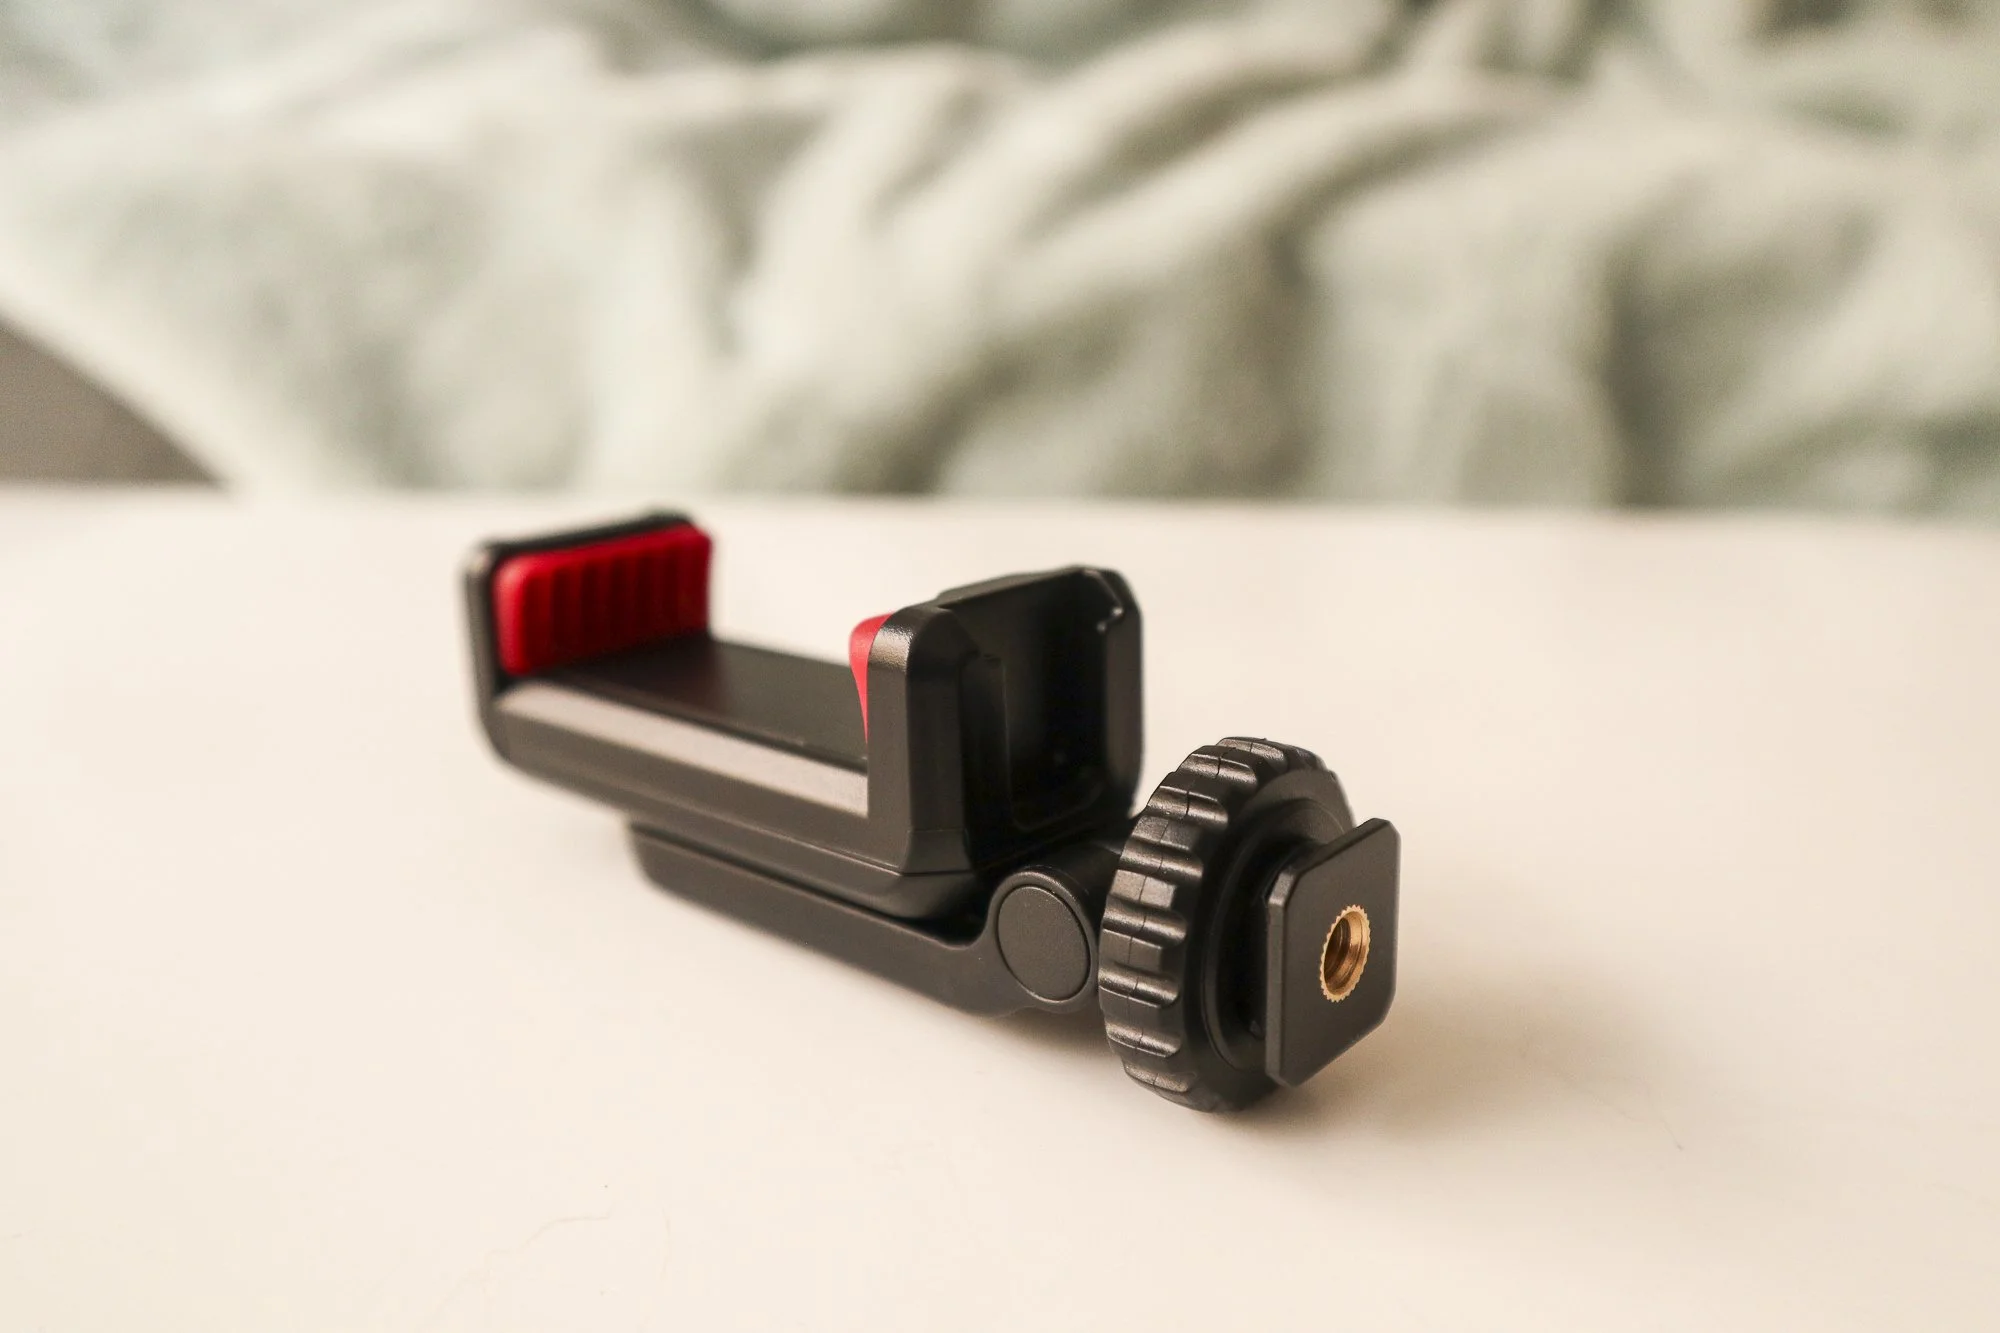
The second accessory I purchased was the Ulanzi phone tripod mount. I bought this accessory for the pure purpose that I wanted to mount my phone onto my camera and take video at the same time I am taking photos. I liked this one in particular because:

  • It has a screw hole at the bottom so you can screw it onto a mini tripod

  • Shoe fitting at the bottom so you can mount it onto your camera

  • You can rotate and hold your phone vertical or horizontal

  • Also has a cold shoe mount at the top for a microphone or a light

This small and mighty accessory came in at $25 on Amazon.

Peak Design Leash

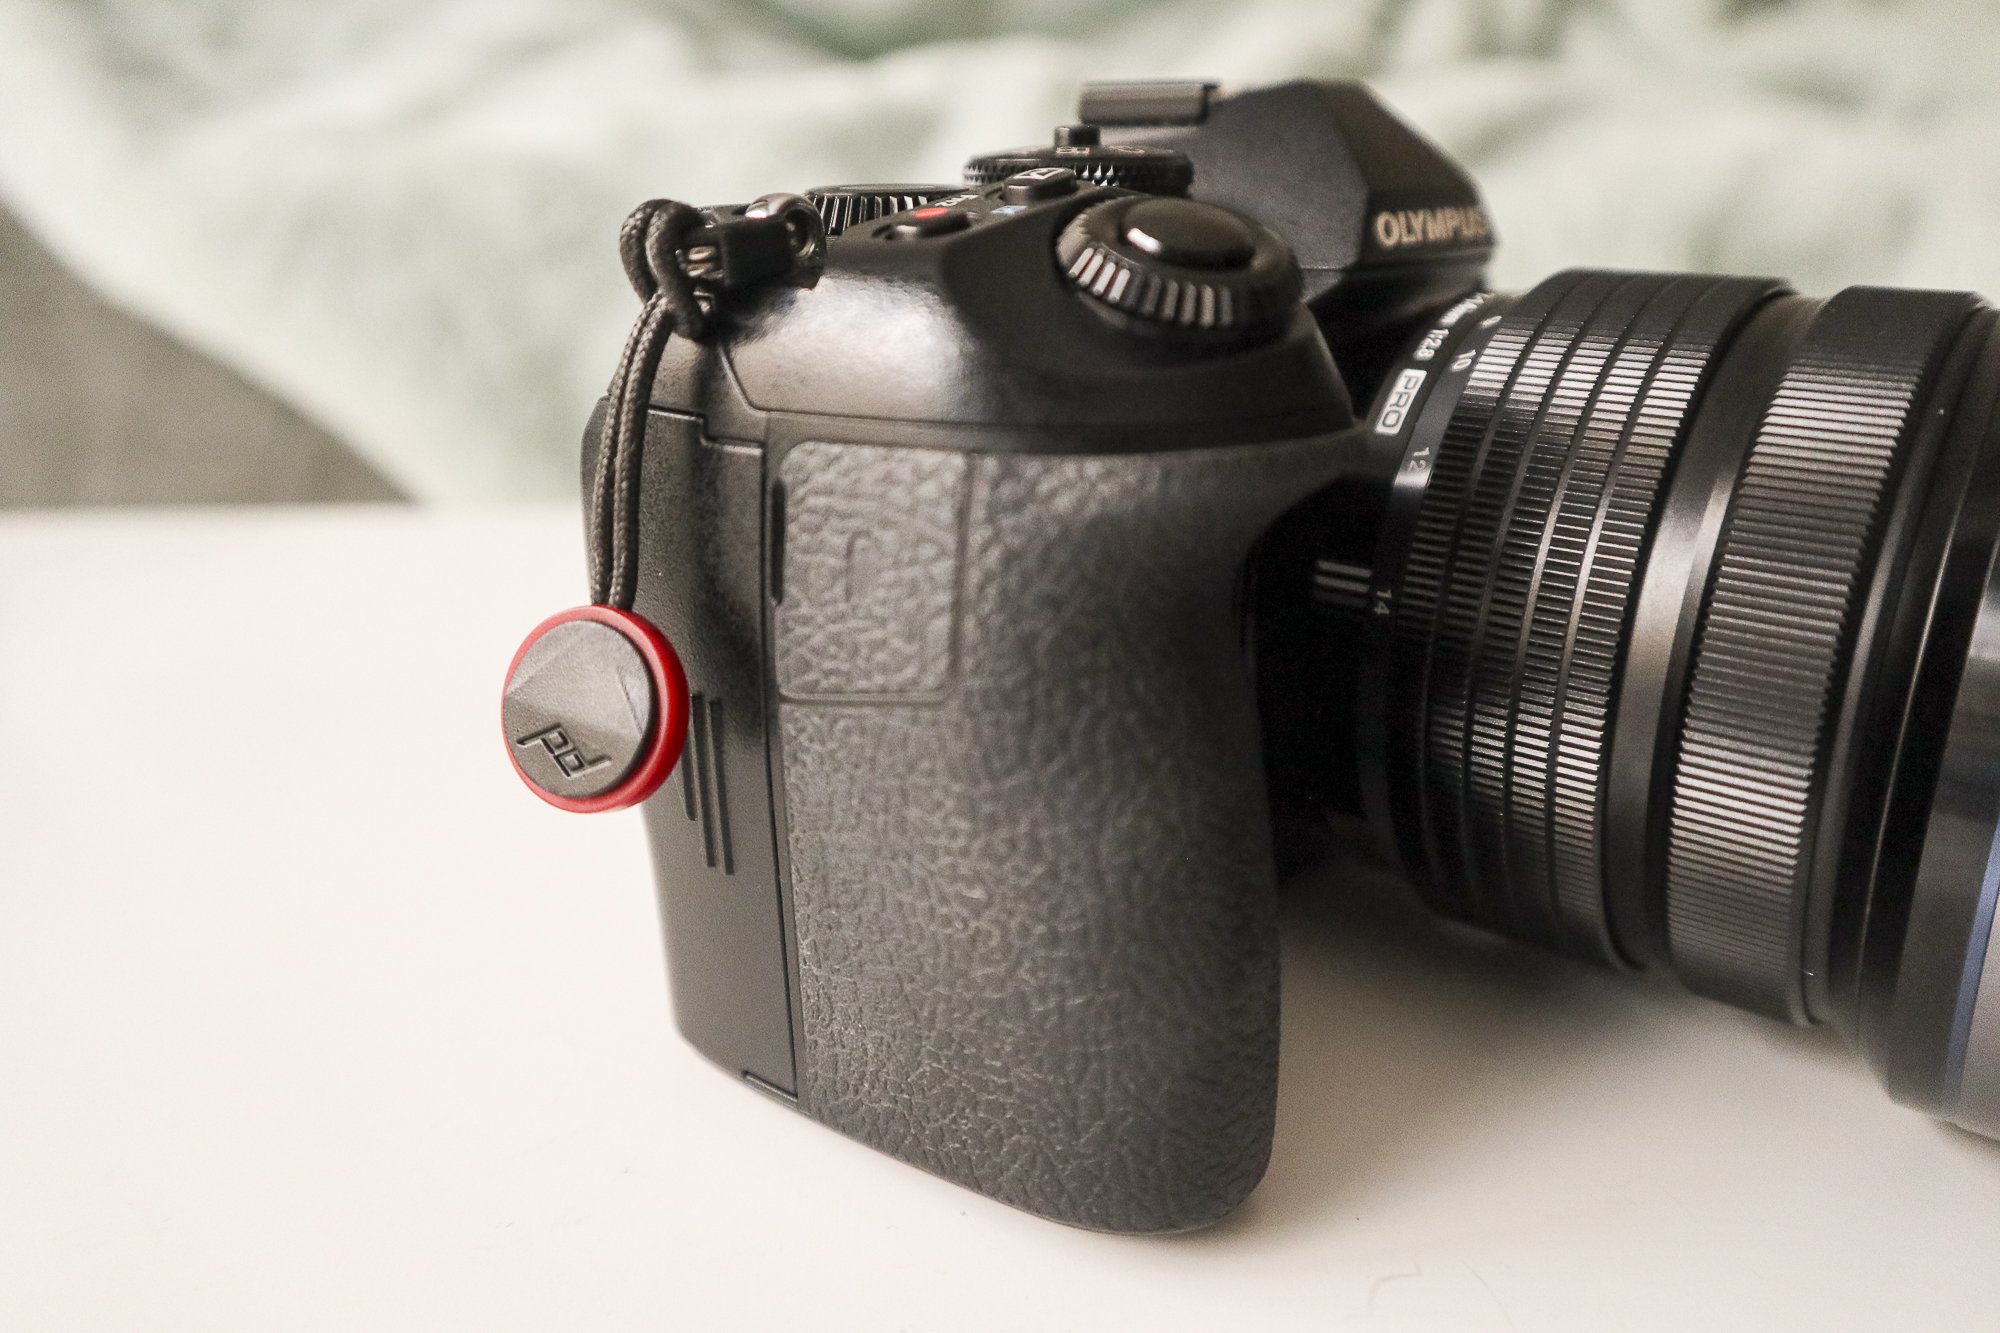
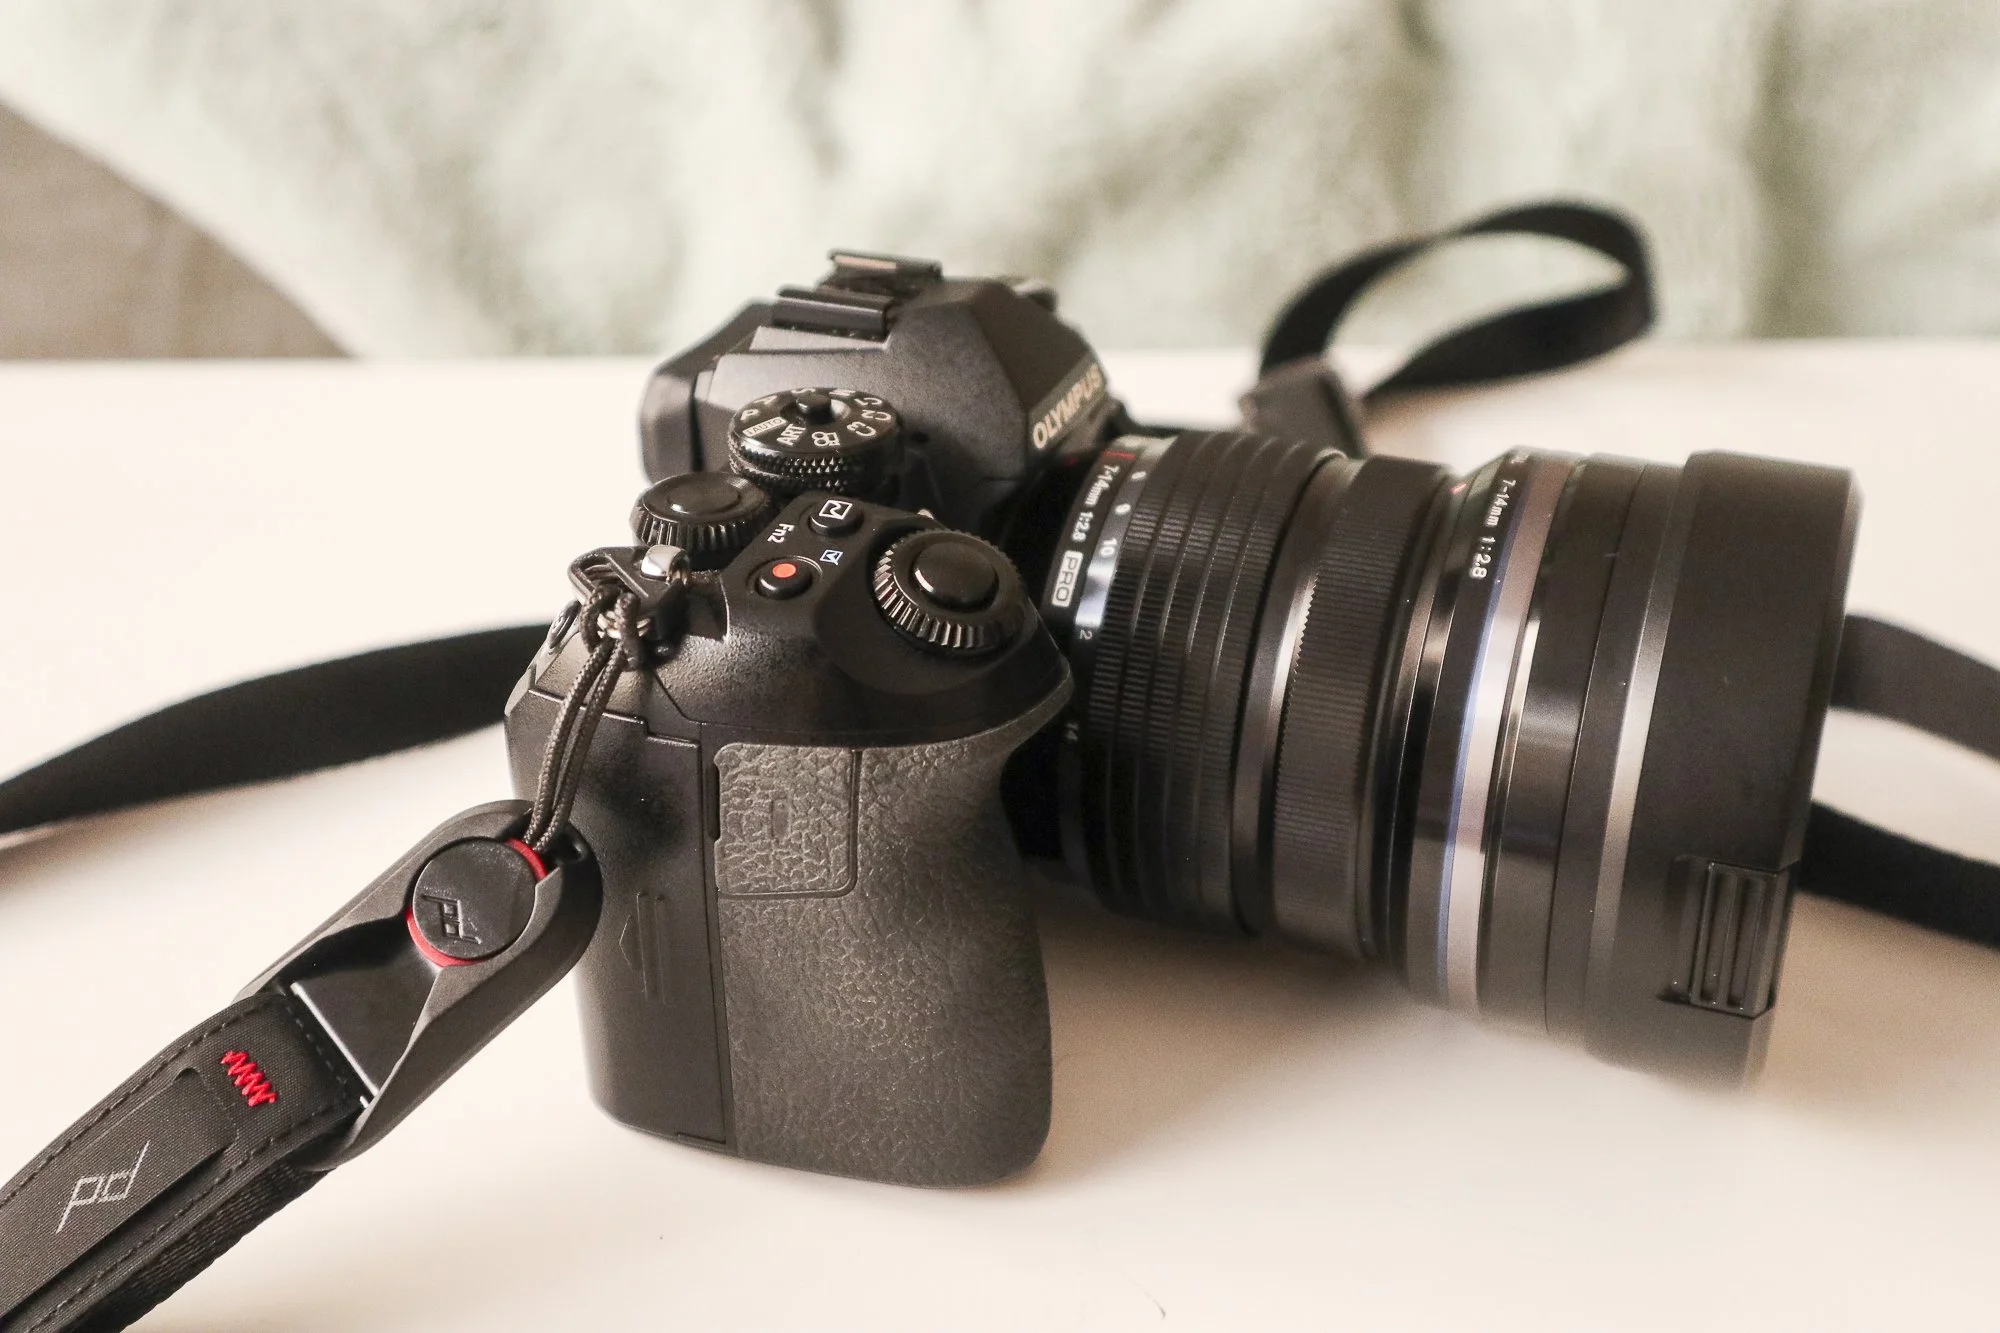
The last accessory I bought for this trip was the Peak Design Leash Strap. Up until this point I had been using my Olympus camera strap that came with my camera, however, the problem with these straps that typically come with the camera is they are short and you have to manually tie it onto the camera which makes taking the strap off a pain.

I wanted a strap that was longer so I can sling my camera across my body when I’m not using it, instead of constantly putting it in my bag. As well, a strap that had a better detachable system making it faster and easier to detach and attach the camera strap.

Thus, I picked up at my local camera store the Peak Design Leash. This strap extends quite a bit so I can wear it across the body and over the shoulder. As well, the Peak Design brand is known for its anchor system. They provide you with toggles in the box that you attach to the camera and then when you want to attach or detach the strap you simply clip the strap on!

I was able to pick up this accessory at my local camera store for $50, but it’s also widely available online.


Let me know over on the channel if you have any of these accessories and if you like them!


I post weekly to my YouTube Channel so if you found this helpful please consider subscribing to the channel or buying me a coffee.

Beautifully Wander | Robynne MacLeod

5 Tips for Photographing Your Families Vacation | Story Behind my Most Hated Photo + Lessons From My Past Trips

I love to travel, I love travel photography and documenting our travel adventures! With Spring upon us I have been doing a lot of reminiscing over past trips and strategizing for the future because Spring and Summer is when I tend to travel the most.

With all this reminiscing and strategizing I’ve been discovering a lot of things and in todays article I wanted to boil down five lessons that I’ve learned from documenting past trips so hopefully you can learn from my mistakes.

Lesson #1 : Learning to be Flexible

When I’m on vacation I don’t have 2+ hours to be at a location. I’m also not always there at the right time for lighting or without crowds. Thus, learning to be flexible is vital.

I like to have a few tips and tricks in my back pocket to help me work with the current conditions and make the best of the situation.

For example, if I’m at a landmark that has tons of crowds around. Learning to be flexible means maybe using some foreground interest to block out the crowds, slowing down the shutter speed to showcase the movement of people, or leaving the crowds as documenting what the scene truly looks like.

Lesson #2 : Understanding What is Important, Why You’re Photographing the Trip and Your Mindset Before the Trip

I have definitely found that understanding what is important, why I’m photographing the trip, and my mindset before the trip influences how I photograph the trip.

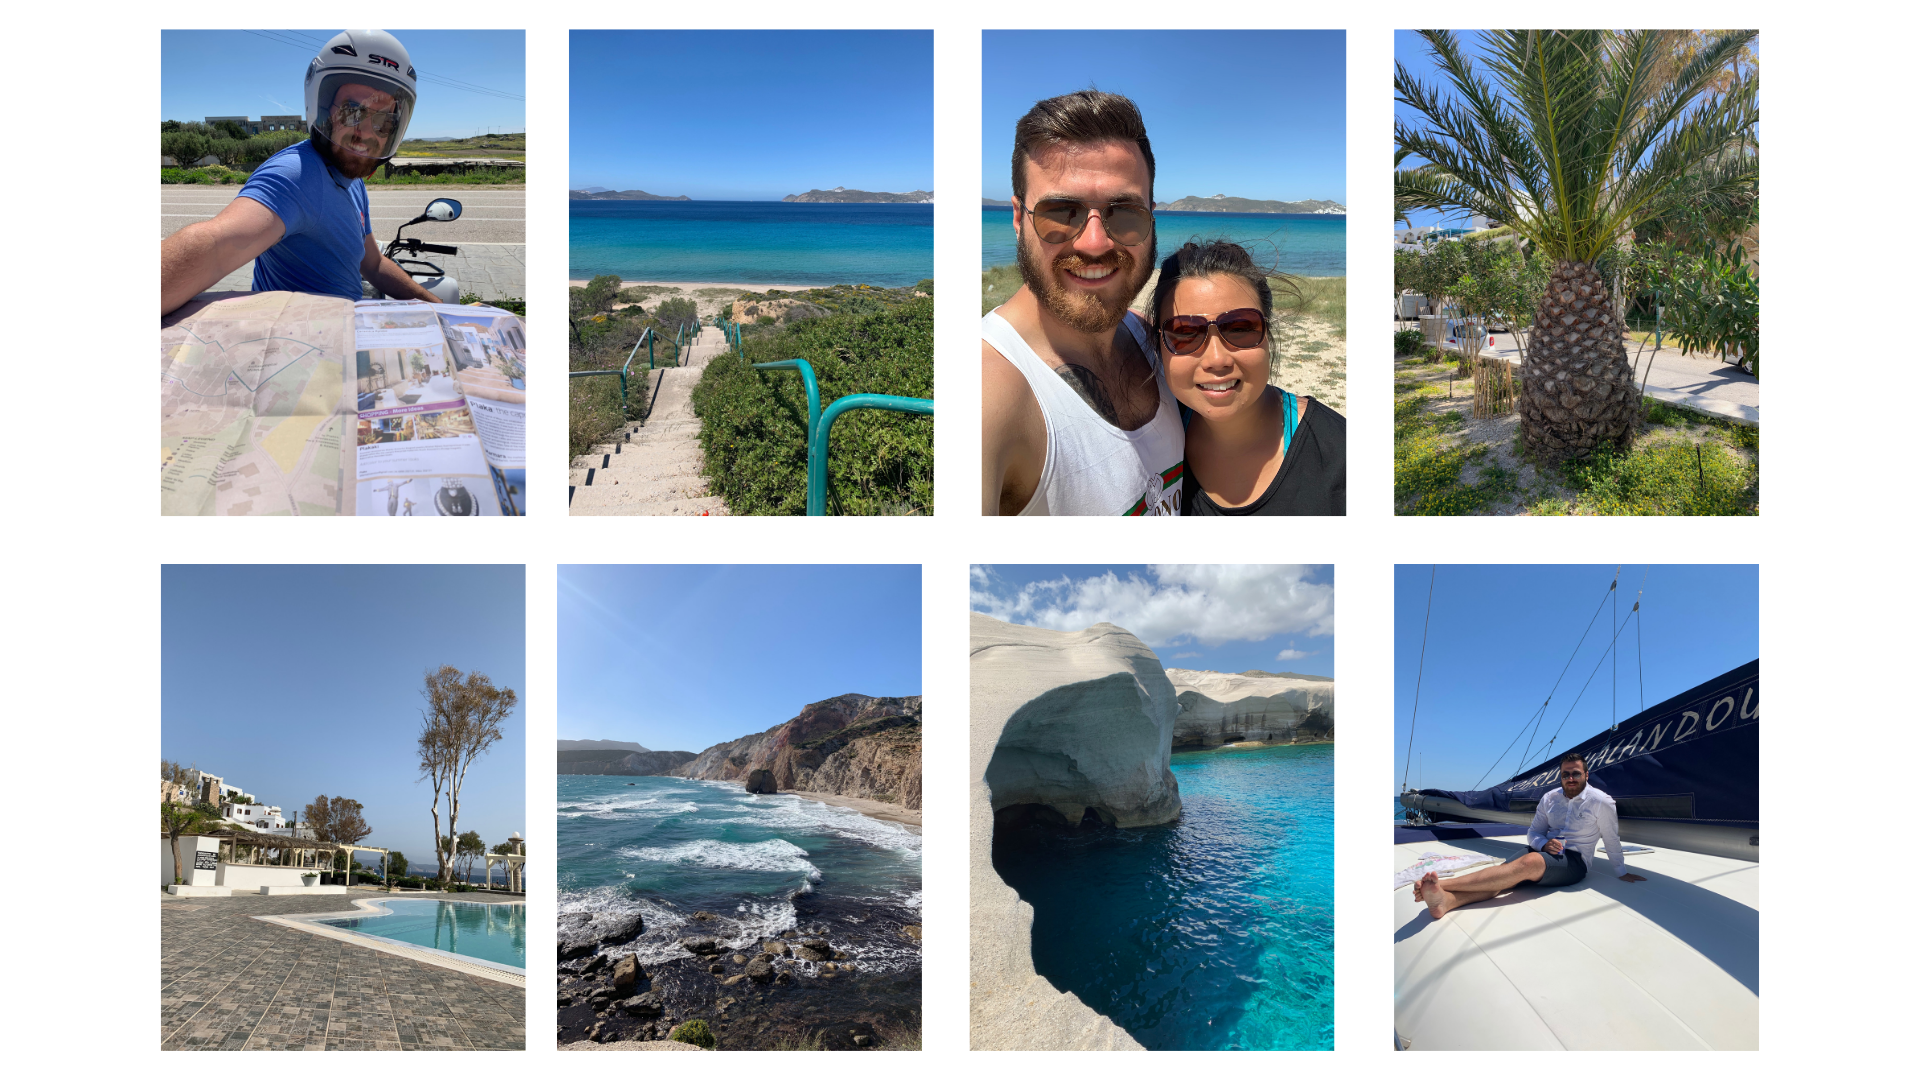
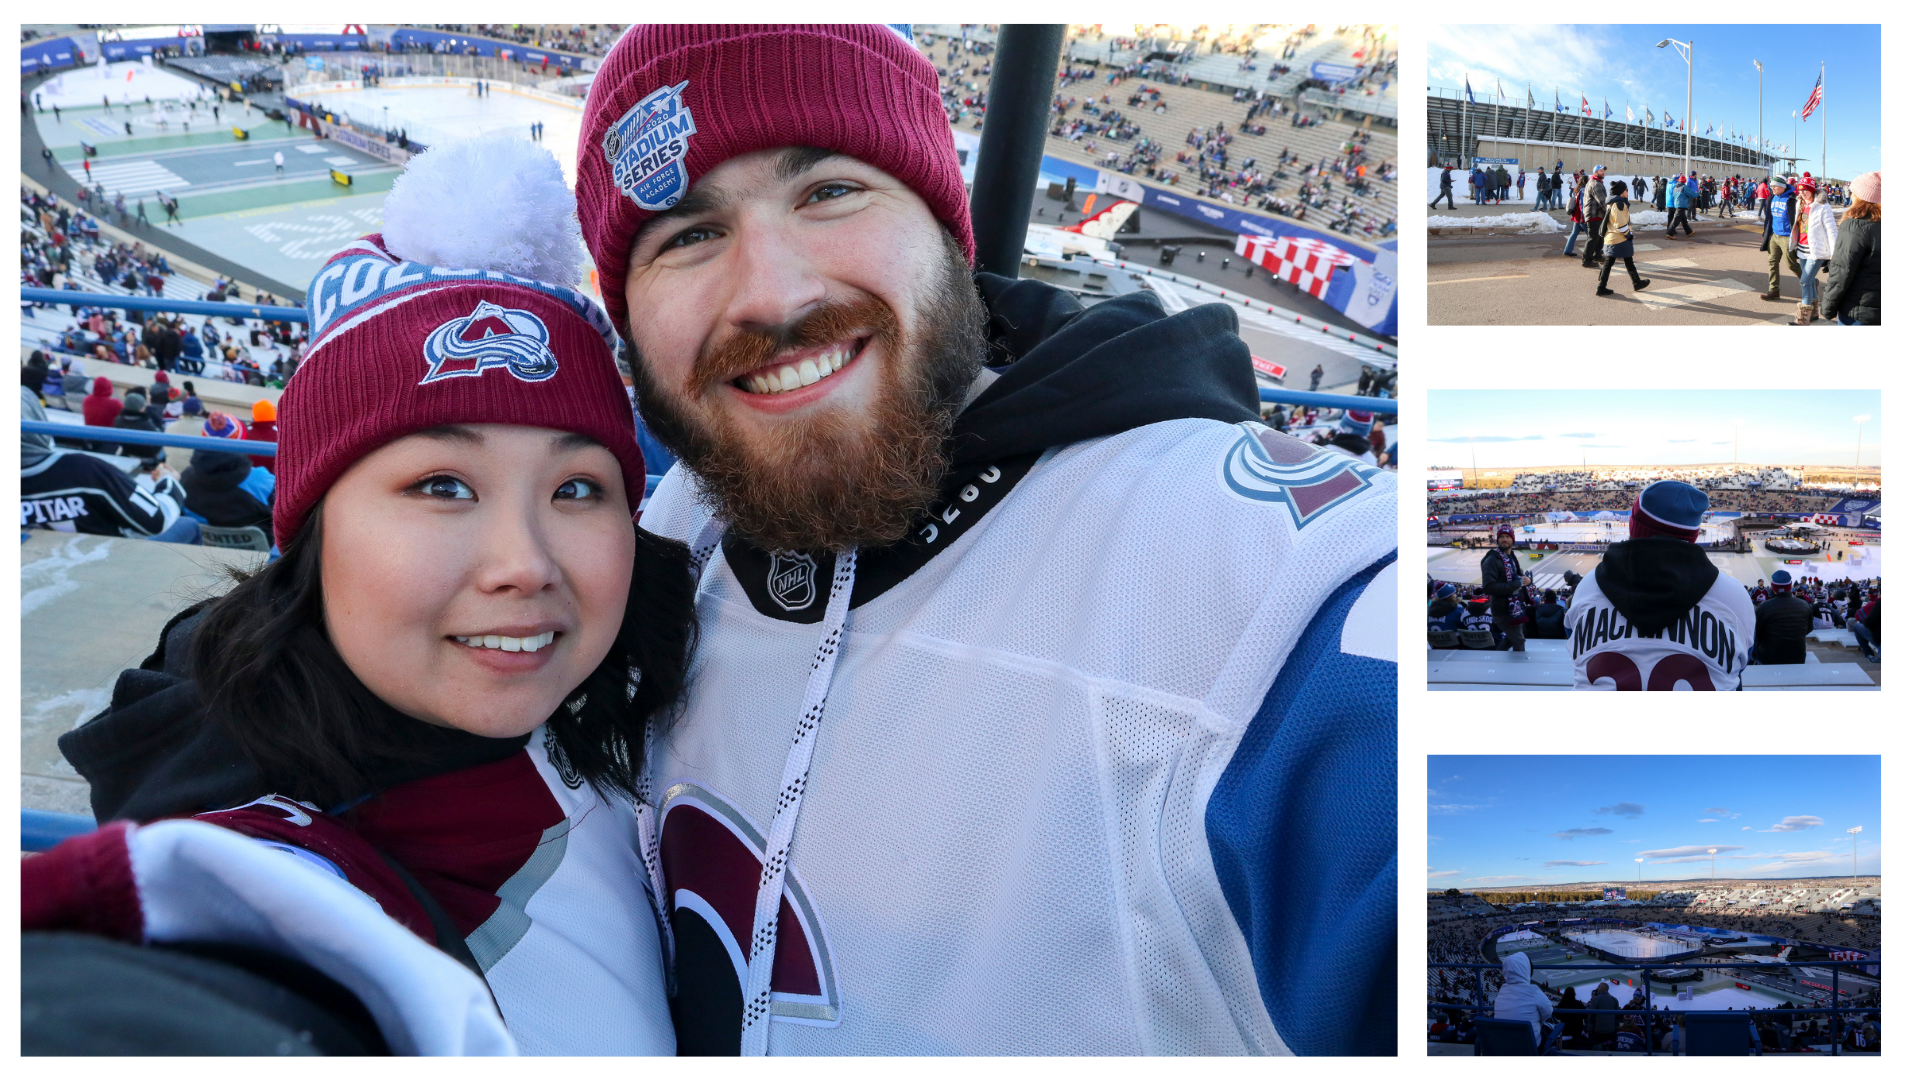
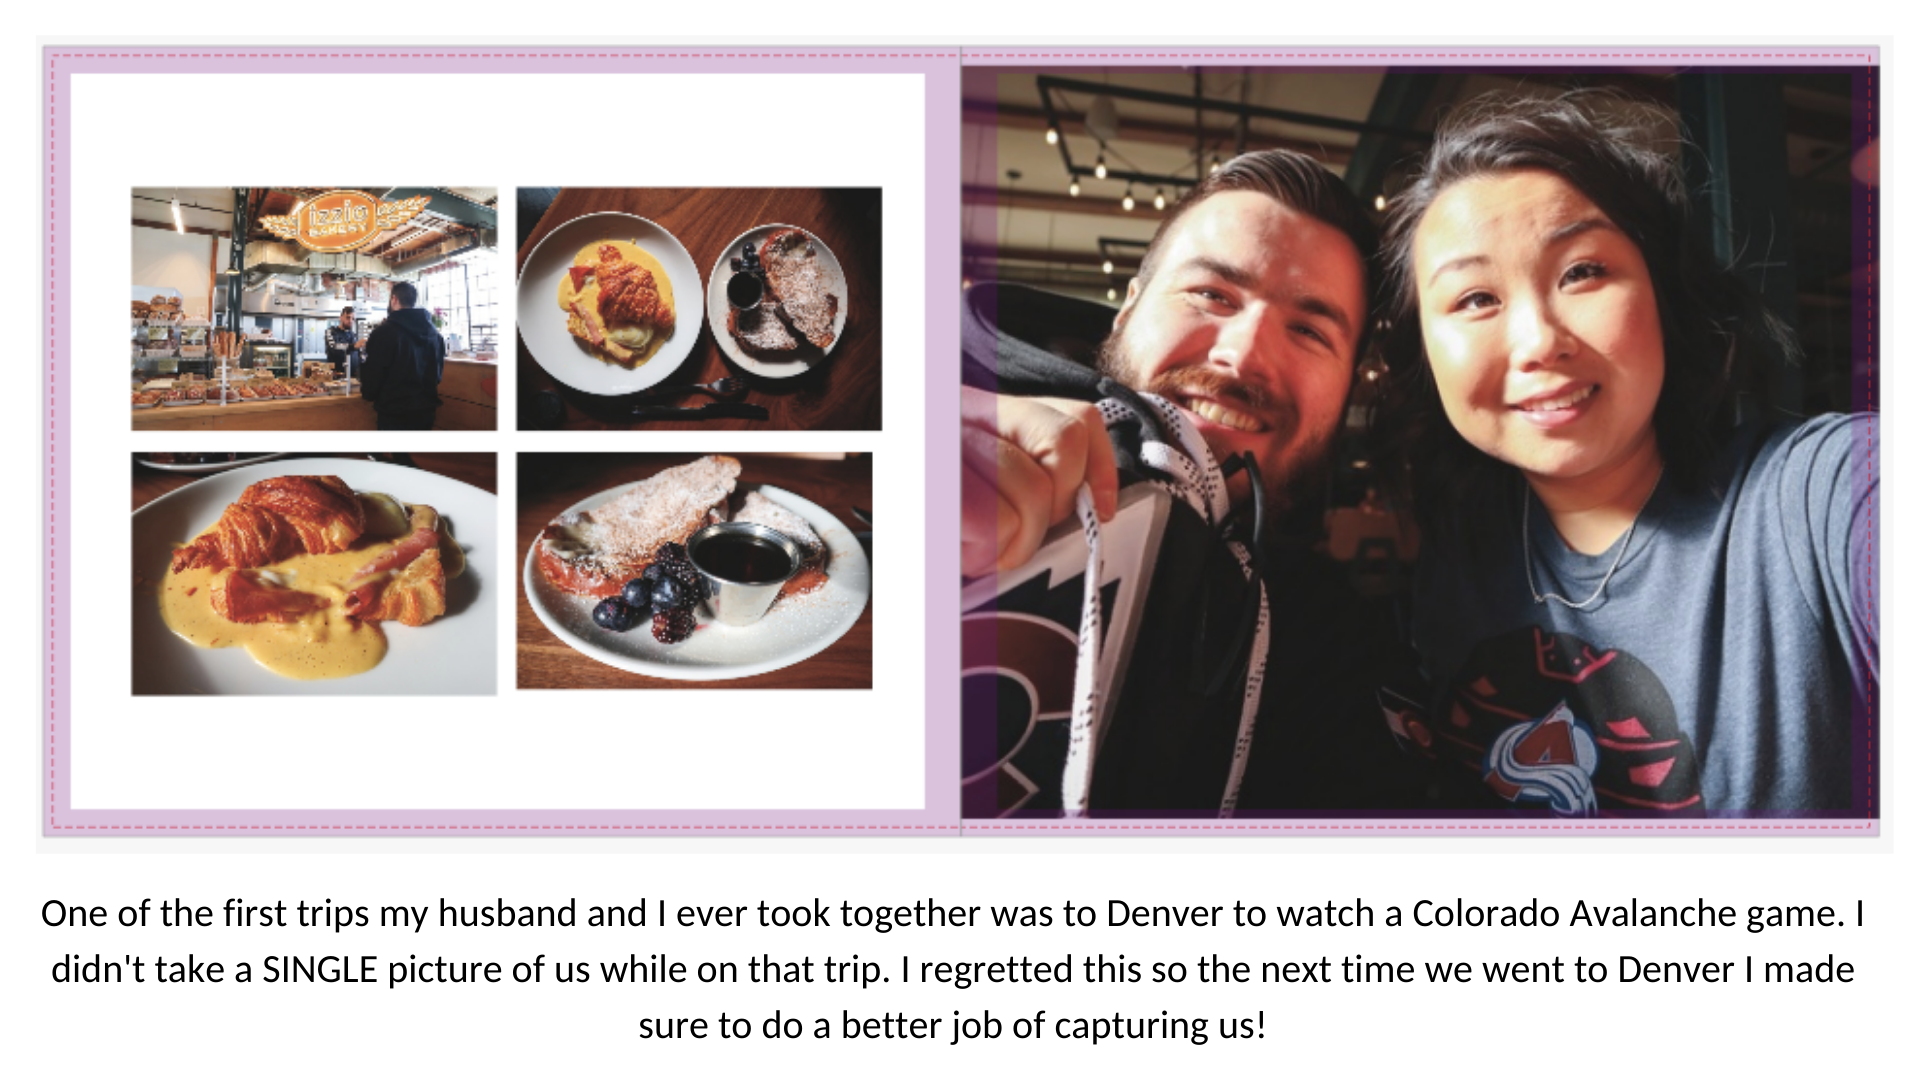
Back when I visited Greece in 2019 and Denver in 2020 I wasn’t super into photography. I of course loved photographing my travels but I didn’t pay close attention to things like composition and settings. So, why I photographed those trips were to have memories, keepsakes for afterwards.

Greece 2019

Denver 2020

As I got more into photography my “why” for photographing trips did change so my “how” changed too.

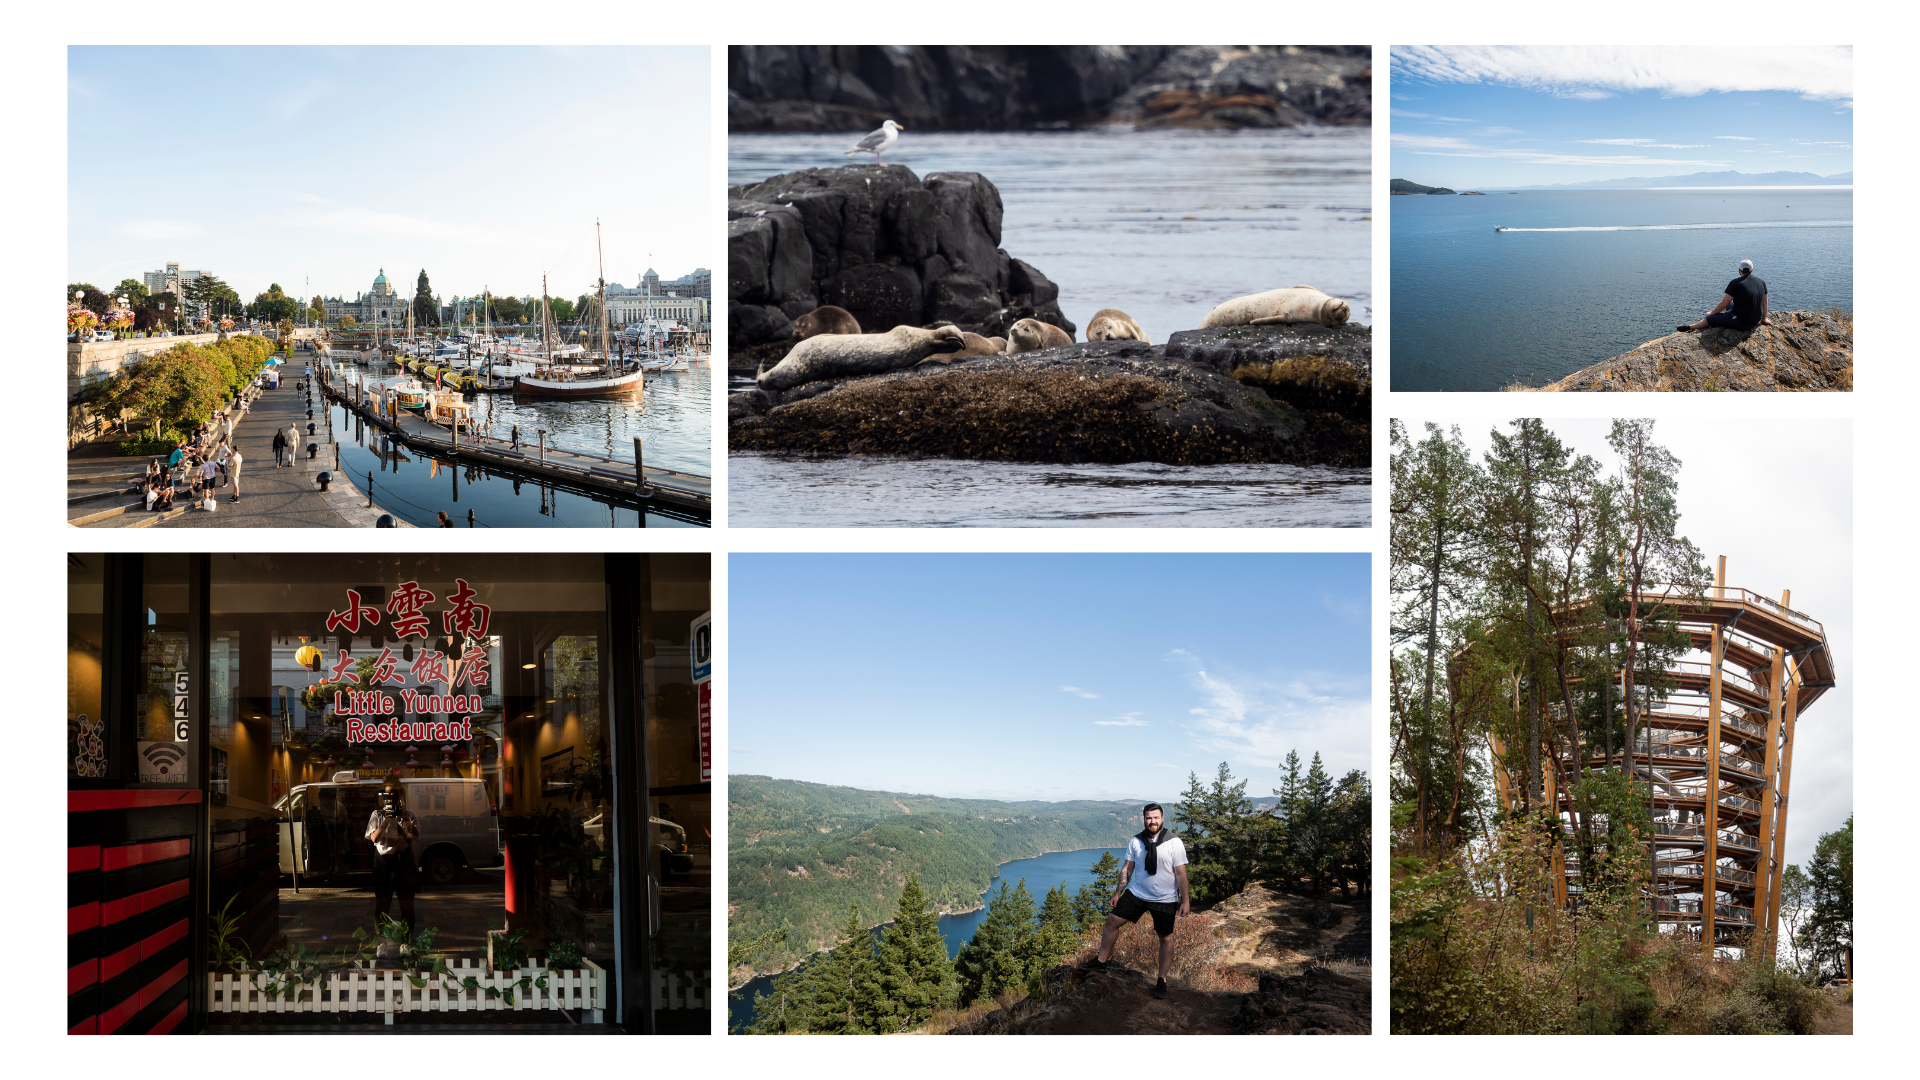
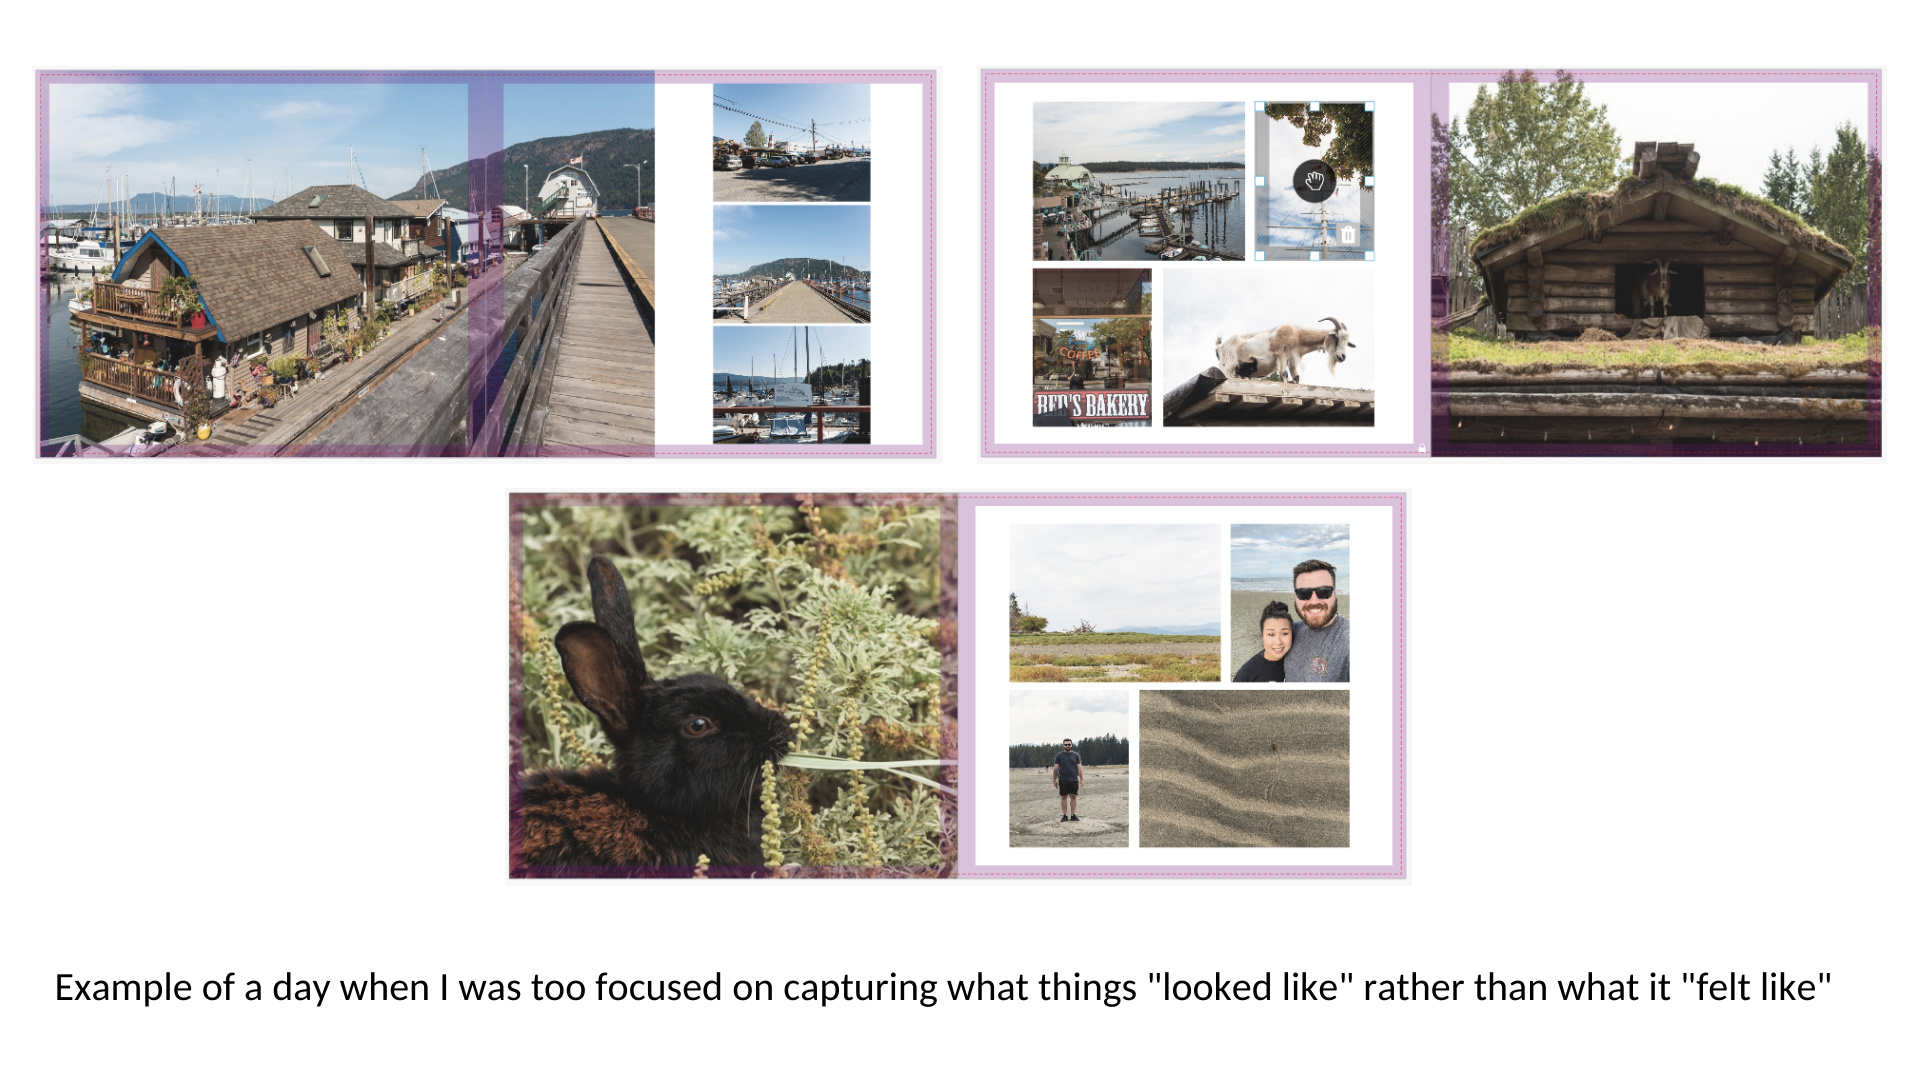
My Vancouver Island trip last summer for my honeymoon was a trip that I found where my “why” and “how” had changed. I loved my trip to the Island, and I love how many of the photos turned out. However, I don’t fully love how the story feels because I don’t think it accurately paints our experience and joy on that trip.

Lesson #3 : Photograph in a Story Format

This could come down to personal preference but I love photographing in a story format (having a mix of environmental photos, context photos, details and portraits of us) because I think it tells a more powerful story of our trip - where we were, what we did and our experience there.

Photographing in this way allows me to have front-facing photos that I can post to Instagram and Facebook. But also comes in handy when I try to create a photo book afterwards of our adventure.

Lesson #4 : Get in Front of the Camera

It’s important to get in front of the camera because you were there, this is your story this is your experience.

I know it can be awkward, I don’t always love my photo being taken because I’m self-conscious too of what I look like and what others think. However, I have found that I regret after a trip not getting in front of the camera because I’ll come back with zero photos of us or me there.

It can feel like we weren’t even on the trip because the story is missing the characters.

Lesson #5 : Put the Camera Down

This is the most important lesson that I’ve learned from past trips and might sound counterintuitive to what we’ve been talking about. However, it’s important to put the camera down.

The photo you see below is a photo that I visually love but emotionally hate. It was taken on my trip to Vancouver Island with my husband and I was so consumed with getting the perfect sunset photo that I missed the gorgeous sunset with my husband.

It’s a painful reminder to me on the mistakes I made on that trip, but also a driver for me to be better at putting down the camera, being in the moment, spending time with the one’s I love and finding that balance between documenting moments that matter without taking away from them.


Let me know over on the channel if you found something helpful or meaningful in todays article!


I post weekly to my YouTube Channel so if you found this helpful please consider subscribing to the channel or buying me a coffee.

Beautifully Wander | Robynne MacLeod

What is the Best Camera Bag? Shoulder Bags vs. Backpacks for your Gear & My Hunt for the Perfect Camera Bag

Hello friends!

I’m always on the hunt for the “perfect camera bag”! So today I wanted to chat about what is the best camera bag for you, taking you through shoulders bags, backpacks and hybrids.

As well, share with you what I have found has been the closest to the “perfect bag” for me.

Camera Bags I Own

Amazon BagSmart Camera Backpack : The first camera bag I ever bought was the Amazon BagSmart Camera Backpack for about $100 CAD.

Ona Bowery Bag : My shoulder bag, this was the second camera bag I’ve ever owned. It was more on the expensive side sitting at $300 CAD.

Peak Design Sling 6L : My hybrid bag, I bought this bag last summer for outdoor excursions that didn’t require a large backpack for about $150 CAD.

Pro’s and Con’s of Each

Camera Backpack

Camera Backpack - Con’s

  • Overpacking : The con with camera backpack’s is you tend to overpack, because you have extra room to work with. I do this all the time! I pack more accessories and lenses than I need because I have the room and don’t even end up using them.

  • Not very versatile : Camera backpack’s aren’t the most versatile. They’re great for outdoor excursions like landscape photography, wildlife photography, nature photography, etc., However, I hate bringing my camera backpack into restaurants or nice places. They’re big, bulky and often dirty.

  • More likely to leave the camera behind : If a camera backpack is the only means I have to carry my equipment then sometimes I am more likely to leave my camera behind because it’s big and bulky.

Camera Backpack - Pro’s

  • Weight distribution : With a camera backpack the weight of the bag is distributed between the two shoulder straps (some camera backpacks have a third waist strap to help distribute weight to your hips). This is great for long durations or if you’re carrying a heavier load.

  • You can carry a lot more : Having a camera backpack means you can pack not only your camera gear but other necessities you might need. In the Spring and Summer my husband and I love hiking. Having a backpack is great because I can carry my camera gear, our water bottles, towels, snacks, and anything else we might need.

  • Hands-free (with a few accessories) : The other pro with using a camera backpack is with a few accessories you can easily go hands-free. One option is to use a camera strap and sling it over your neck. I don’t love this option for long durations because it just puts weight on my neck. I prefer to use the Peak Design Capture Clip - with this accessory attached to your backpack strap you can hook your camera onto it and quickly release when you want to take a photo.

Overall, I find camera backpacks are best if you want to carry lots of gear (or all of your gear) or for outdoor excursions.

Shoulder Bags

Shoulder Bag - Con’s

  • A lot of weight on one shoulder : Unfortunately, with shoulder bags it can be a lot of weight on your one shoulder (no matter how you wear it).

  • Difficult to carry extra’s : Due to the nature of a shoulder bag it’s more difficult to carry extra’s like a water bottle or tripod.

  • Get in the way more : Lastly, I find shoulder bags get in the way more based off of how they hang off your body.

Shoulder Bag - Pro’s

  • Packing less : There are a variety of size shoulder bags that are on the market. The Ona Bowery I own can comfortably fit one camera body and a maximum of two lenses. The best part of shoulder bags is you pack less (because you have to). So this is a great option if you want to go minimal with your gear.

  • More Discreet : Shoulder bags are more discreet. You can keep it on your lap, tuck it under the table, hang it off a chair. In the Summer of 2020 I went on a wine tasting trip to Osoyoos, BC and this bag was perfect for what I needed.

  • Allowed More : If you’re spending time outdoors this isn’t a big problem but when you’re travelling certain restaurants, shops, arena’s, etc., might have a “no backpack” rule. Thus, having a shoulder bag is perfect for these situations.

Overall, I find shoulder bags are best for day trips, shorter excursions into the city or nice places.

Hybrid

Hybrid - Con’s

  • Limited on what you can carry : Hybrid’s aren’t full size backpack’s so you still have to be selective on what gear you are bringing.

  • Difficult to carry extra’s : With hybrid’s it’s still difficult to carry extra’s. It’s not as difficult because some hybrid’s have additional features like the Peak Design Sling with straps on the bottom so you can carry a water bottle, jacket, tripod on the bottom.

  • Weight on one shoulder : You are also still putting weight on one shoulder, unlike you wear it like a waist bag.

Hybrid - Pro’s

  • Multi-wear : With hybrid’s like the Peak Design 6L Sling you can wear it as a backpack, shoulder bag or waist bag.

  • Fit quite a bit : Depending on the brand and size you can fit quite a bit of stuff. In this video I show you exactly how much you can fit!

  • Fairly discreet/versatile : The low-profile nature of a hybrid is more discreet than a backpack (similar to a shoulder bag). I personally feel more comfortable walking into a restaurant or nice place using this.

  • Allowed More : Due to the multi-wear ability of a hybrid, if the location doesn’t allow backpacks you can simply wear it as a shoulder bag!

Perfect Camera Bag

Out of my camera backpack, shoulder bag, and hybrid I find the closest to the “perfect camera bag” is my 6L Peak Design Sling. It can fit what it needs to, it’s comfortable and it’s versatile. When we went to Vancouver Island last summer we were hiking, in and out of restaurants, on boats, and in museums and the bag was perfect for everything we were doing.

Things to Consider

So if you’re looking for a new camera bag, here are some things to consider:

  • Budget? Camera bags can be expensive! The most expensive one I own is $300 CAD but they can easily climb to $600 CAD.

  • What are you going to be doing? How do you see yourself using this bag? What are you likely photographing? These questions help me figure out what gear I actually need on the trip and thus, what the bag needs to be able to fit.


Let me know over on the channel if you have found your perfect camera bag!


I post weekly to my YouTube Channel so if you found this helpful please consider subscribing to the channel or buying me a coffee.

Beautifully Wander | Robynne MacLeod

Photography Ideas for Your Next Trip or Weekend Around Town | Working with Crowds, Creatively Document Moments, Context Photos

I was lucky enough to do some travelling in the past few months and in reflection of my summer I wanted to give you some photography composition and technique ideas to give a try on your next trip or casual weekend outing!

Hiding the Crowds

It’s very difficult to photograph a popular location without a lot of crowds or people. You could wake up early and get to location before sunrise, however, for those of you that can’t wake up early or it’s very difficult to, you just have to find a way to hide the crowds.

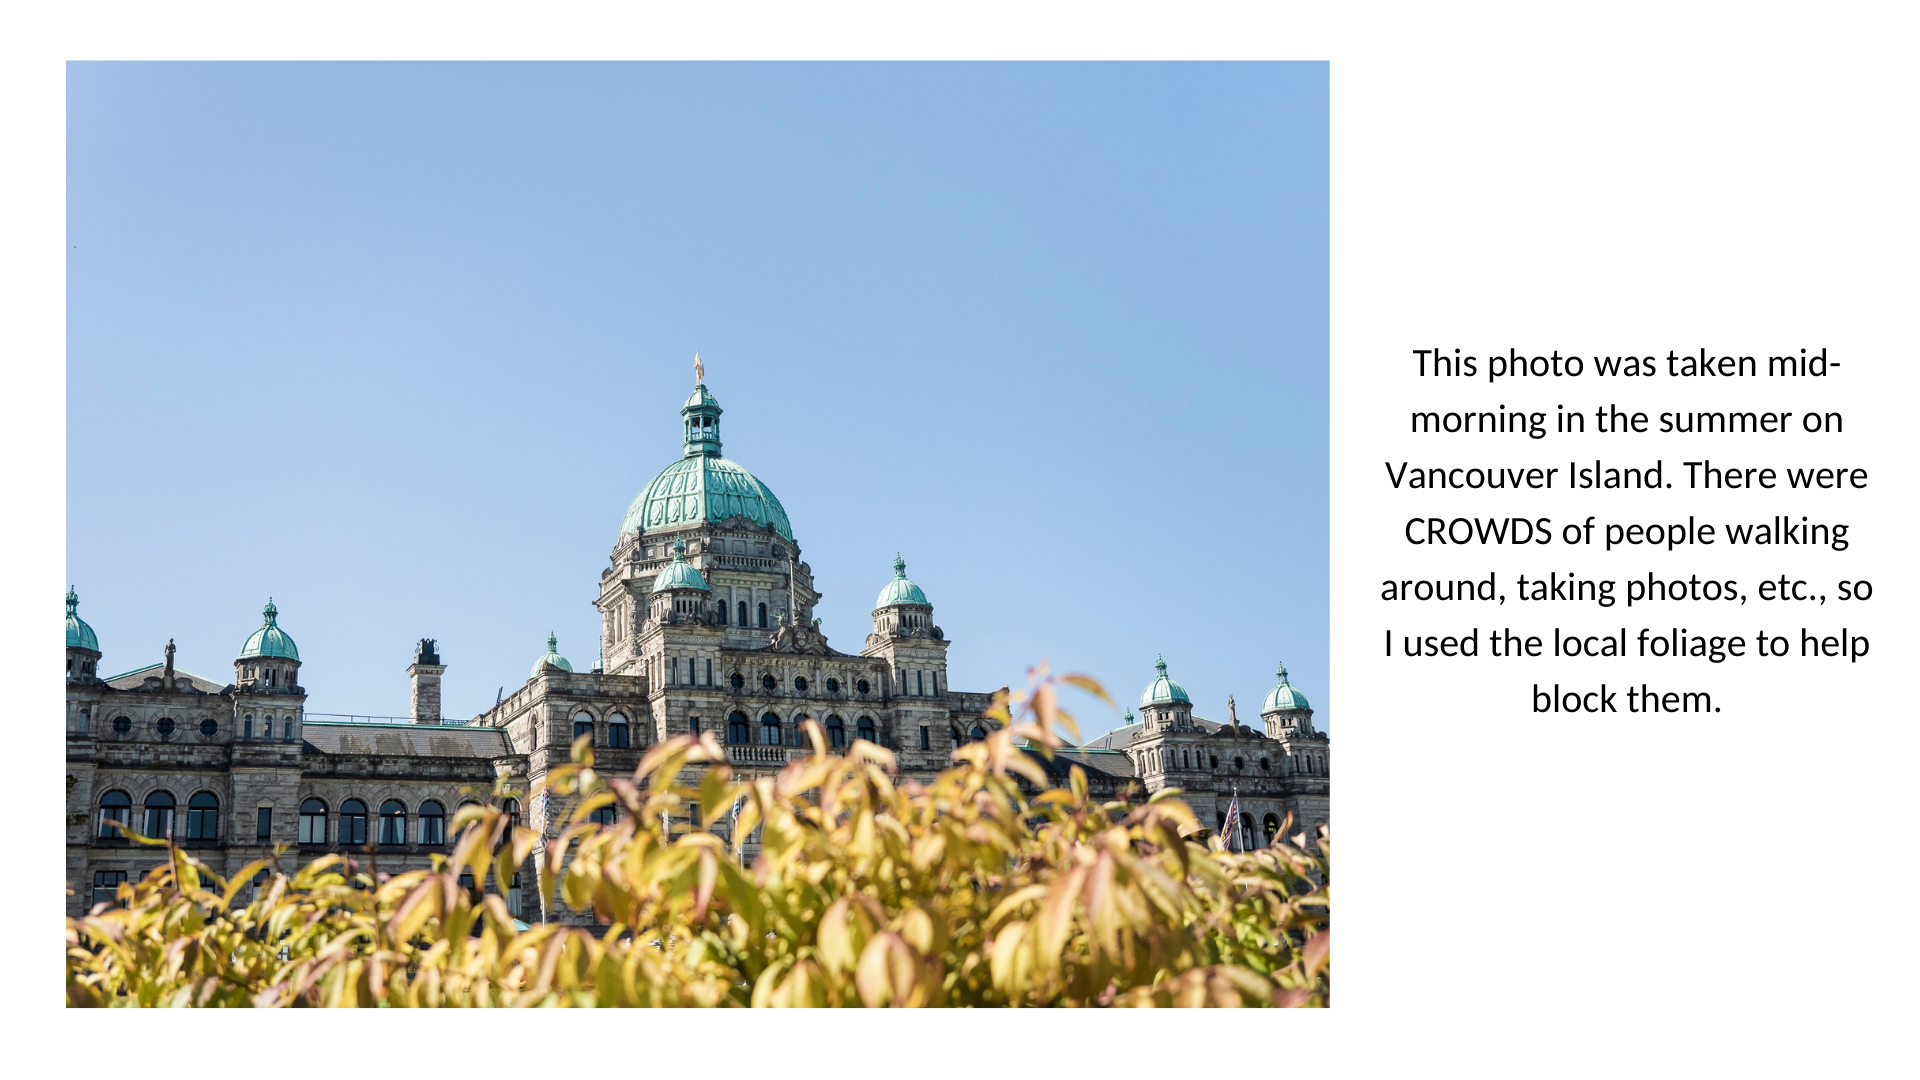
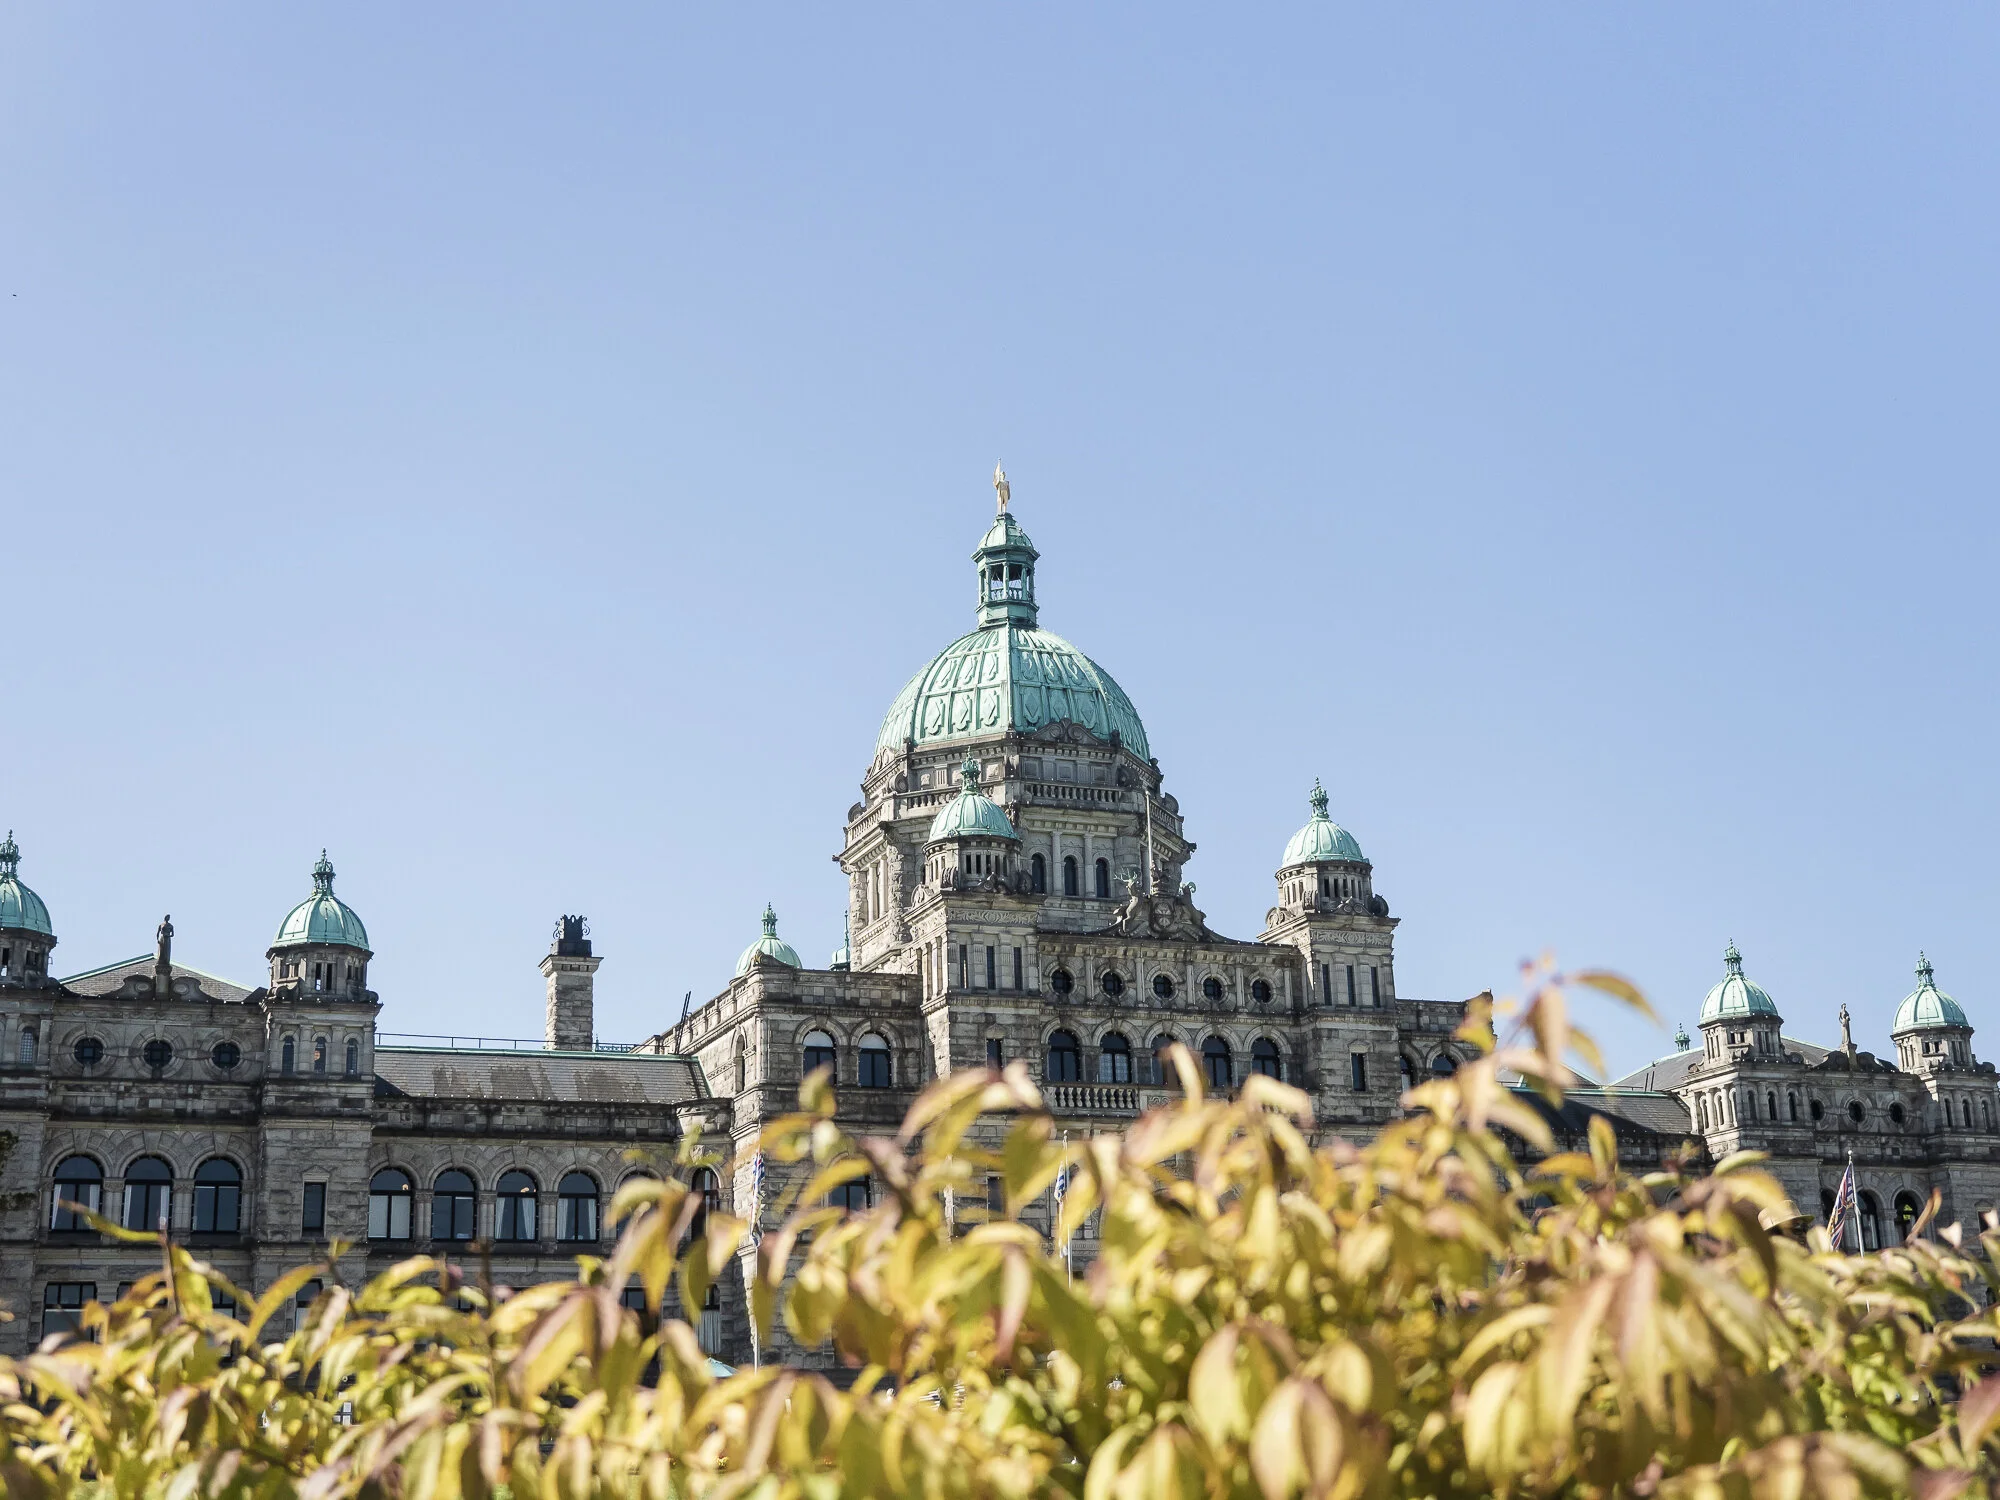
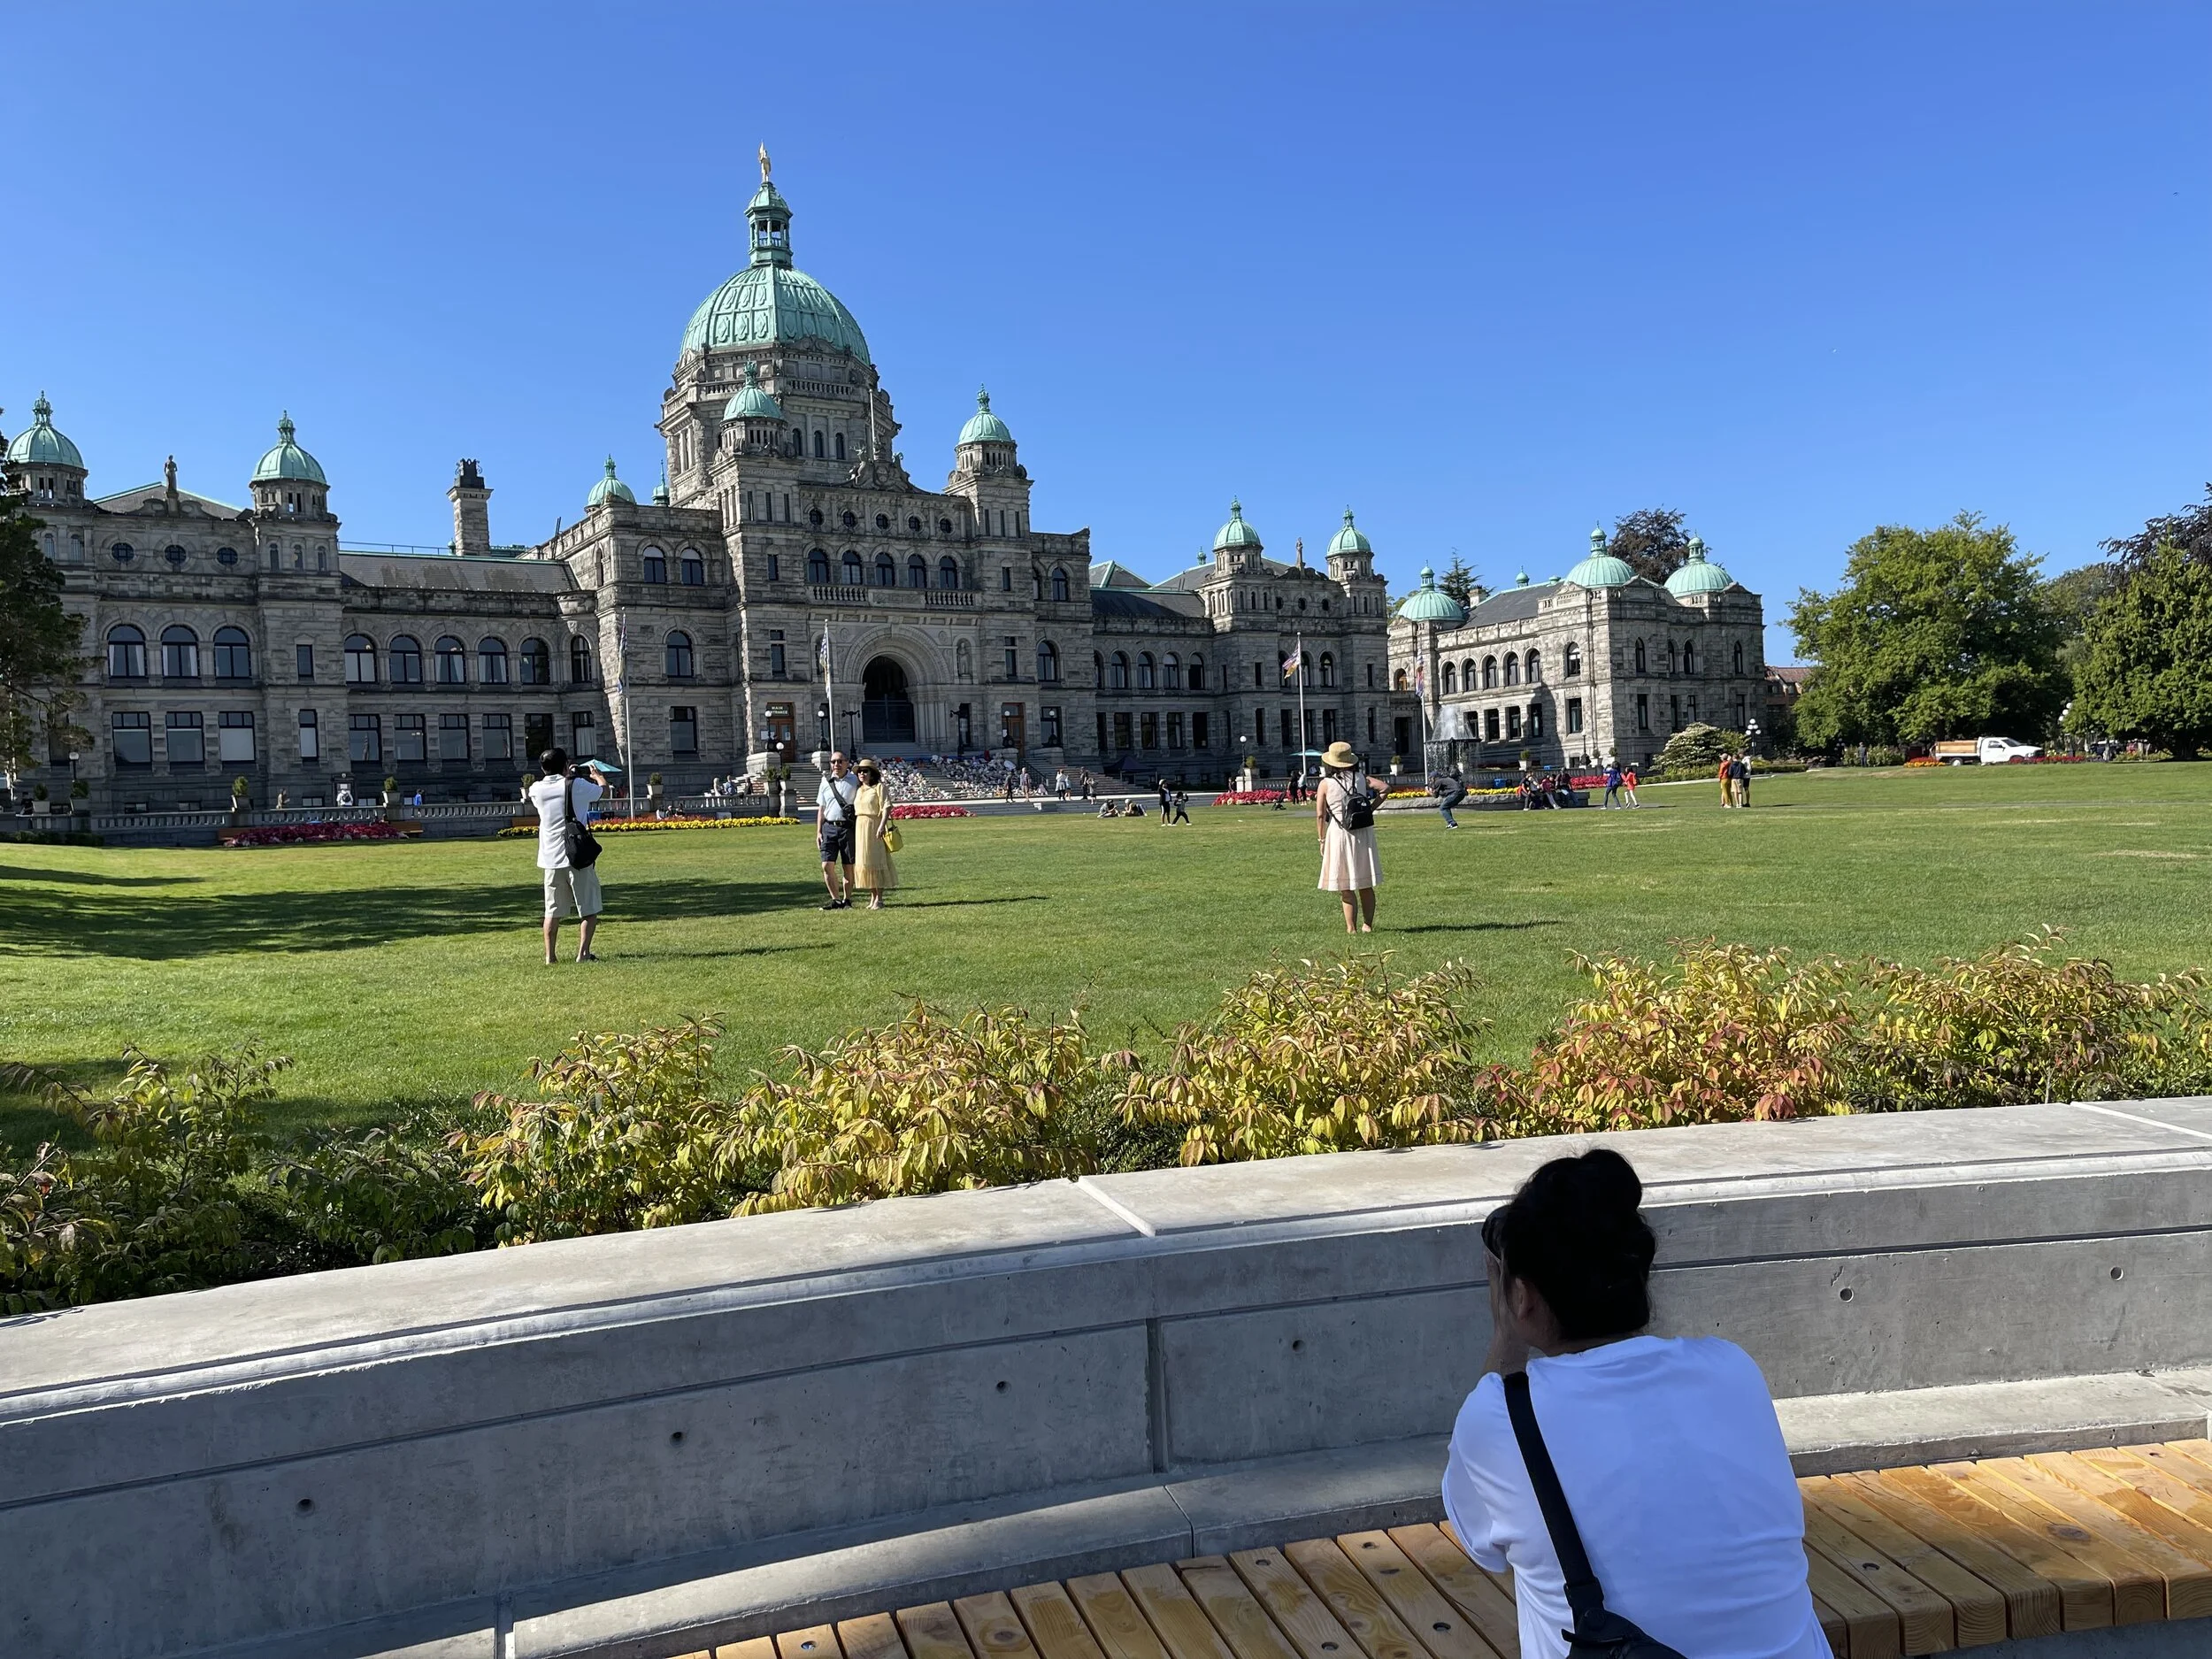
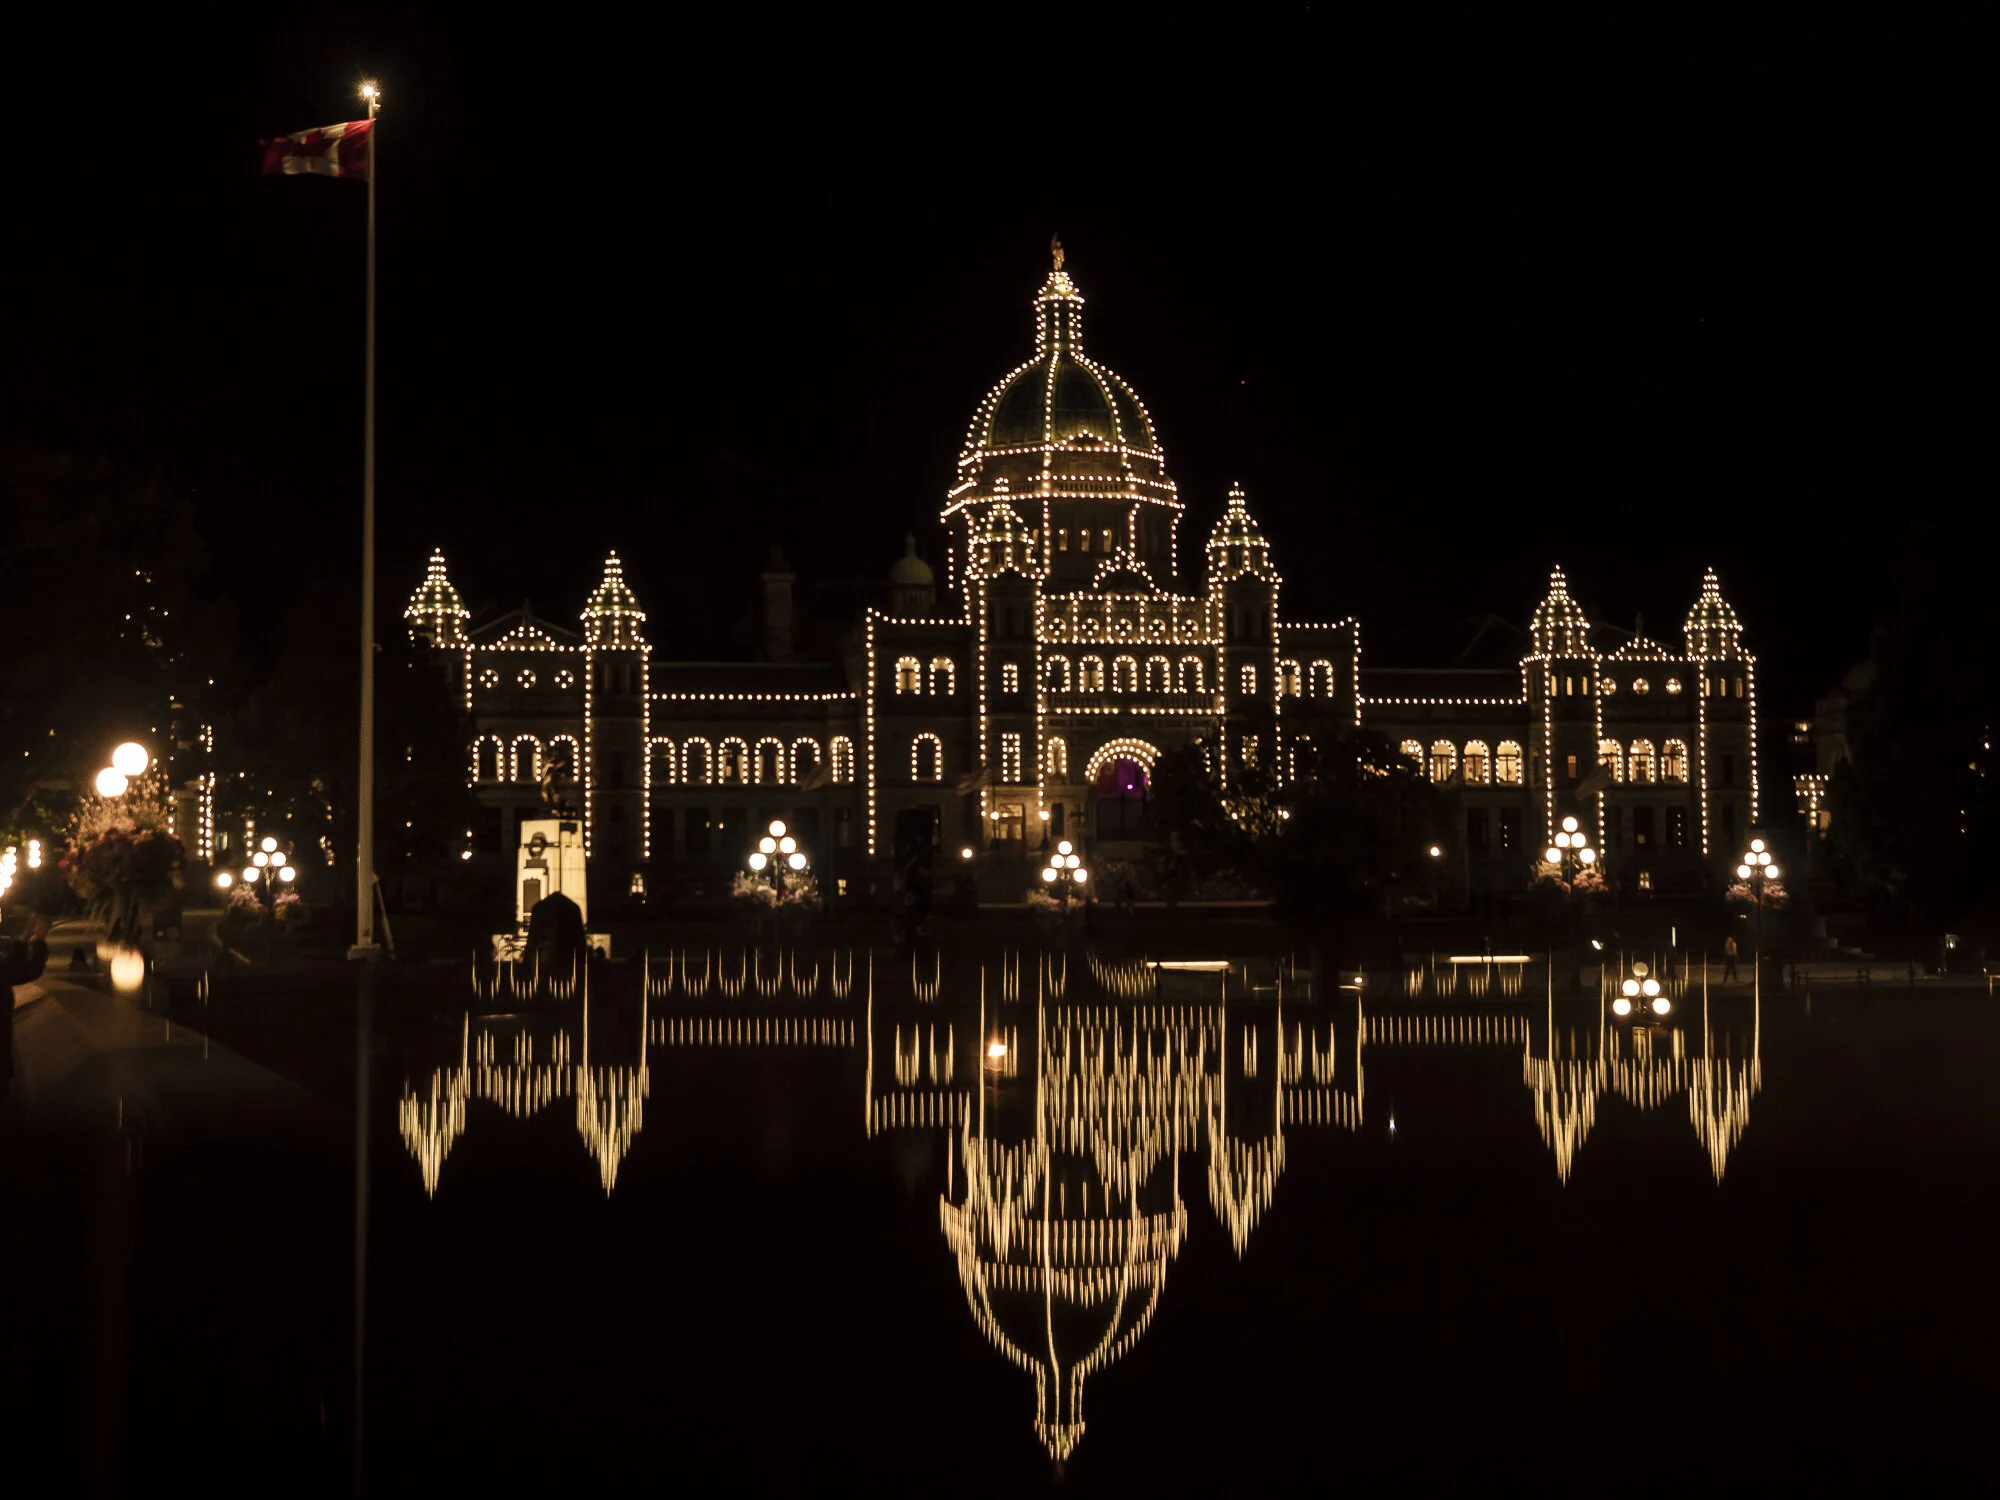
To give you an example, below is a photograph I took of the BC Parliament Building in Victoria around mid-morning.

What you can’t see is that there is quite a bit of crowds around the building and there was a family just on the other side of the foliage taking a photo in front of the building. To creatively hide the crowds I used the surrounding elements, in this case the planter/flower boxes in front of the building.

Frame within a Frame

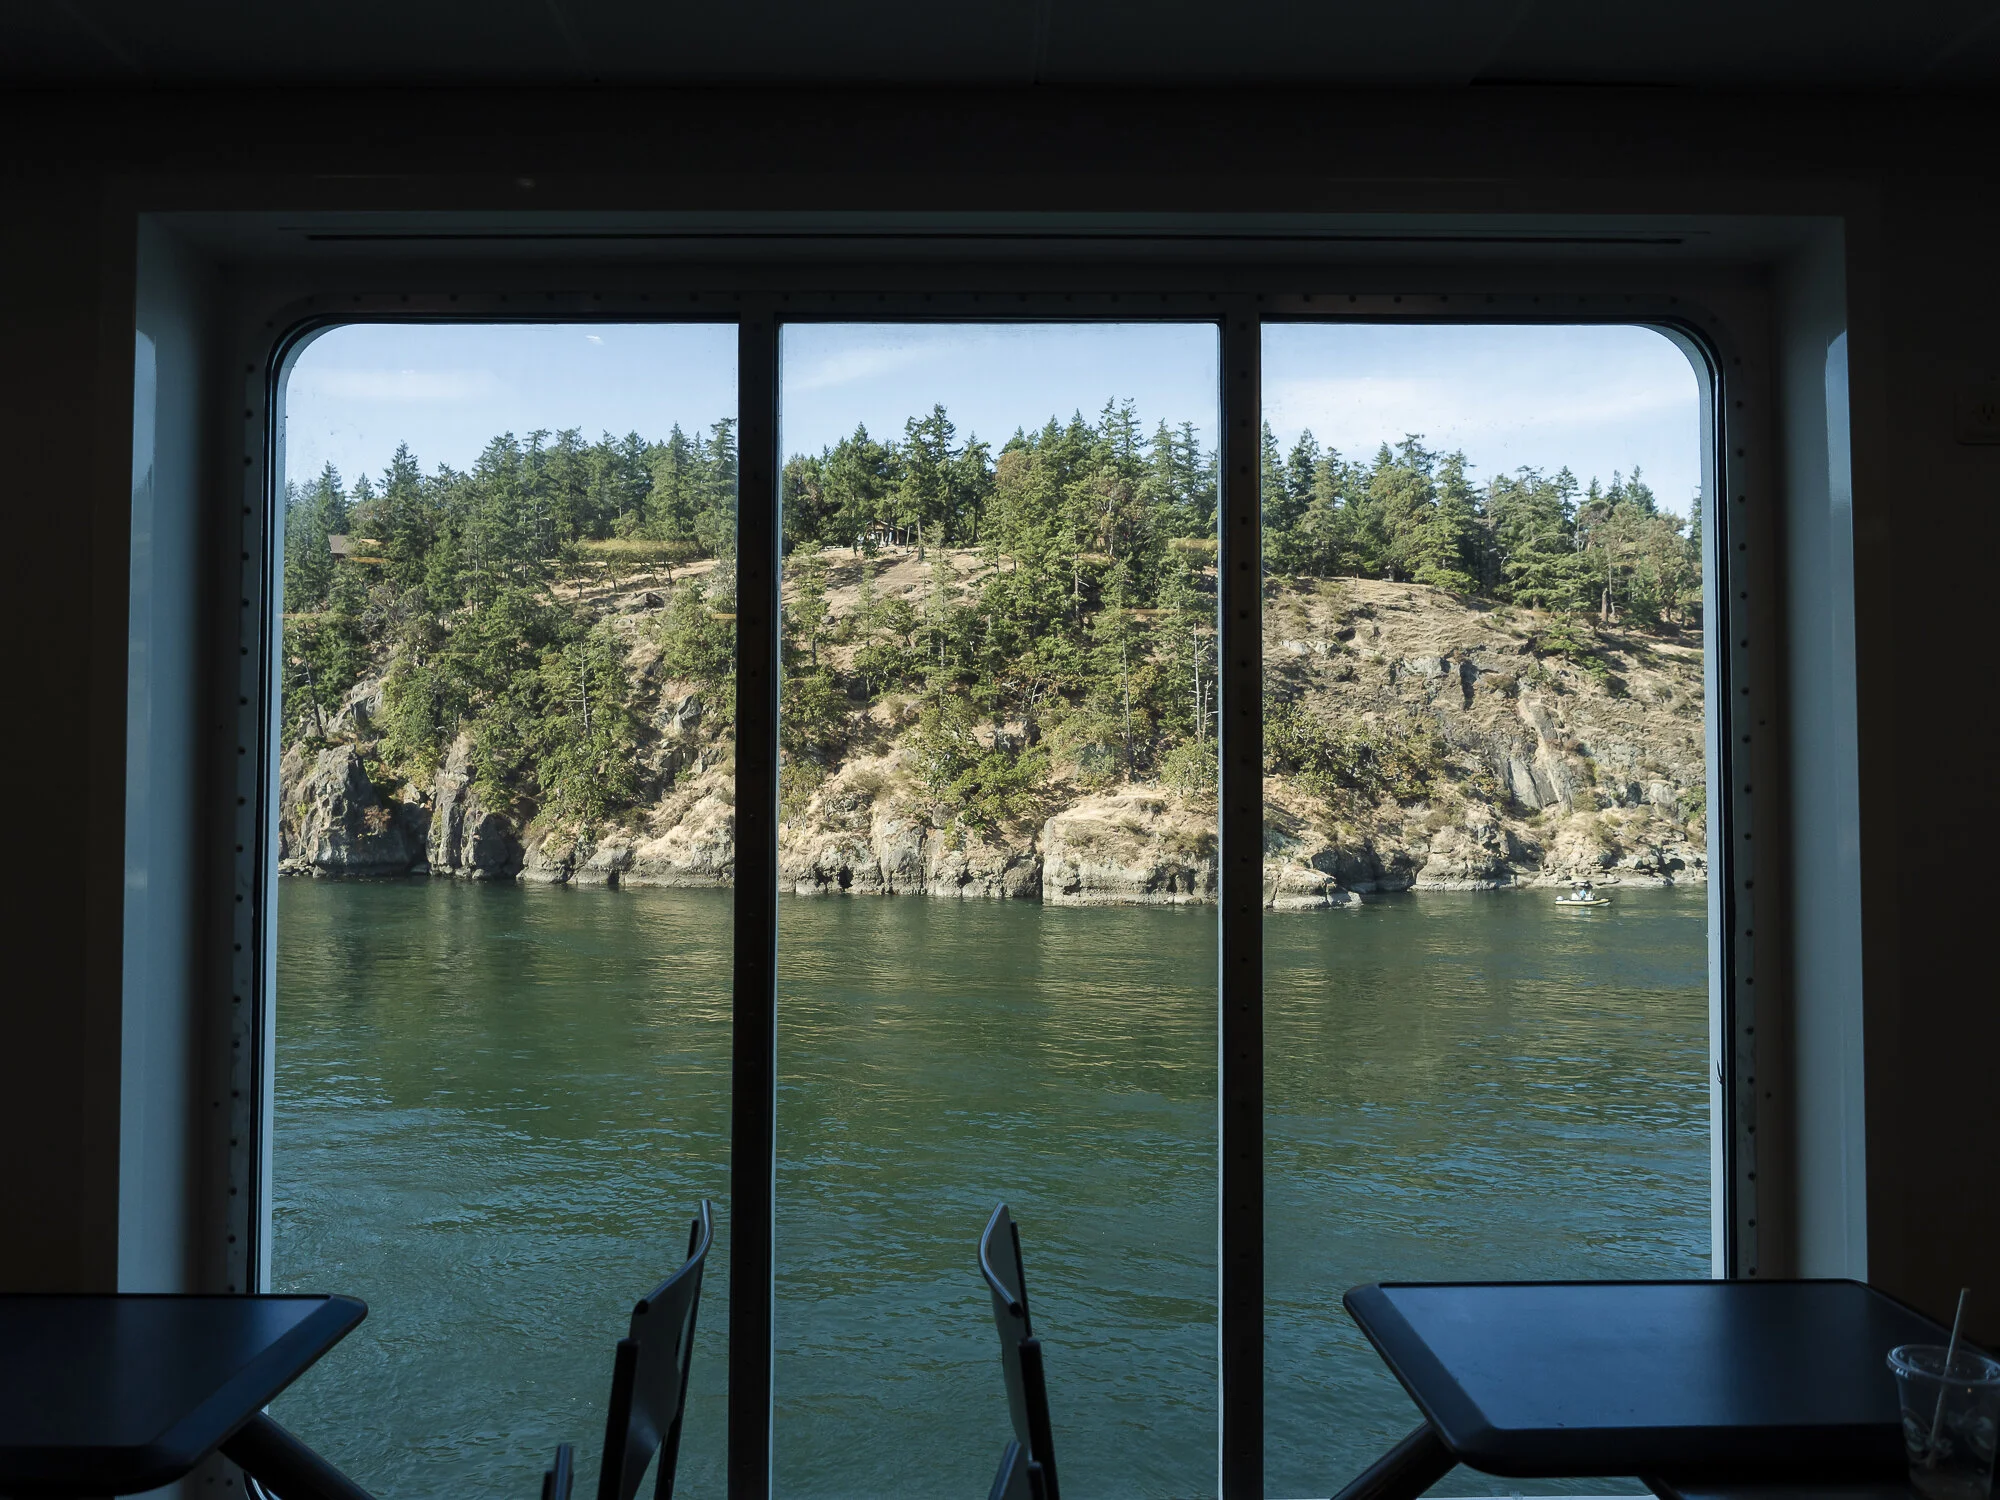
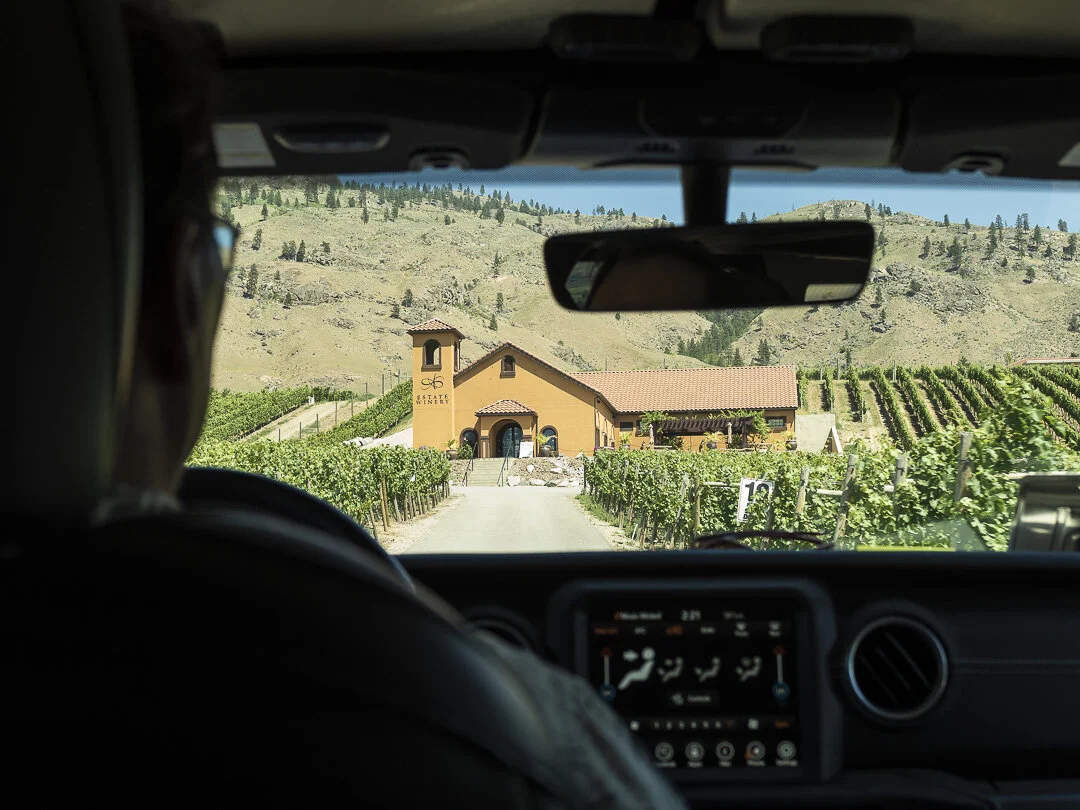
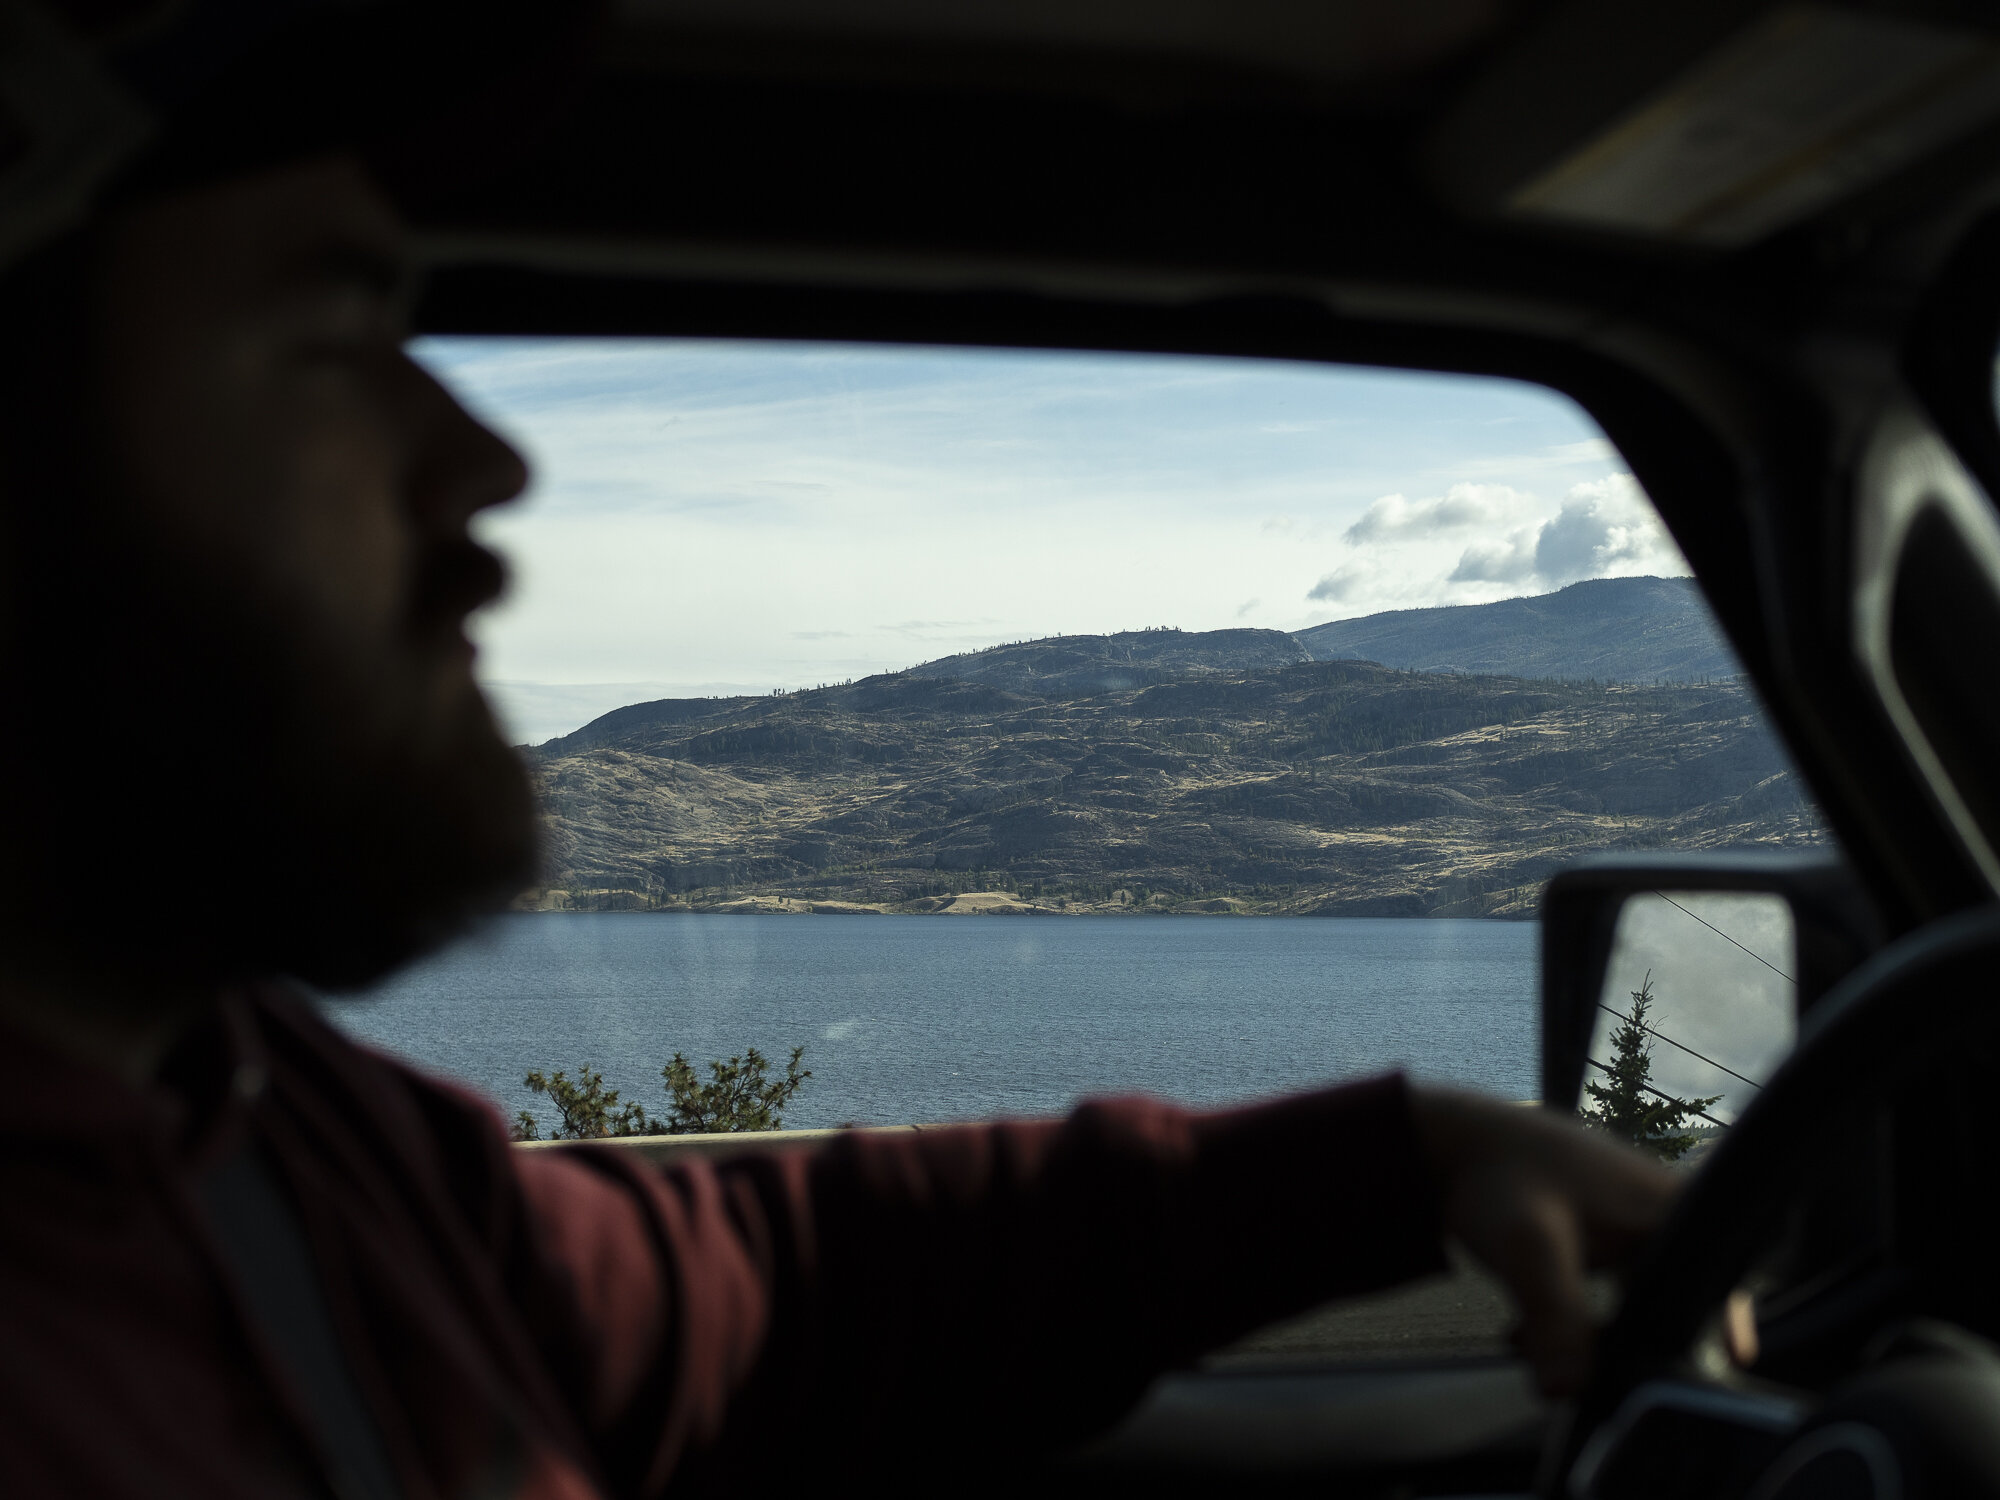
One of my favourite ways to photograph travelling from place to place is to frame within a frame. You literally frame your composition around an existing frame. I tend to use windows of the transportation vessel - ferry, vehicle, boat, etc.,

For example, in the photo to the left is a capture of travelling on the ferry from Vancouver to Vancouver Island, in the middle is a photo of travelling around Osoyoos for wine tastings, and in the last photo to the right is a photo from a casual weekend outing to Penticton, BC.

I like taking these kinds of photos to show context of our trip.

victoria-59.jpg
osoyoos-75.jpg
brunch-munson-2.jpg

Self-Reflection to Show Place

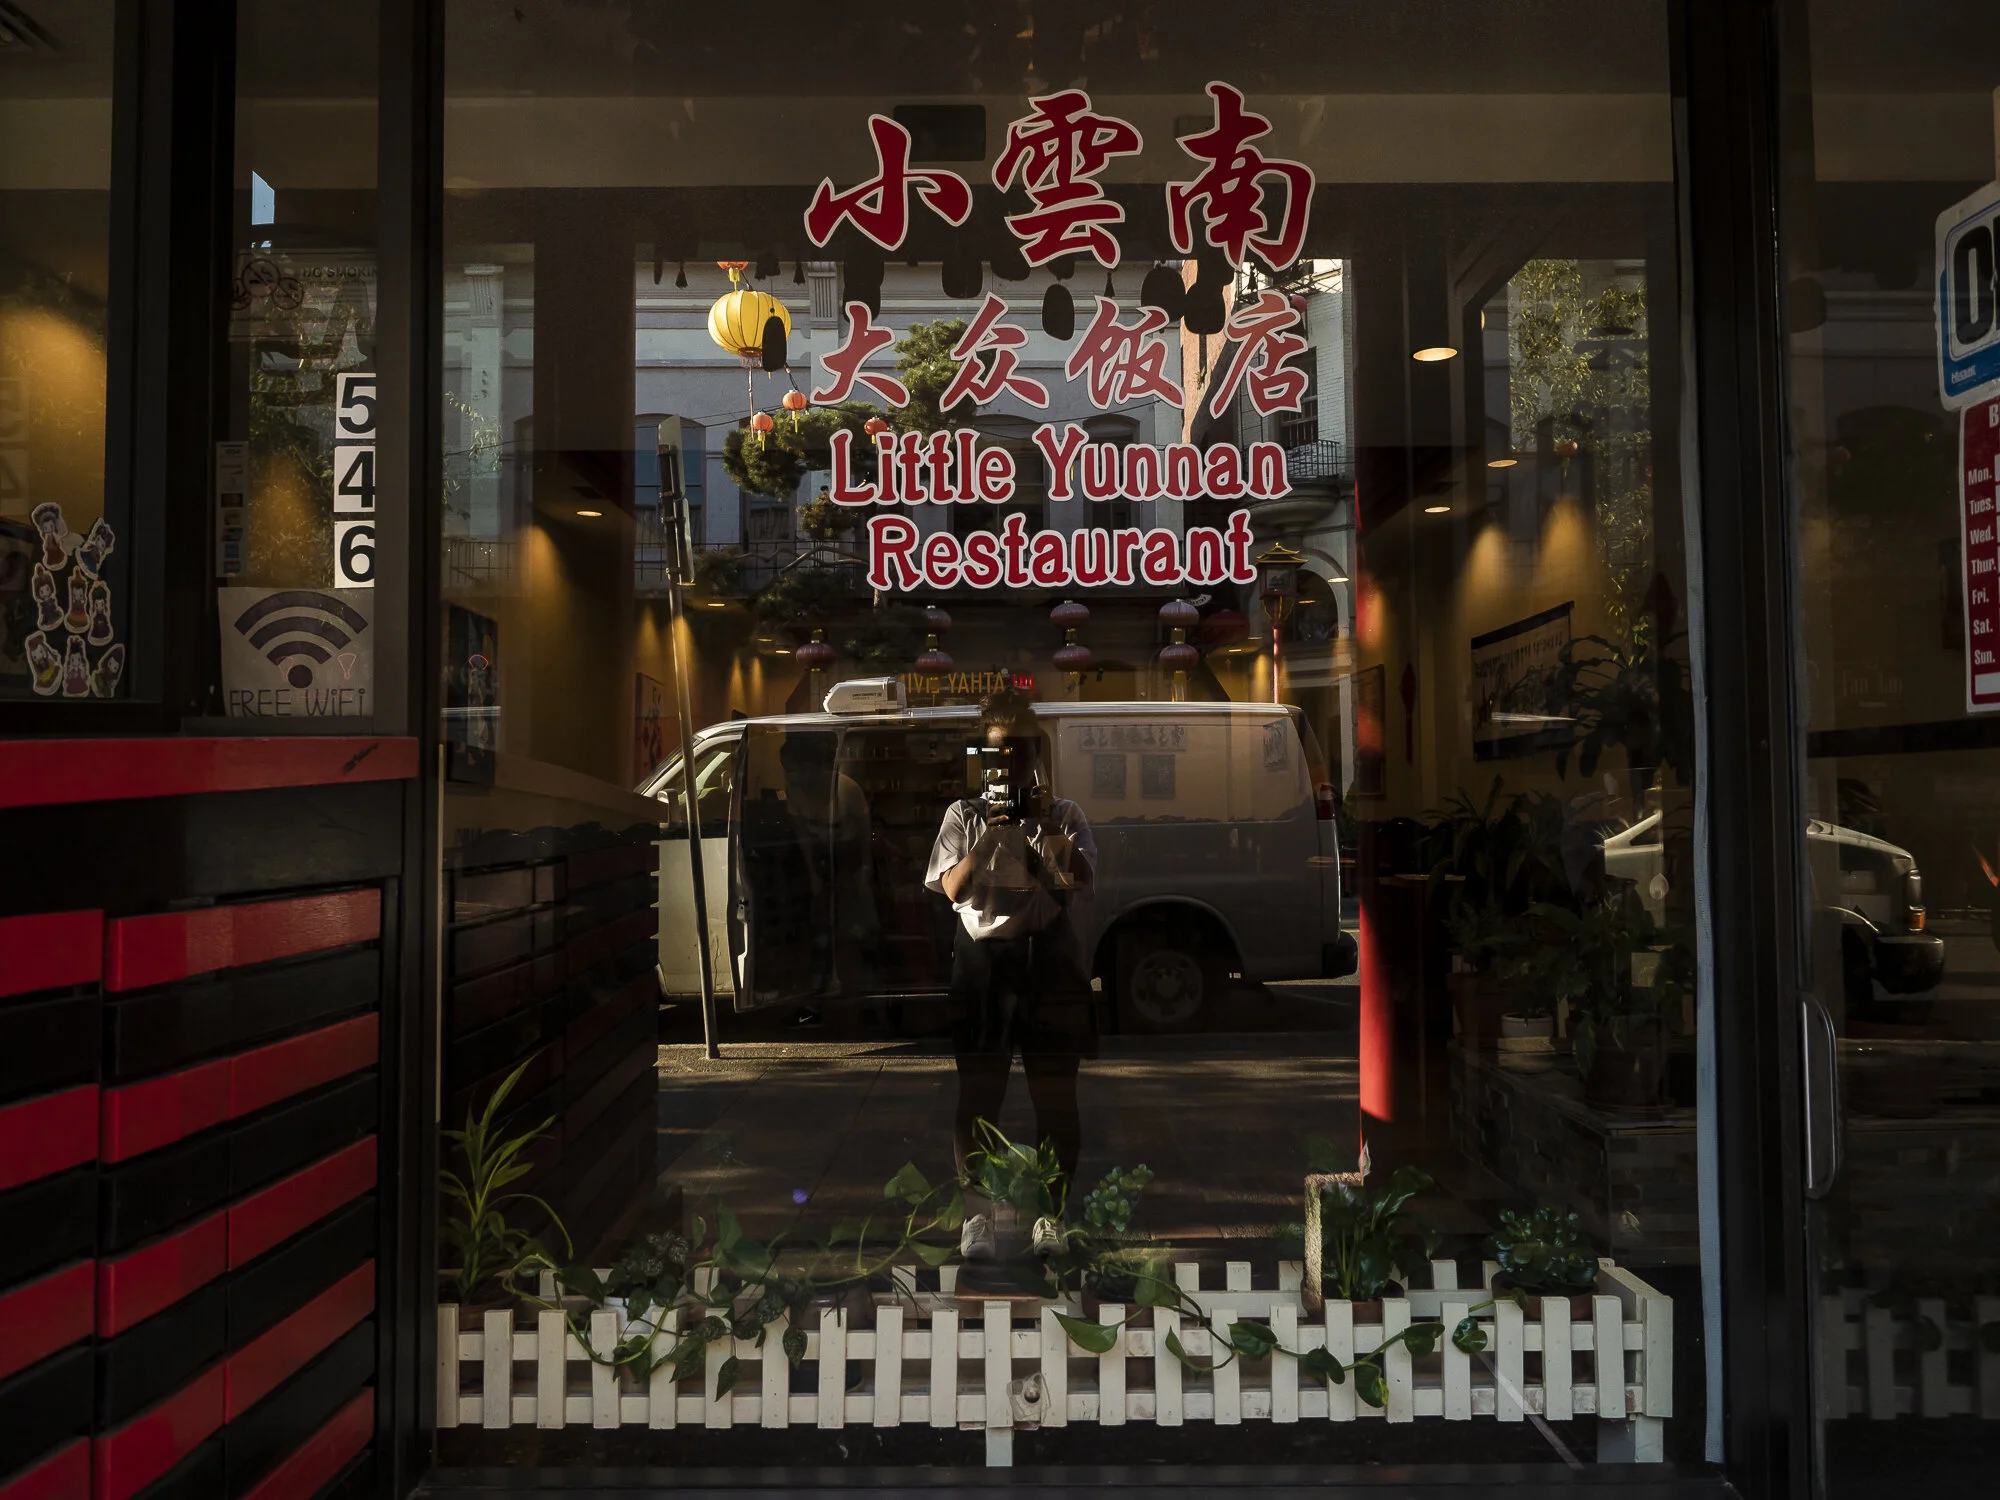
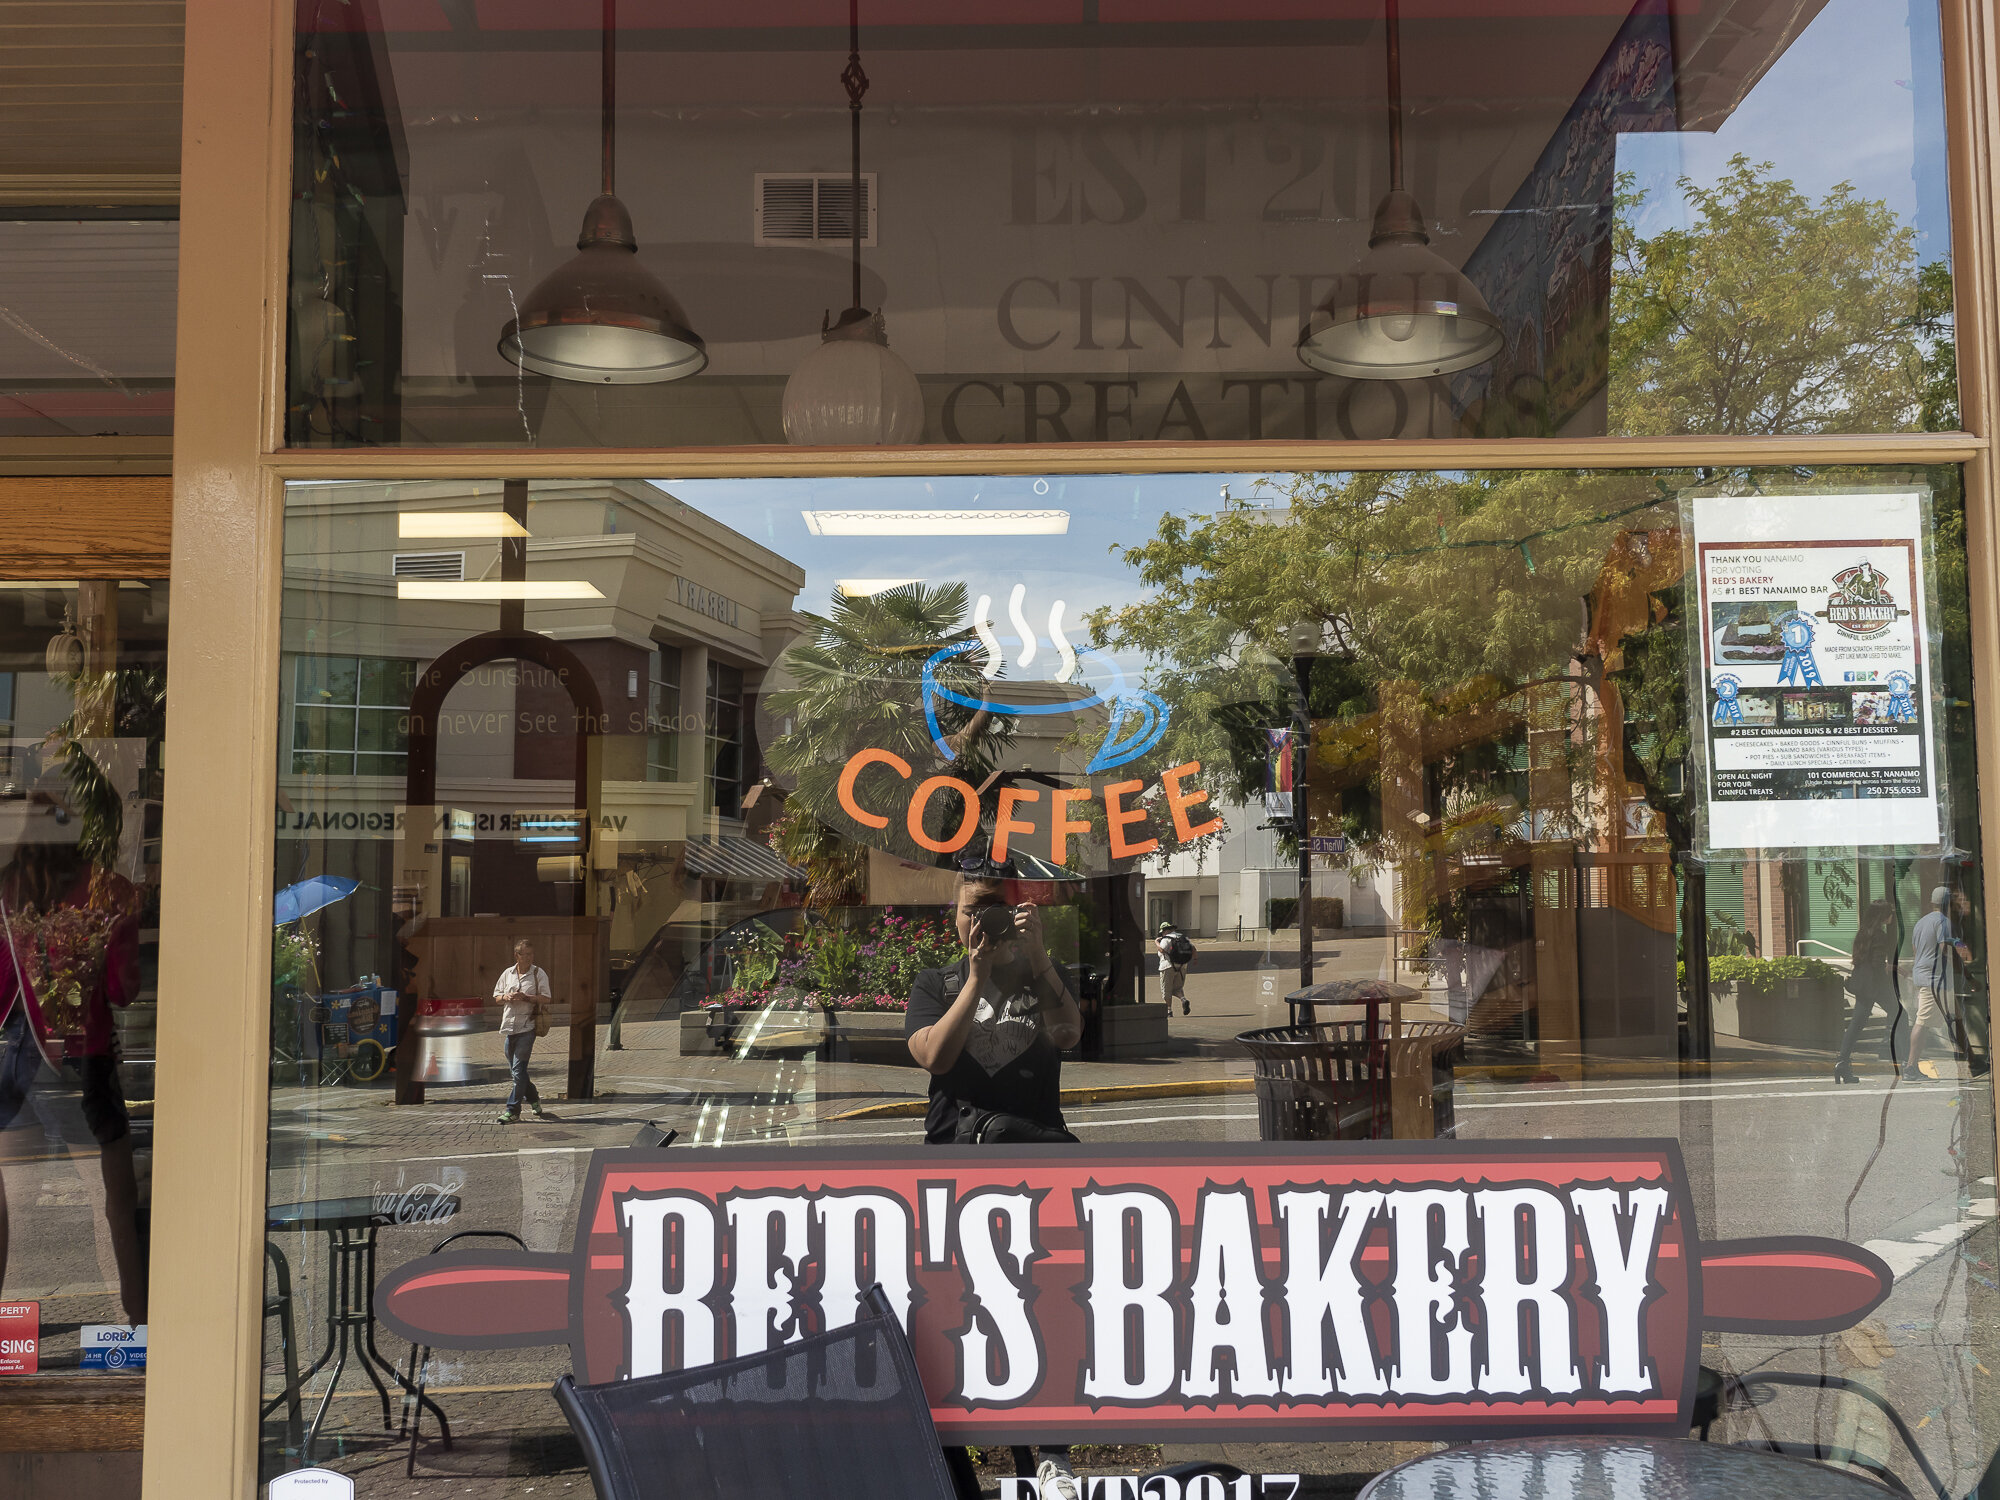
As I mentioned in my previous idea I like to capture images that show context of our trip. These are photos that aren’t the ‘final view’ but really bring the story together. As a way to document where we eat on a trip I love using self-reflections - I stand in front of the restaurant window, incorporate the sign into the composition and it’s a creative way to document those moments.

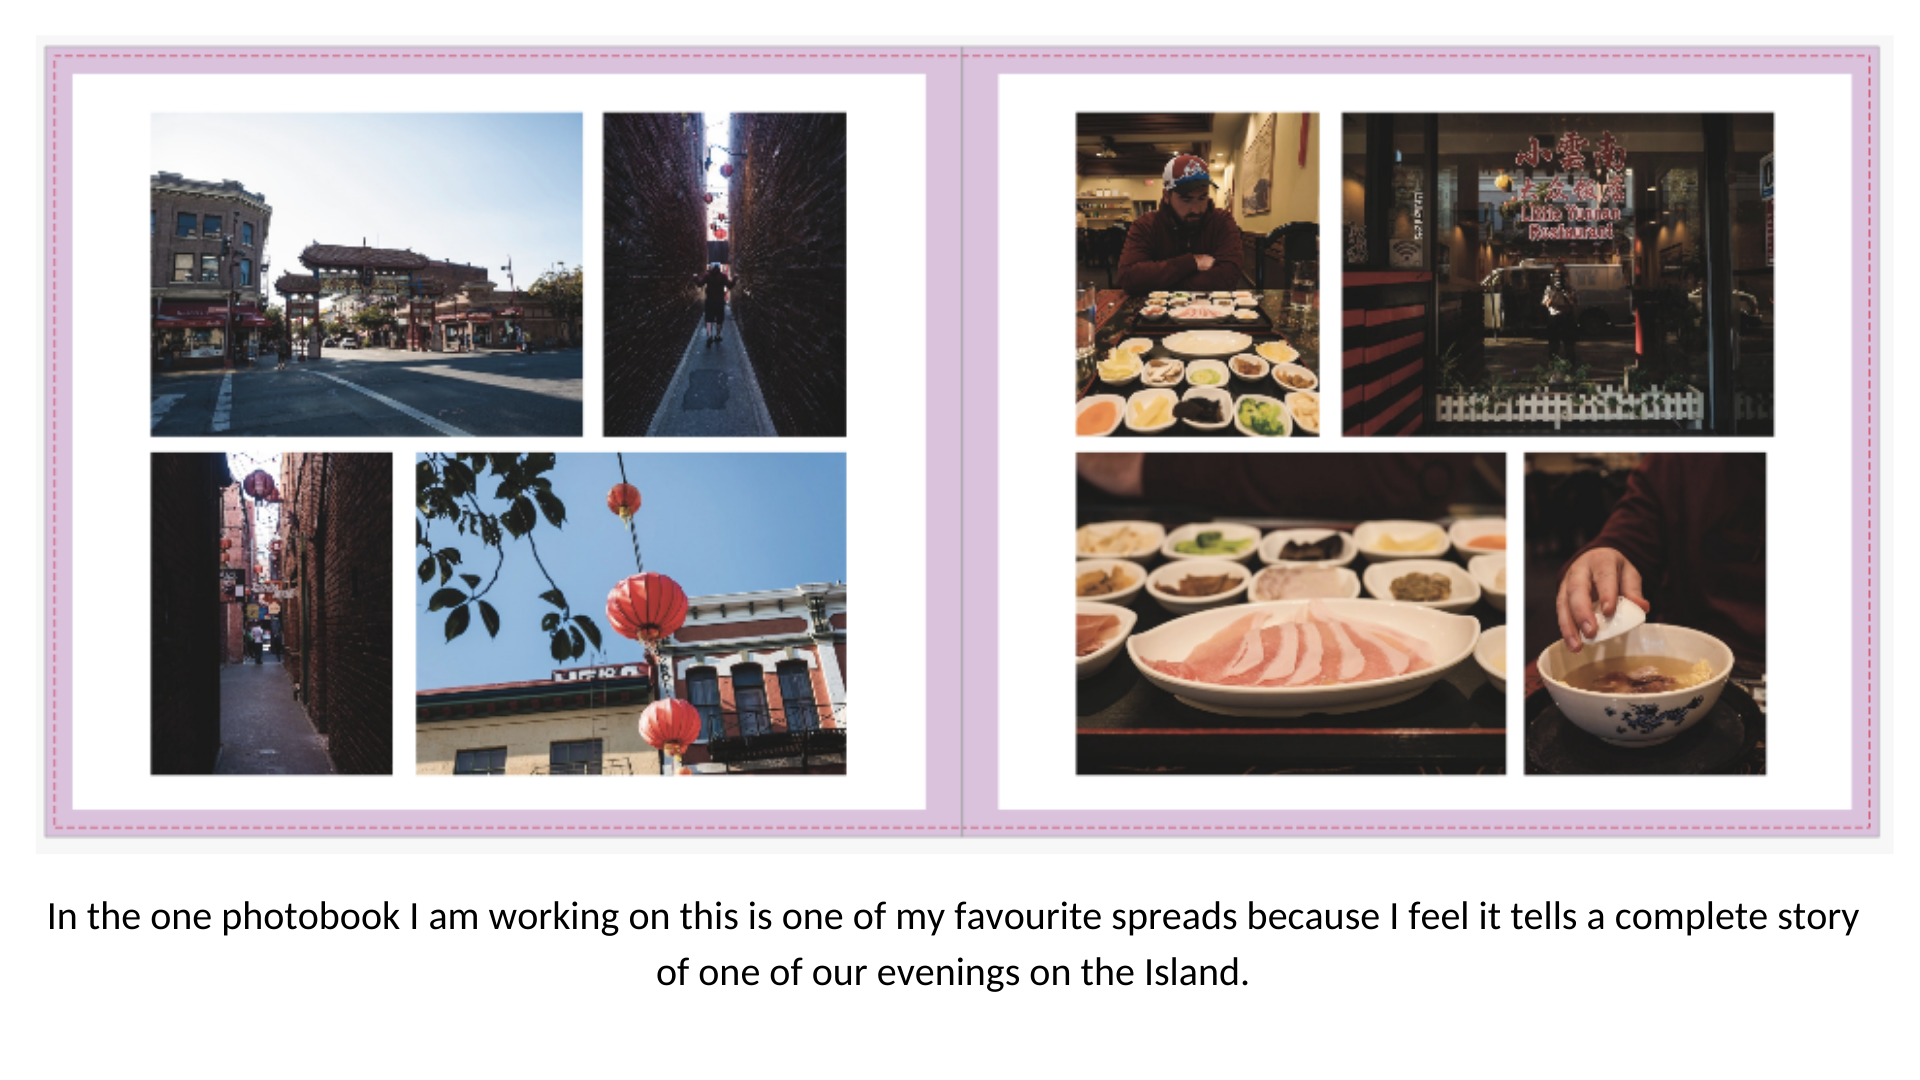
In the photo to the left we were eating at a little restaurant in Chinatown called Little Yunnan and in the photo to the right we were hunting for a place to eat Nanaimo Bars in Nanaimo!

victoria-81.jpg
victoria-98.jpg

Phone Reflection

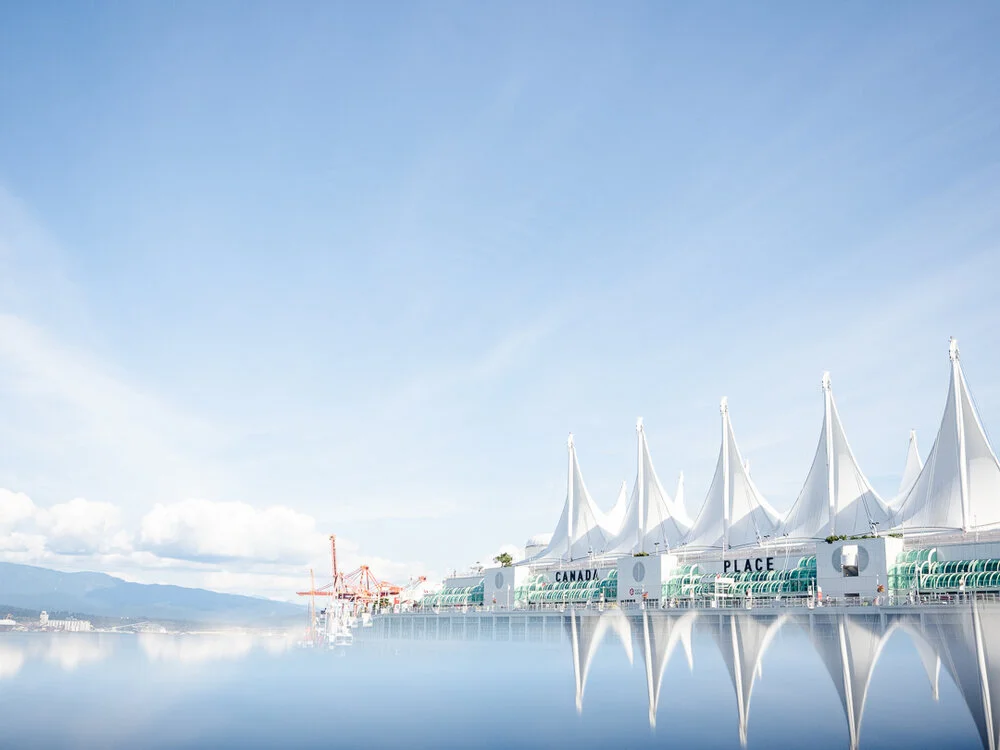
Using my phone to create a reflection is a technique that I picked up from Lisa at The Wandering Lens. I’ve used it create a unique photo of Canada Place, used it locally, and on this recent trip to Victoria I used it to photograph the BC Parliament Building at night all lit up.

To do this you hold your phone up to your lens and carefully fiddle with your position and phone angle to create the reflection.

This process can be tedious, in the night time reflection of the BC Parliament building it took me 30-minutes or more to get the right reflection. I had to fiddle with my position and angle for a long time before I got it right.

In my experience I have found that horizontal and simple structures work best and are easier to photograph.

Vancouver.jpg
victoria-219.jpg

Timelapse

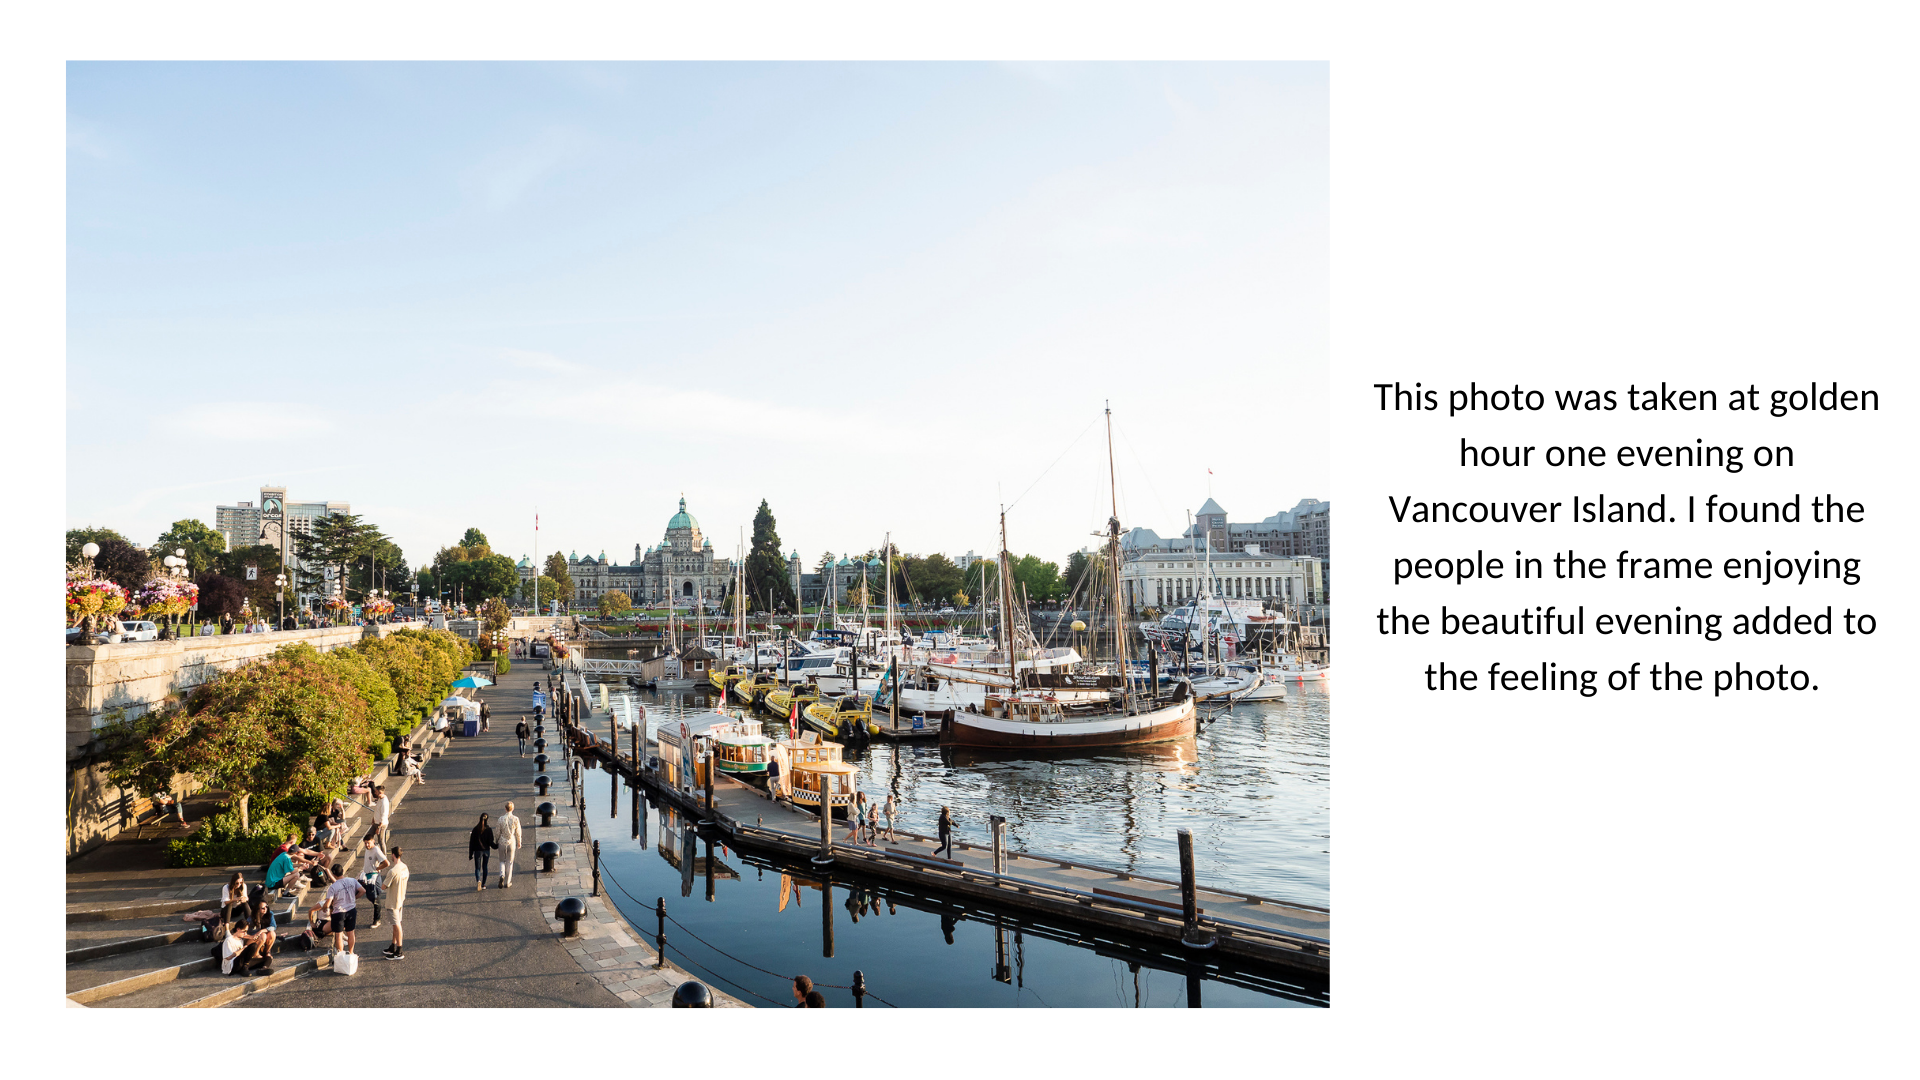
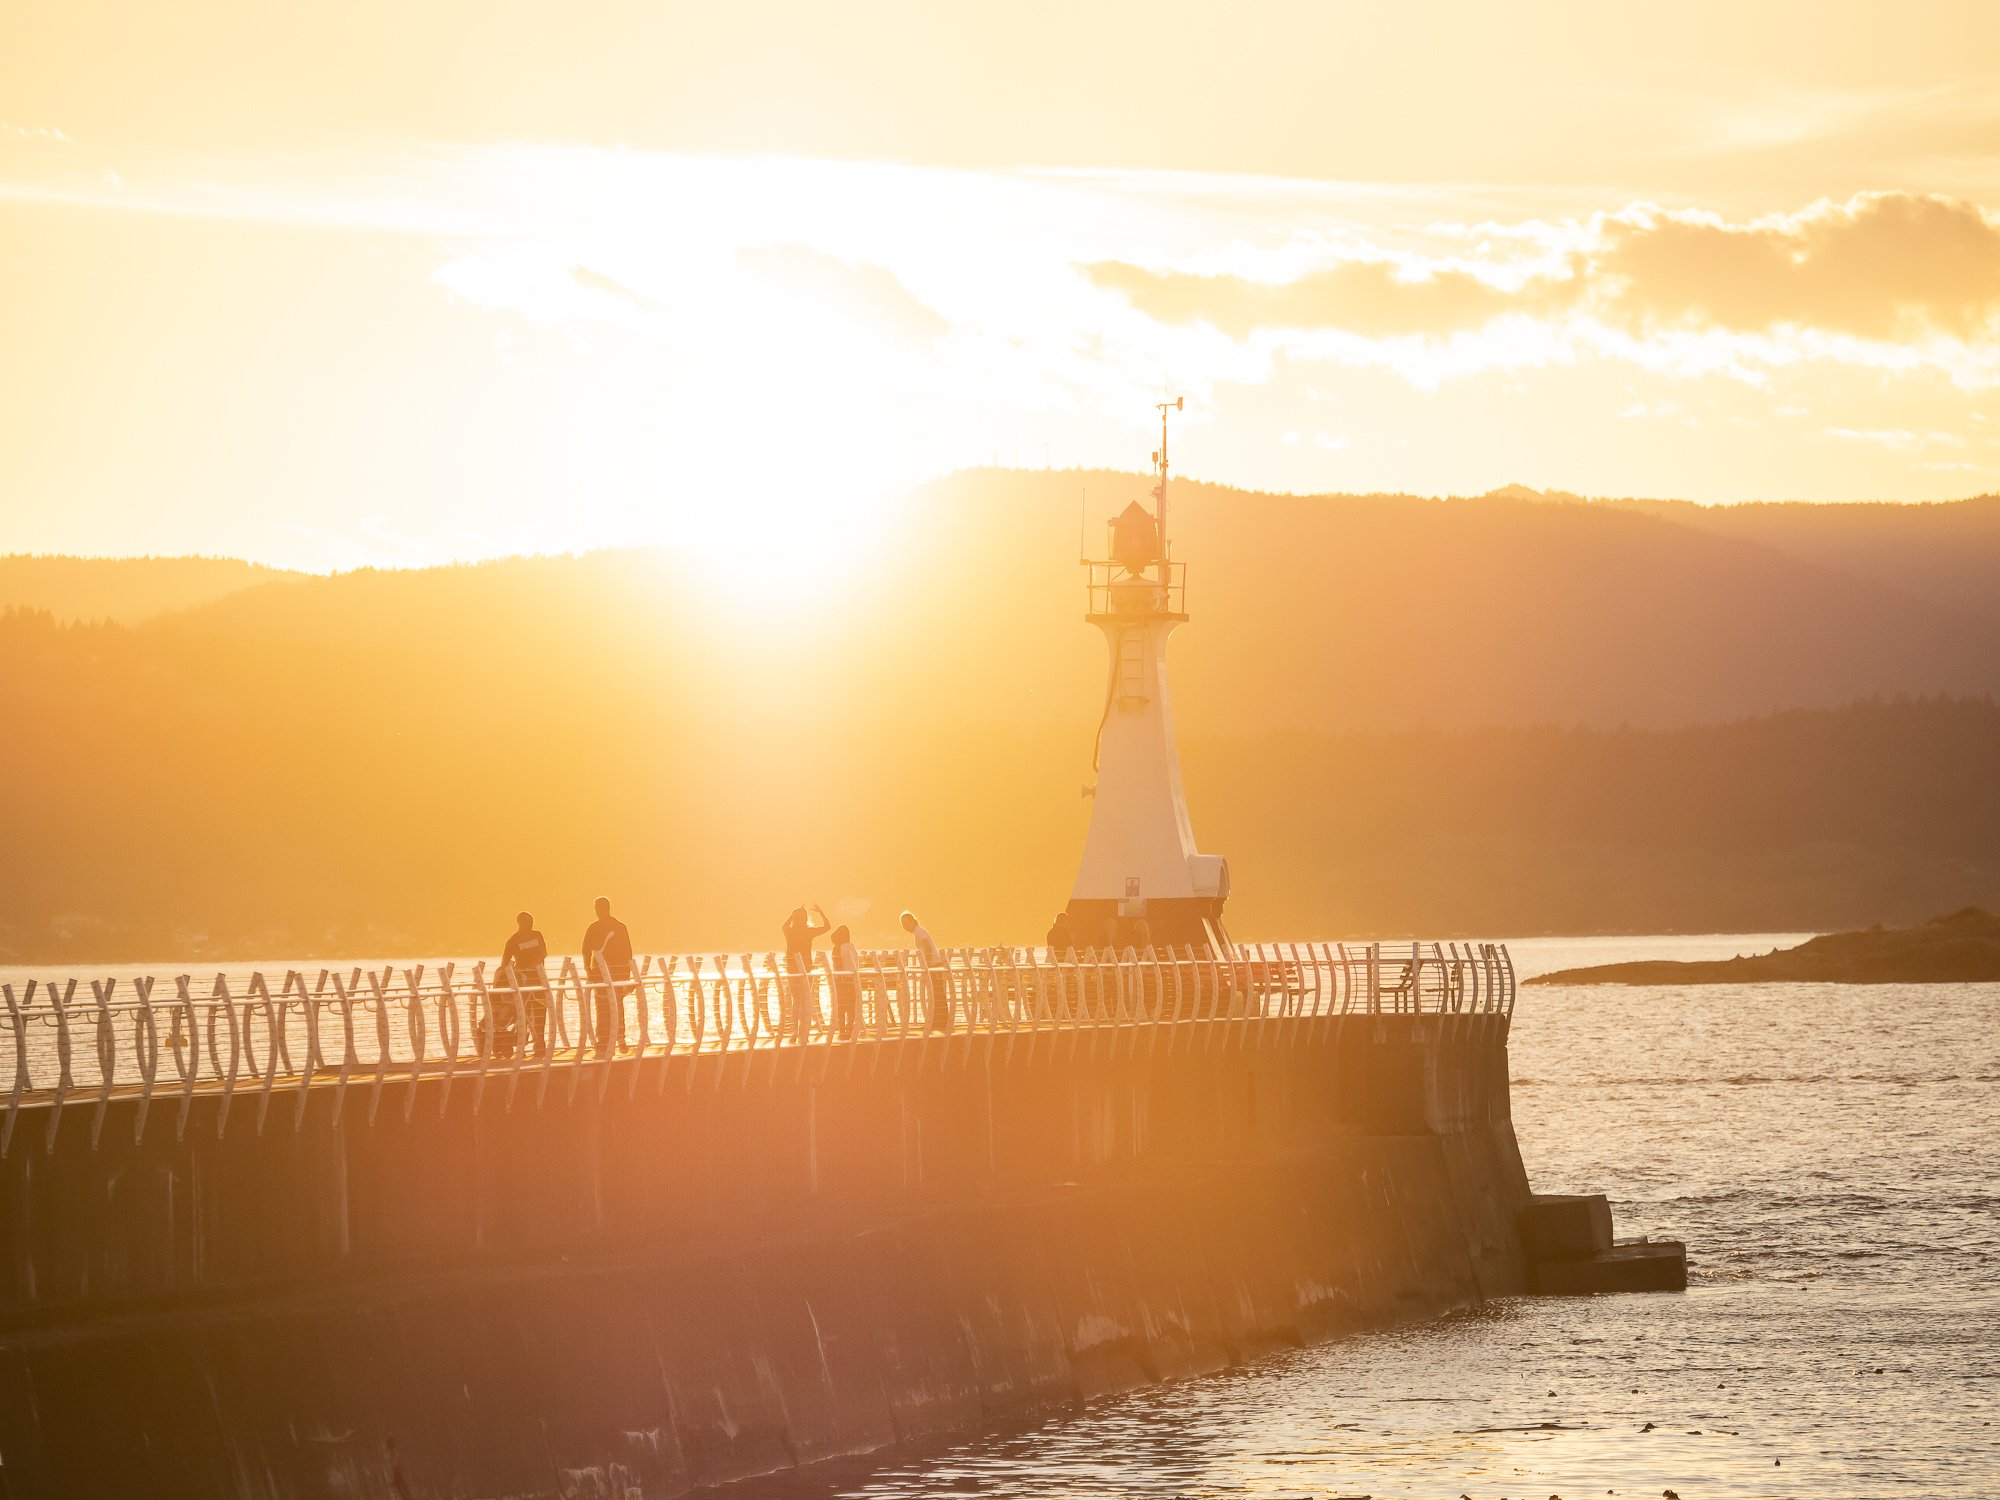
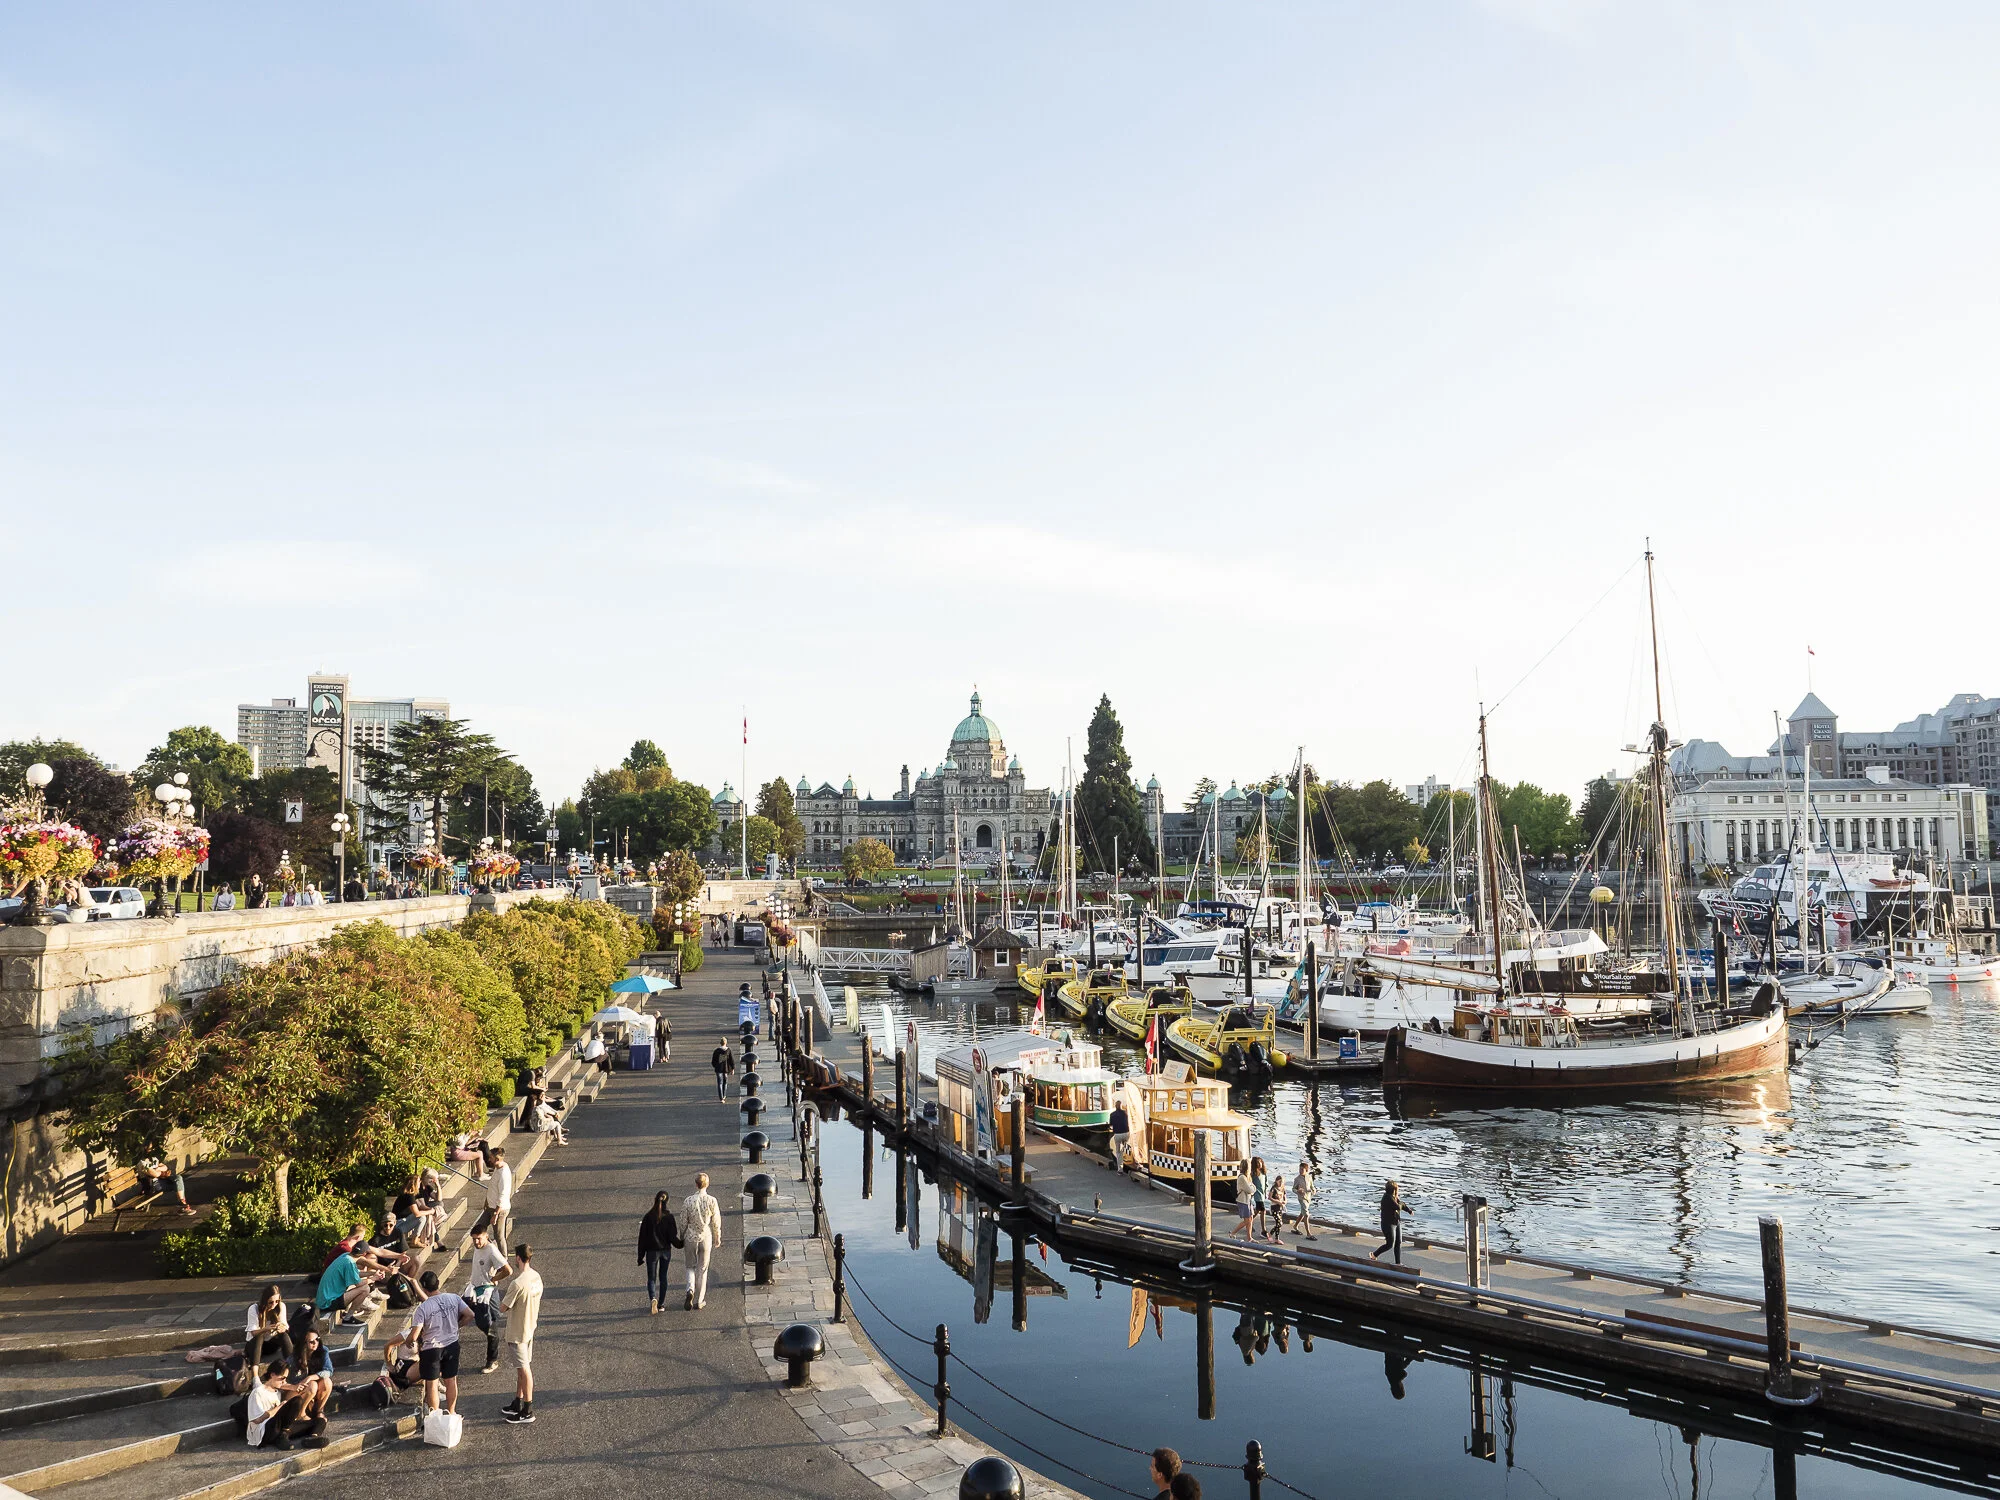
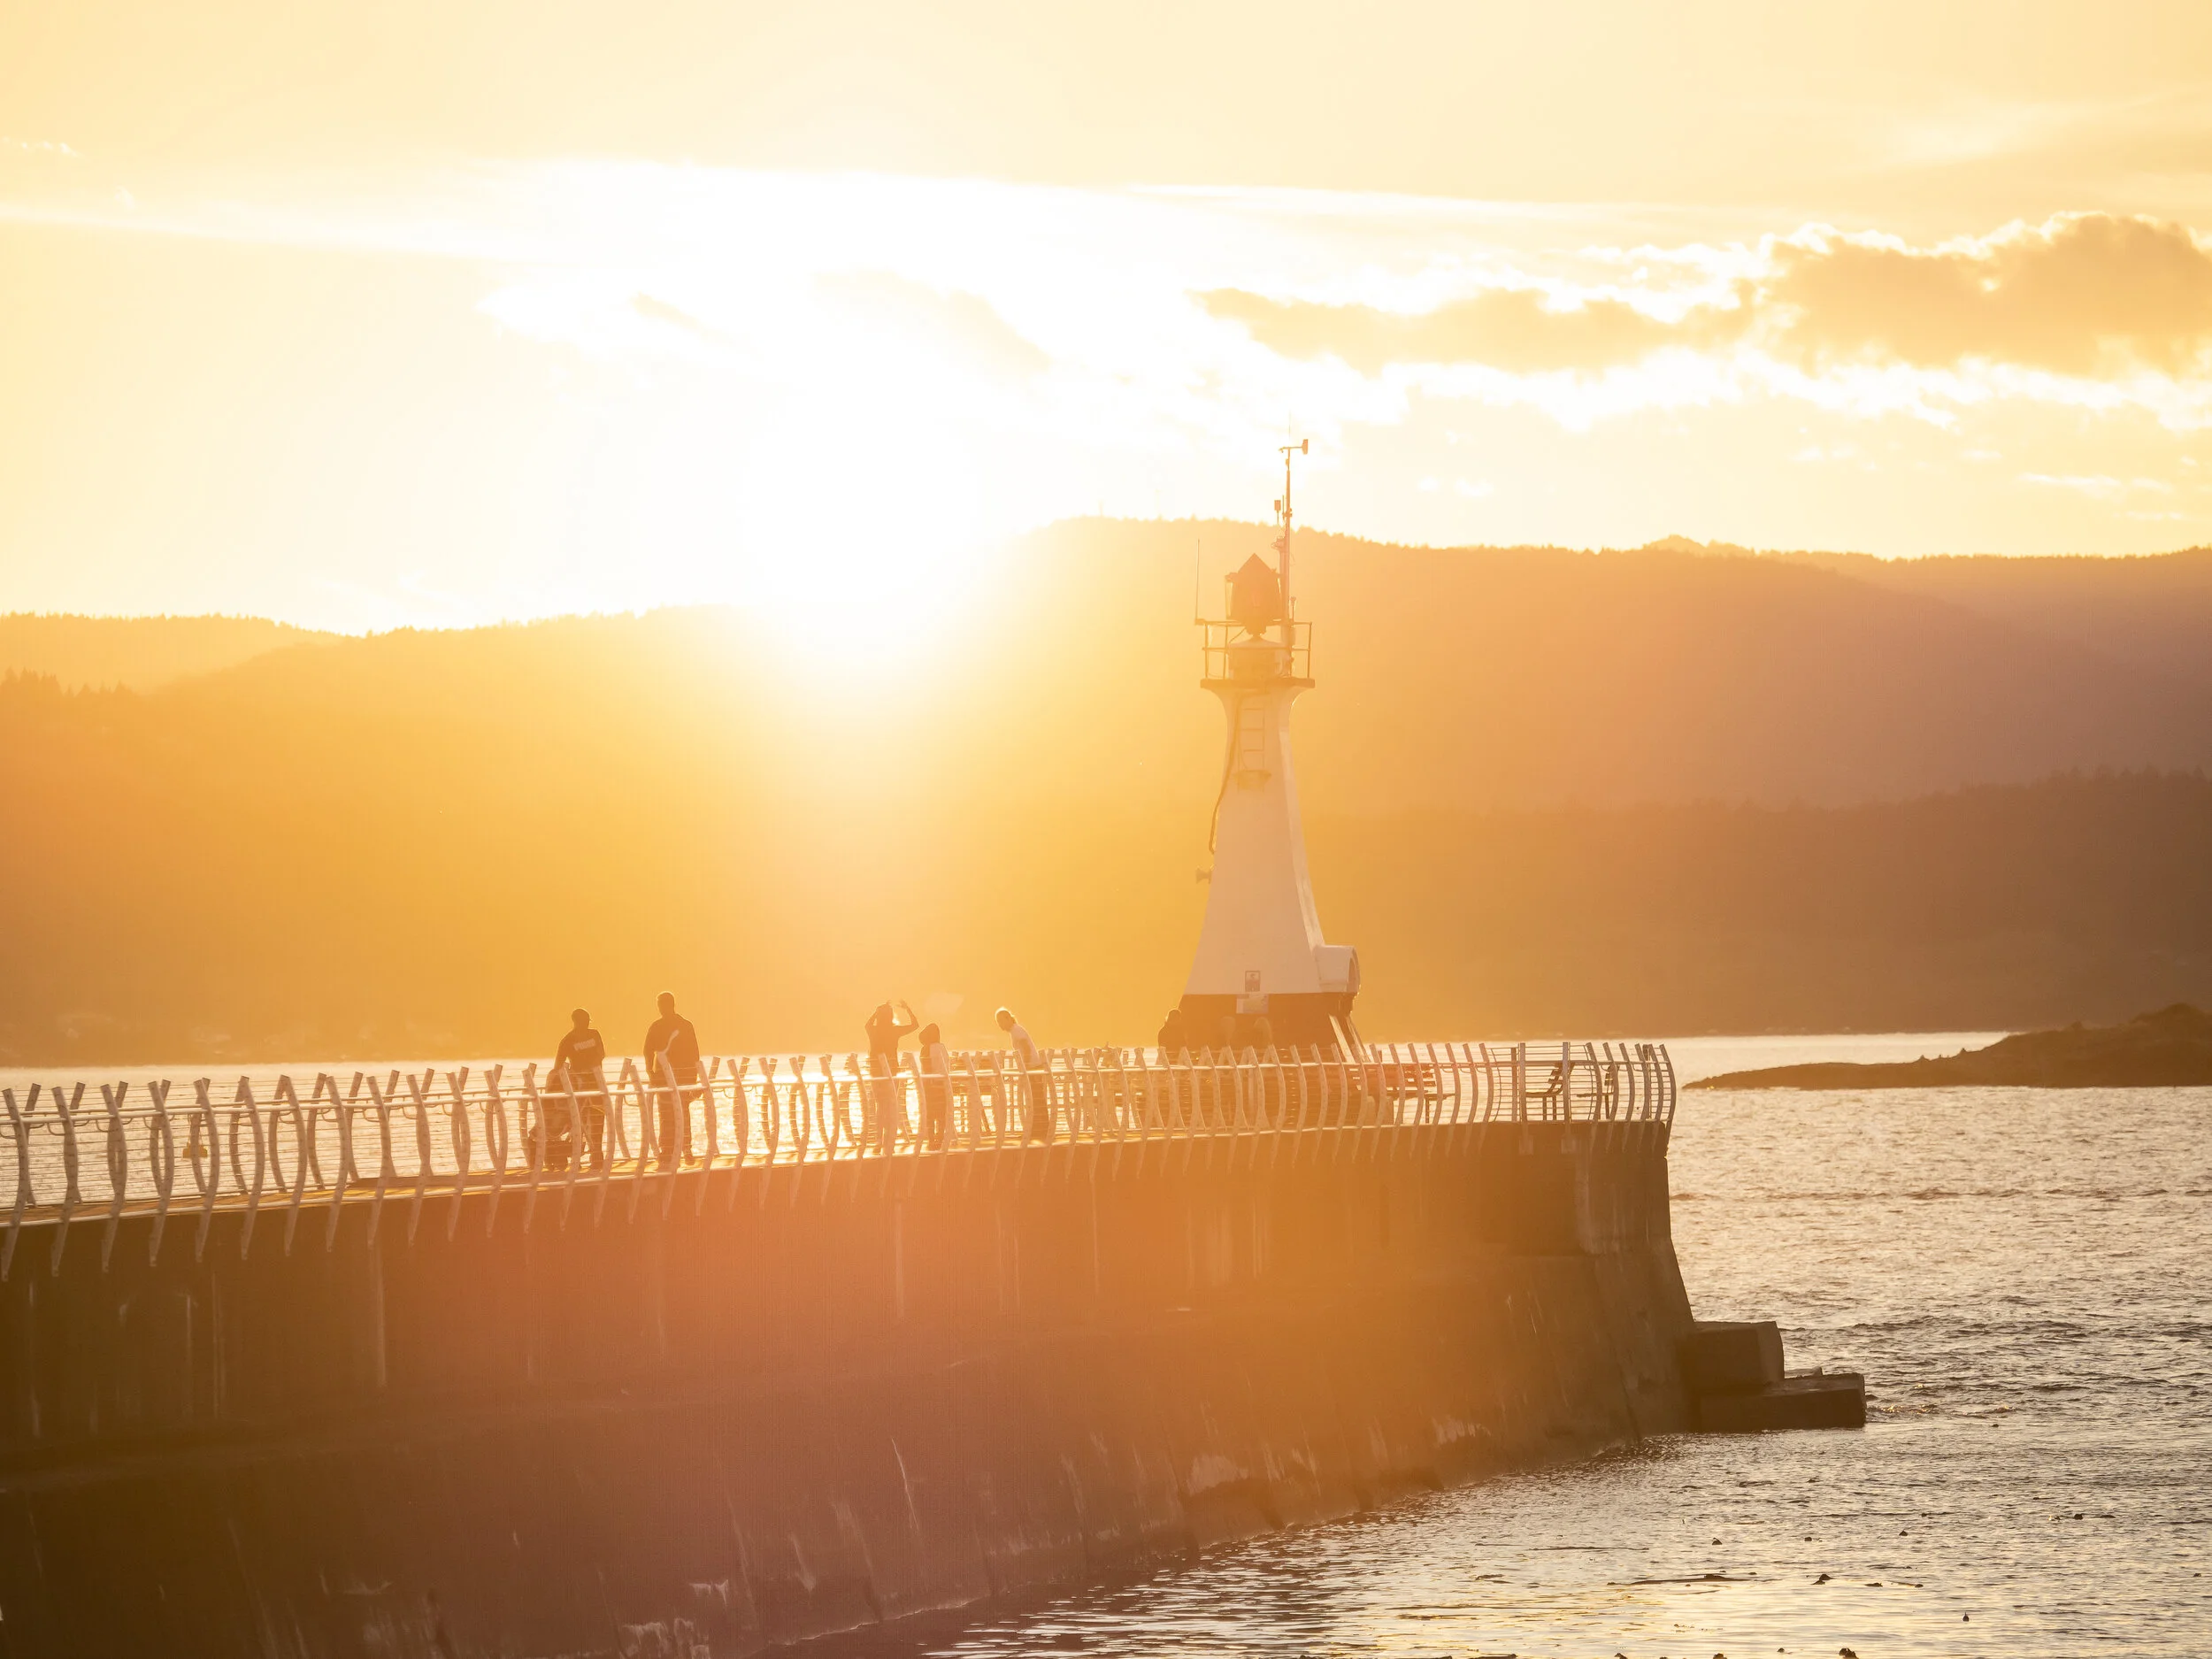
Timelapses are a great way to show movement and time passing. I wish I had created time on my Victoria trip to create a timelapse of the Inner Harbour at golden hour or the sunset at the Ogden Breakwater.

If you don’t know what a timelapse is or how to create one I have a blog post created already that I’ll link here.

victoria-85.jpg
victoria-307.jpg

Stop Motion

My last idea is to create a stop motion. I’ve played around with stop motion before but never in a travel or outdoor capacity. It’s a fun technique to play with but it will require time and a tripod. I also have a blog post on creating a stop motion that I’ll link here or you can read the article I wrote for Olympus here.


I hope you found some inspiration or ideas for your next trip or weekend outing, happy photographing!

Beautifully Wander | Robynne MacLeod

My Experience Photographing Whales | Whale Photography for the First Time, Gear, Where to Stand

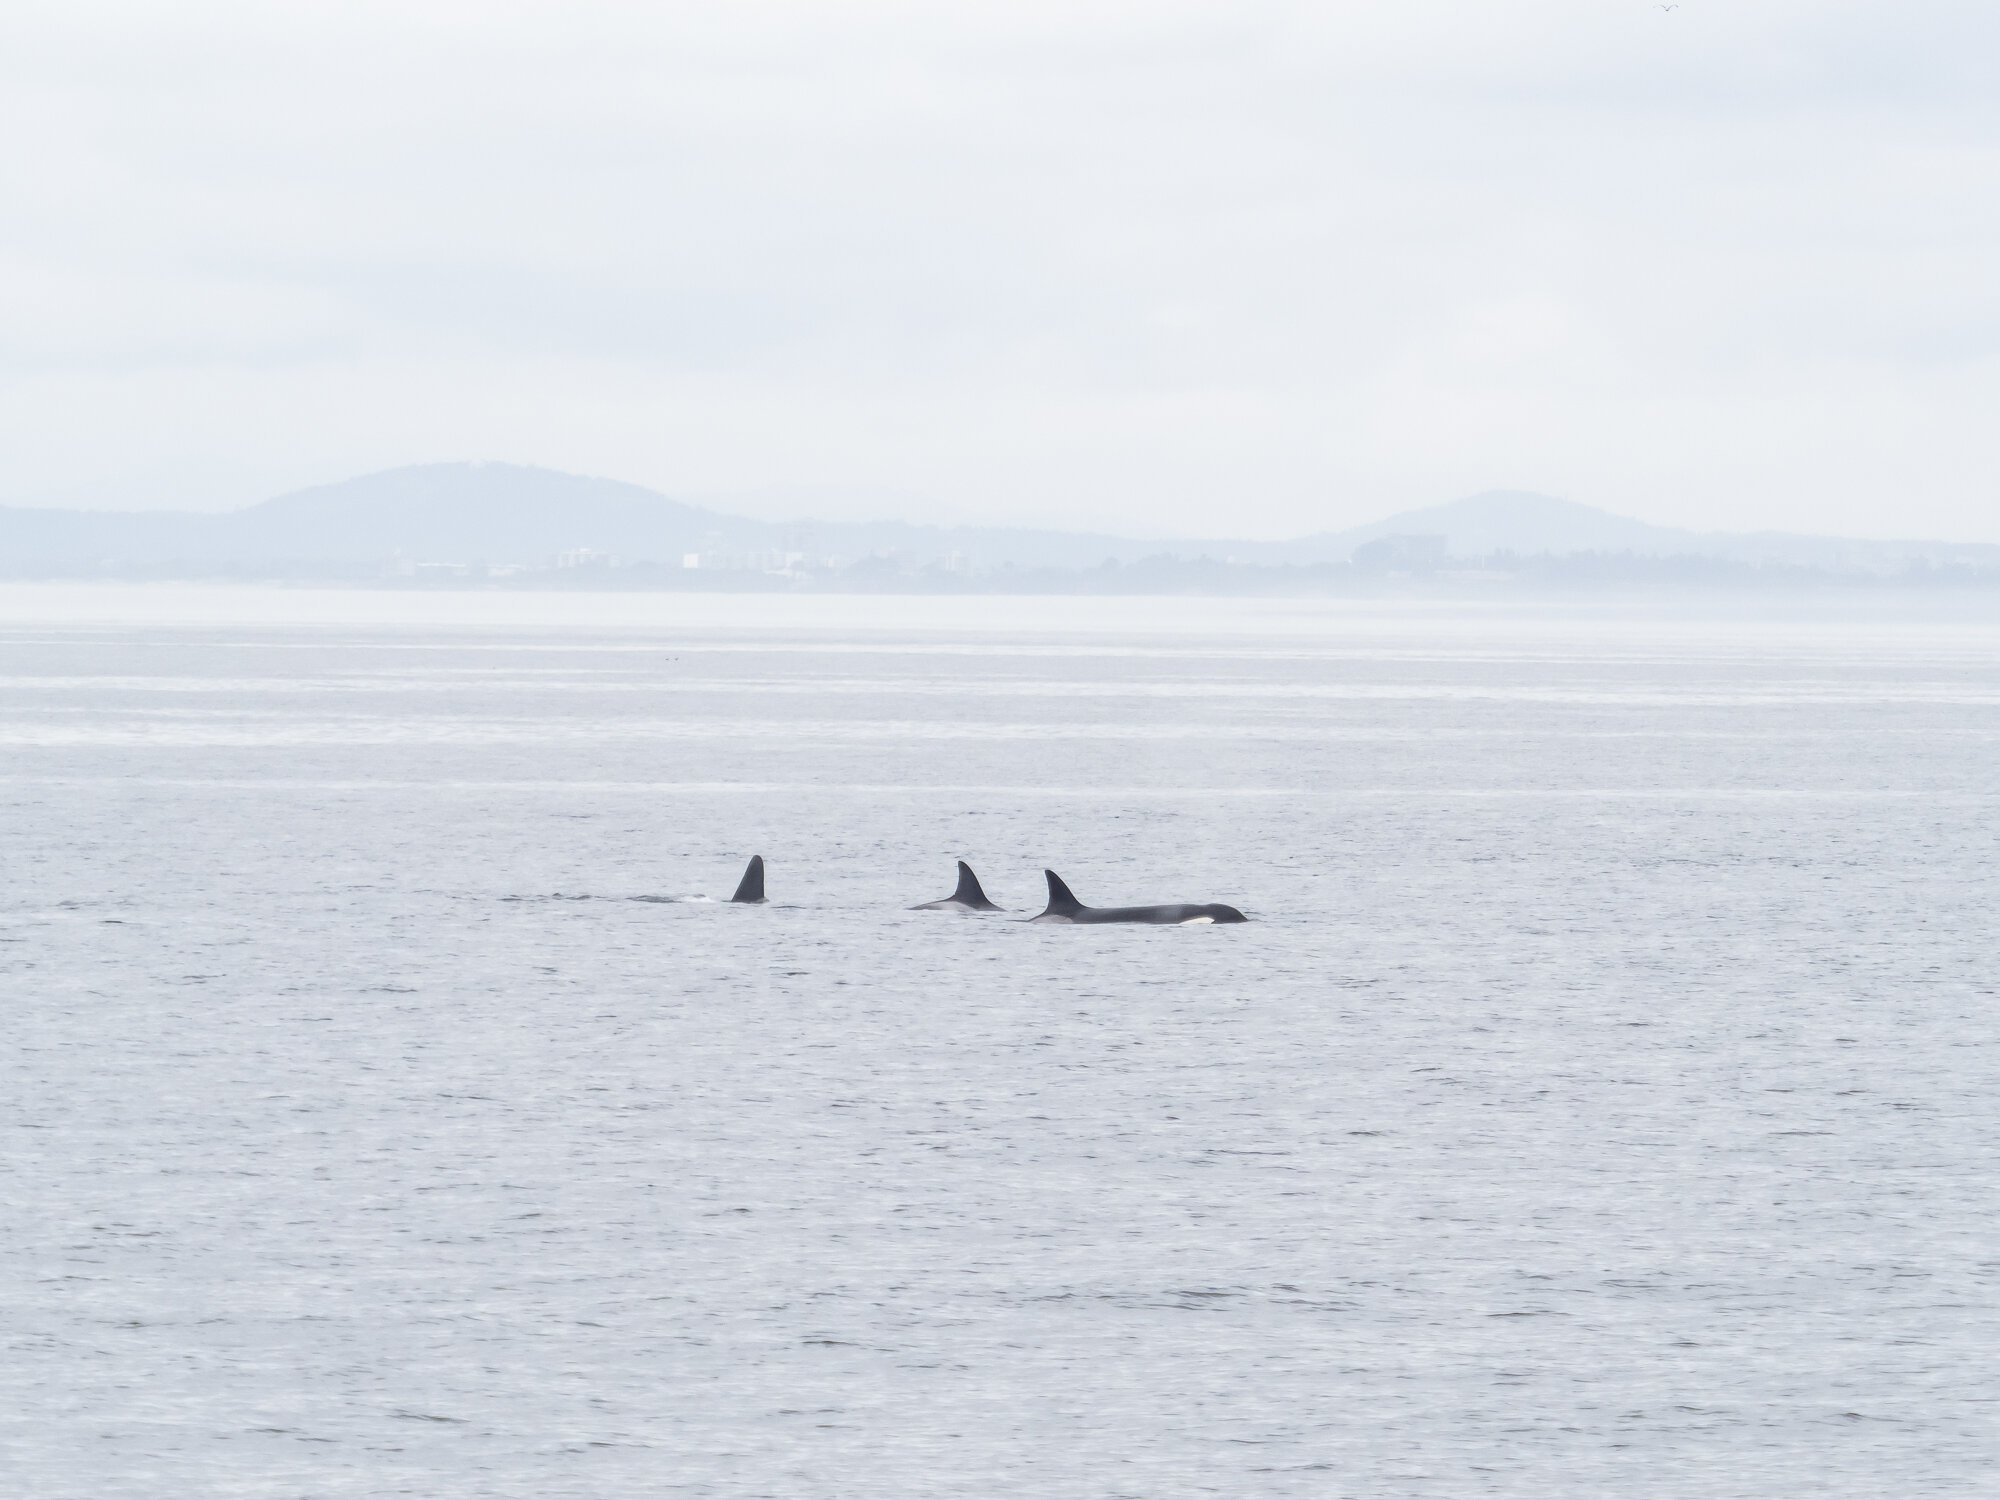
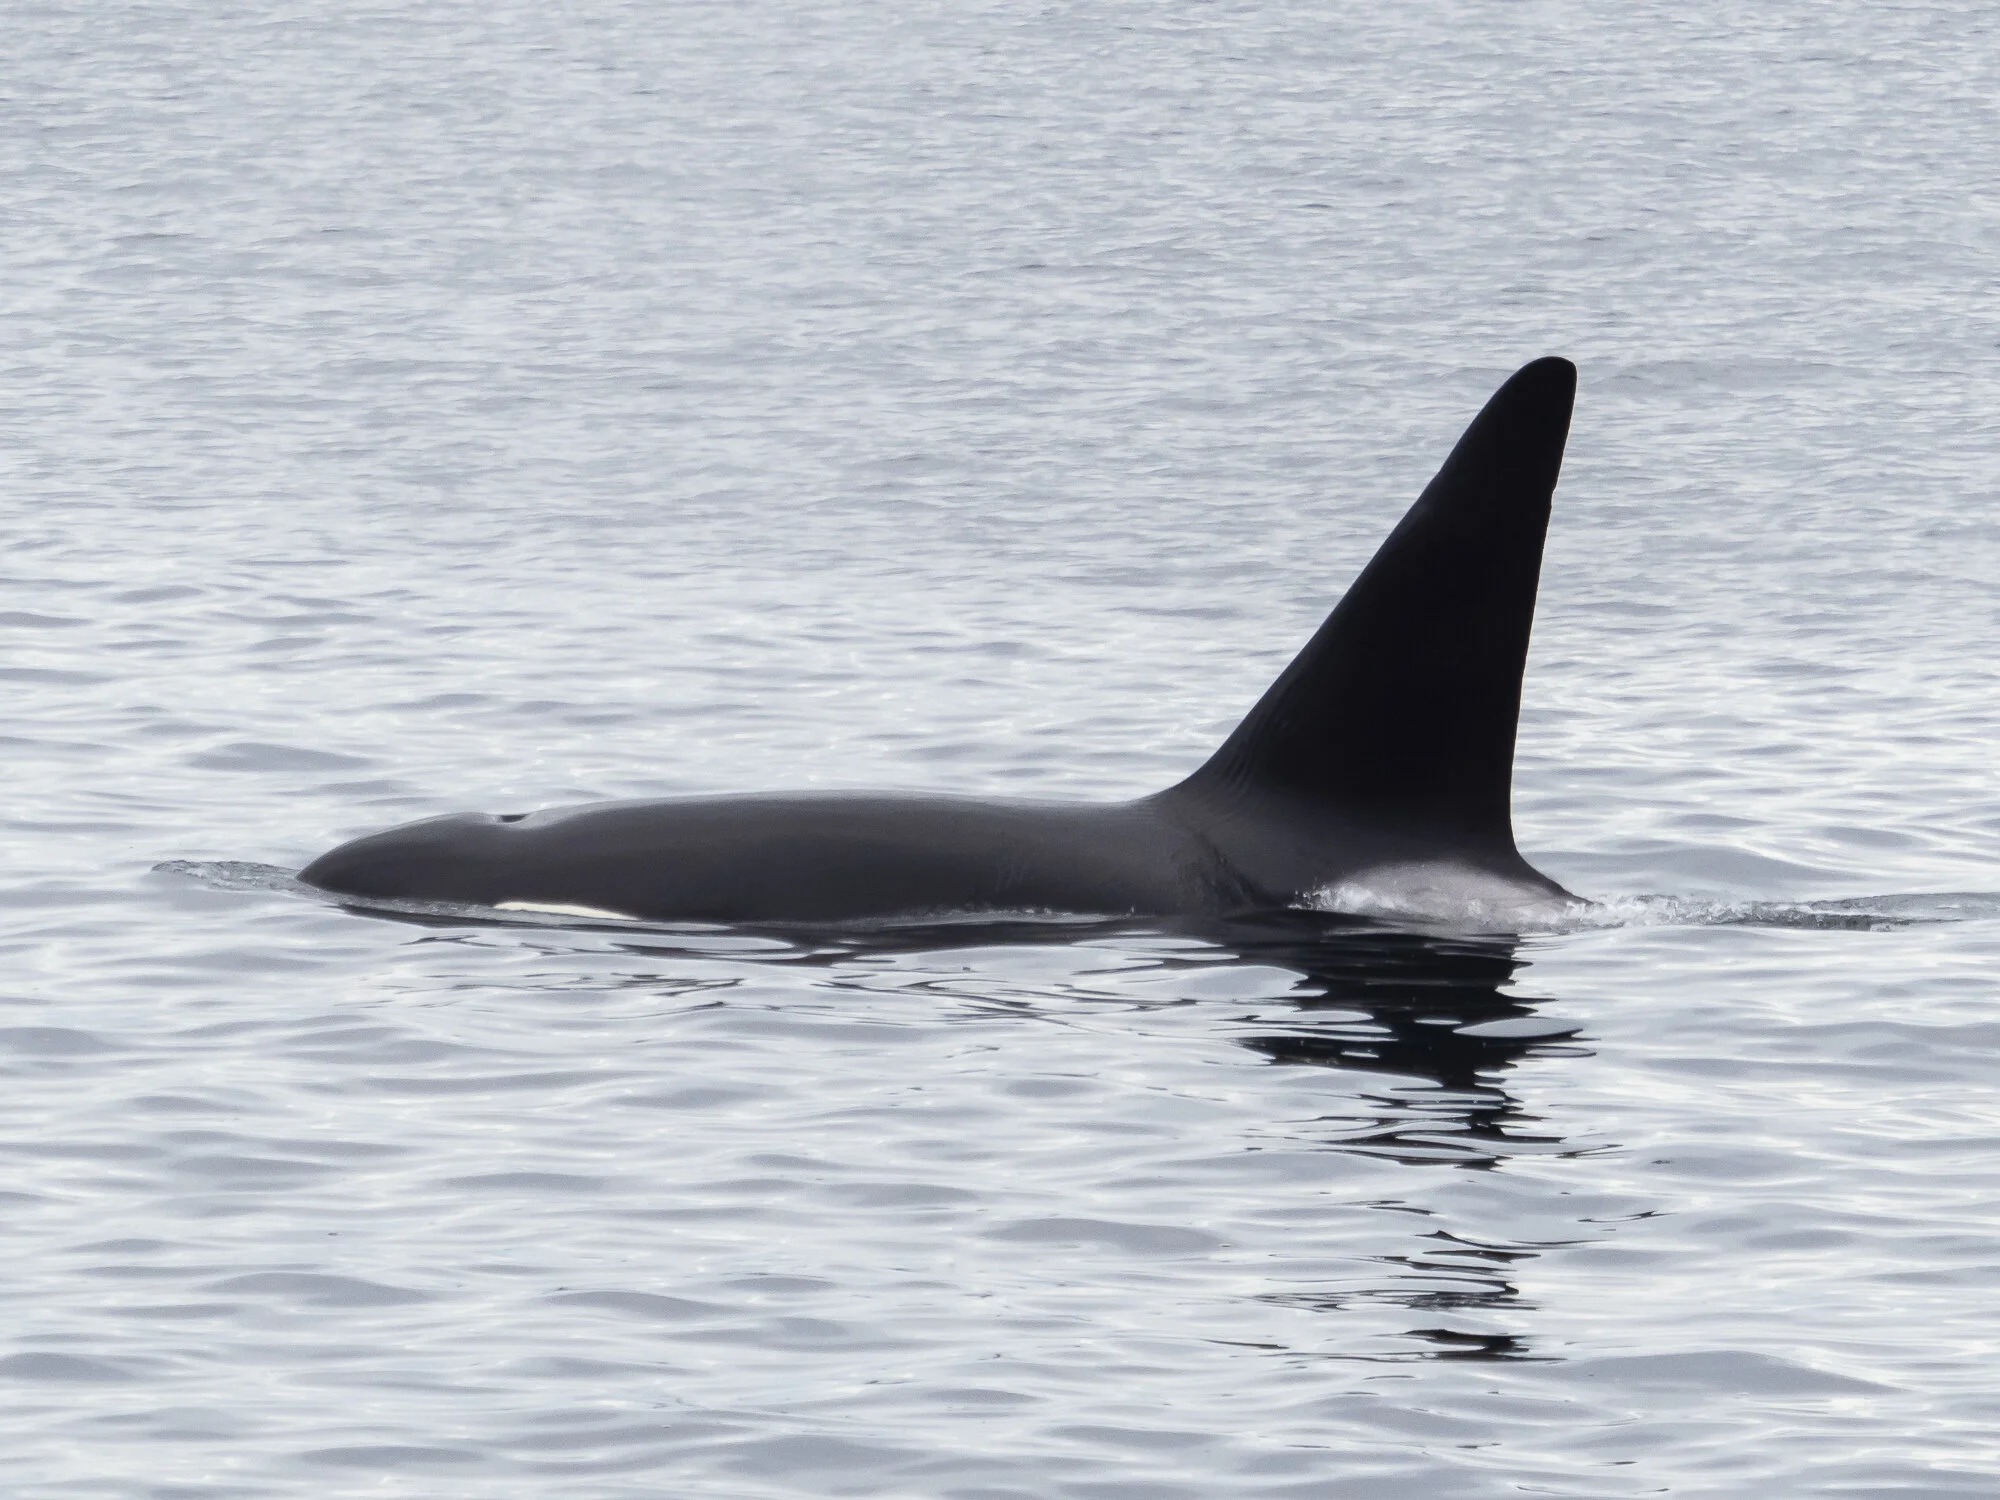
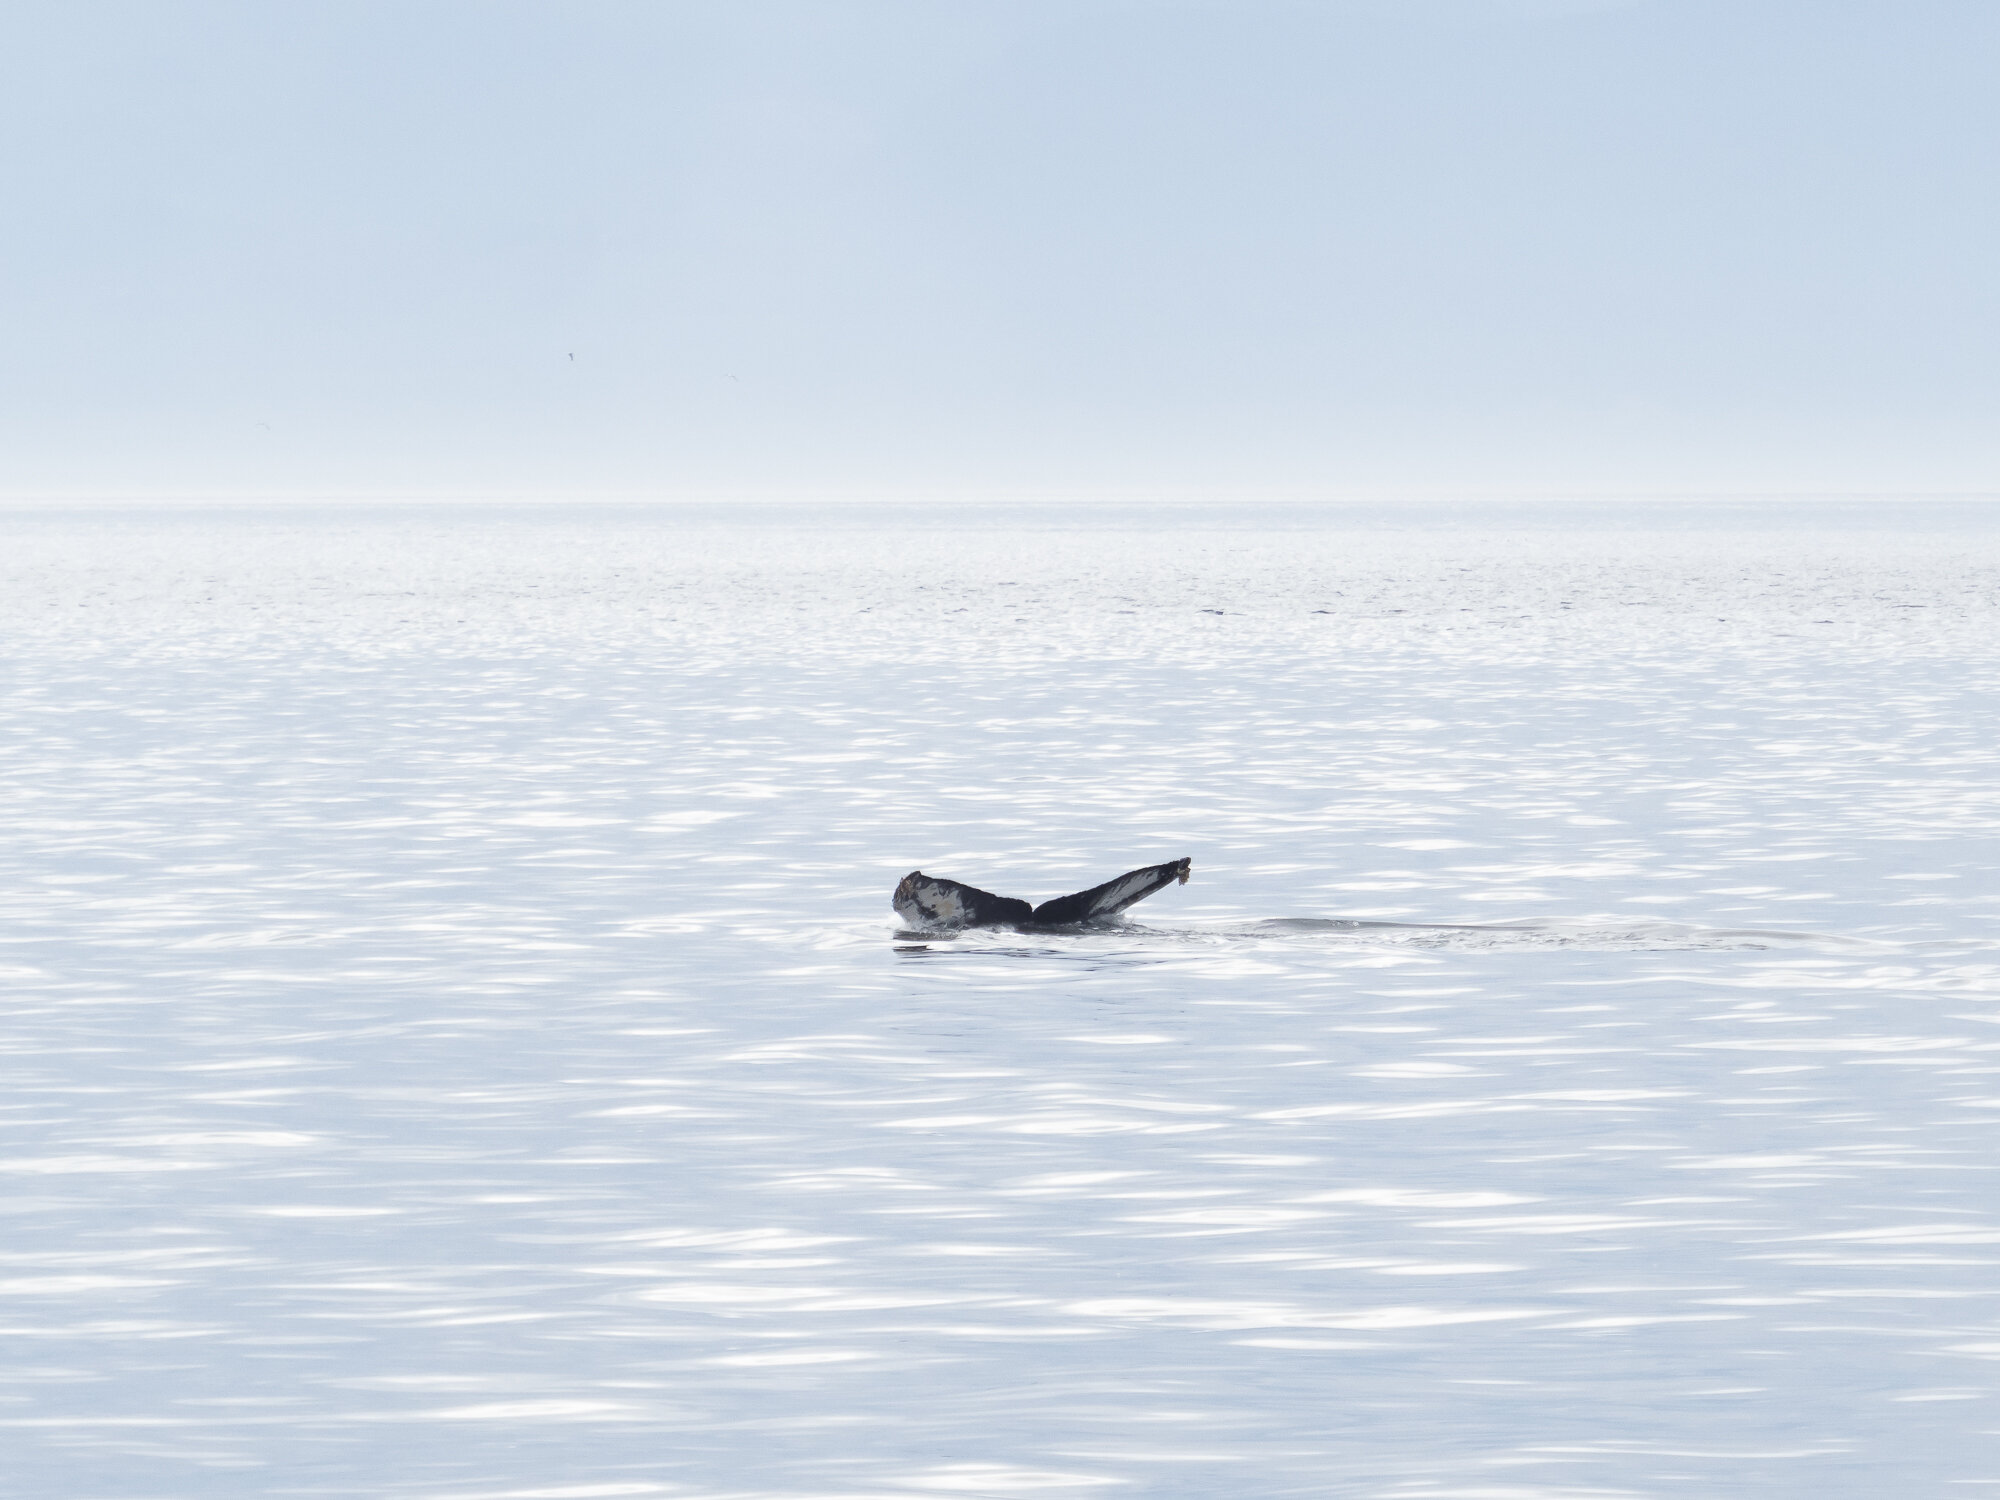
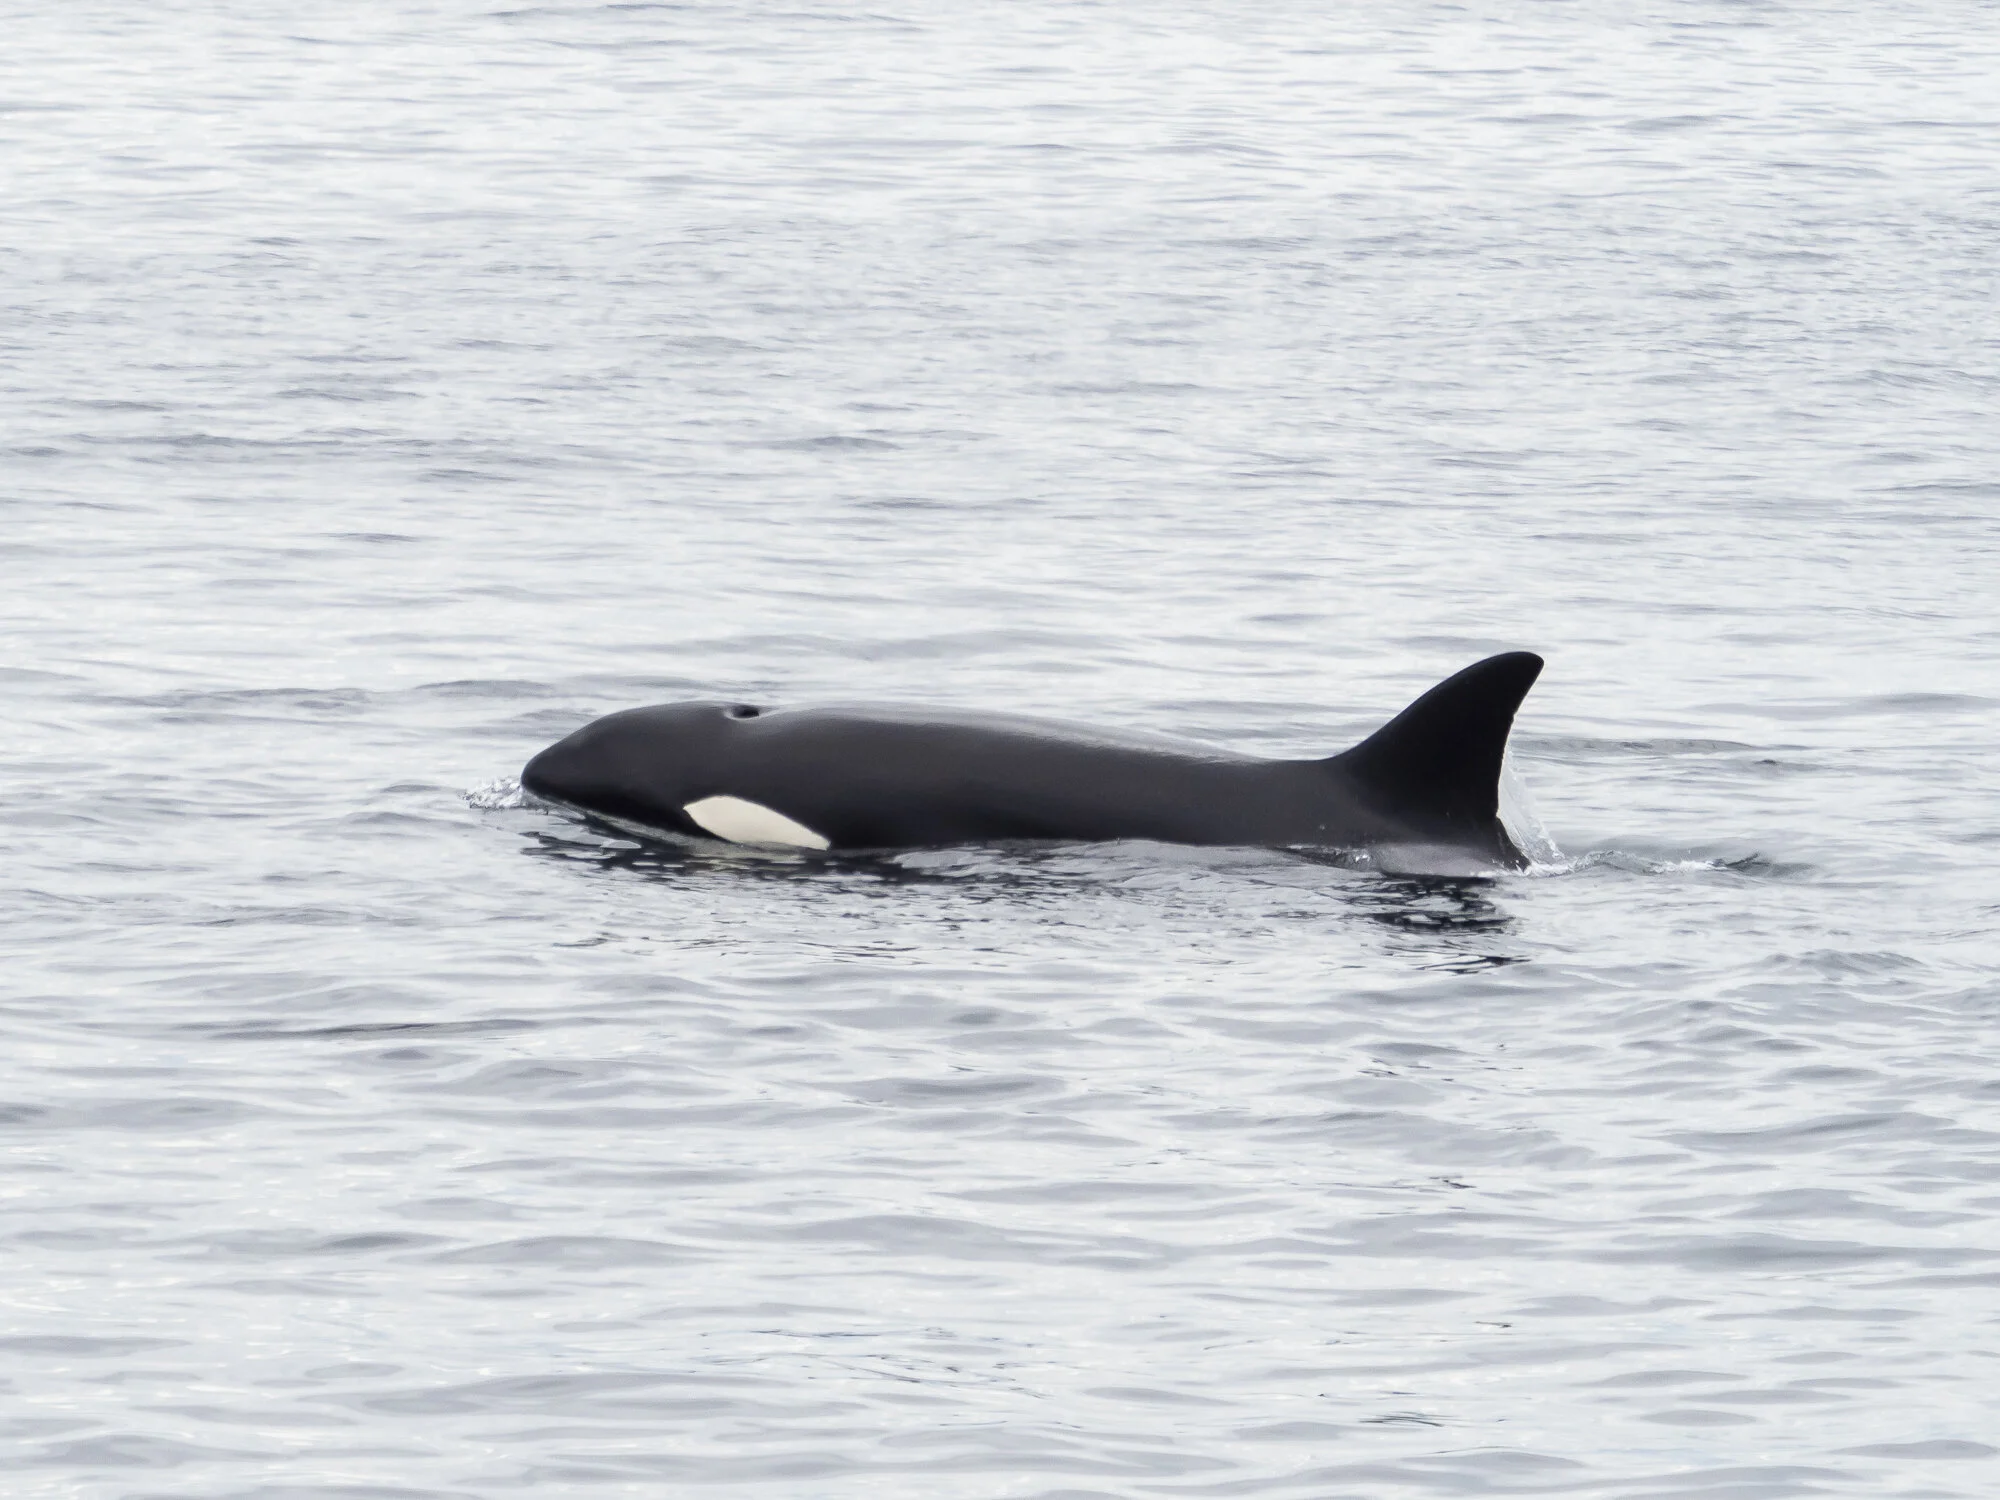
While we were on Vancouver Island for a week one of the highlights was going on a whale watching tour! In todays episode I wanted to chat with you about my experience photographing whales for the first time - covering the gear I used, how I liked using the Olympus MC-20 Converter, where to stand on the boat and other tips.

GEAR

Use Water-Resistant/Waterproof Gear

While we were on our whale watching tour it rained. Thus, I suggest either have a waterproof/water-resistant camera bag to keep your contents dry or have a cover for your bag. I was using the Peak Design Everyday Sling 6L, it has a nice durable shell and ultra-zips that keeps the inside dry.

The second weatherproof item I suggest having is your camera gear in general. The great thing about Olympus camera’s and lenses is that they are splash proof, dust proof, and freeze proof so when it was raining while on the boat I wasn’t worried about my gear while using it because I knew it could handle the weather! If your camera doesn’t have great weather sealing then I suggest bringing a cover for your camera system.

The last item is your clothes. I suggest if you’re visiting a west-coast city that rains a lot to dress in layers and bring a rain jacket. Alternatively, if you don’t mind getting wet and you don’t have a camera cover then you can use your rain jacket.

Keep In Mind the Boat You Are On

When we booked our tour we booked a Catamaran so I wasn’t worried about ocean water because we were sitting higher on the water. However, many whale watching tours take you out on a zodiac which of course is a little sketchier with the salt water. So you might find the type of boat you are on will change the camera gear and the accessories you bring.

Pack Light

This of course is based on personal preference but I suggest you pack light. If you’re on a catamaran you’re sharing the boat with 50 to 100 people sometimes and if you’re on a Zodiac it’s even smaller and tighter in space. You also want the freedom to maneuver on the boat without being in the way of other people and their experience so I suggest packing light because I feel lugging around a huge camera backpack will just get in the way.

On this tour all I brought with me was my Olympus M.Zuiko 40-150mm F2.8 PRO lens, the MC-20 Converter, the M.Zuiko 12-40mm F2.8 PRO, an extra battery and SD card. Realistically, all I ended up using was the M.Zuiko 40-150mm F2.8 PRO and MC-20 Converter. There was one point on the tour that I could have switched to using the M.Zuiko 12-40mm F2.8 PRO for some landscape photos but I opted not to.

Have Lots of Memory (and then more)

I was really worried the night before our tour that I didn’t have enough memory. Before the trip I cleared two memory cards so I had room to take approx. 6000 photos. Before the tour I had room for 4000 on one memory card and then I had a secondary memory card with room for around 1500 just in case.

I didn’t want to run out of room like I did in Vancouver and I had to delete on the go.

Our whale watching tour was about 4 hours in length, I was photographing majority of the time and I took approx. 2000 photos.

Bring an Extra Battery

I knew from my time photographing Eagles in the Thompson Okanagan that my battery tends to run out faster when I’m using Sequential High a lot. Thus, I made sure that I had two fully charged batteries when I got on the boat. The whole trip took one battery and if we did a sunset tour the same day I would have required the second.

Bring a Pair of Binoculars

If you are going with friends or family then I suggest bringing them a pair of binoculars! I wish I had brought a pair of binoculars for my husband because the whales are pretty far away.

I don’t think you need to buy something very expensive (I know binoculars can get pretty expensive) but something would be nice to have for the people joining you.

Using the MC-20 Converter

This whale watching tour was the first opportunity I had a good chance to use the converter. I had taken it out before briefly to photograph the Eagles back at home but not to this extent.

I was a little nervous about auto-focus, my settings, the range of the M.Zuiko 40-150 and the MC-20 Converter and if it was going to be enough.

It was perfect for me. Auto-focus was great, after some adjusting I settled on the approximate settings of F5.6, ISO 500-600 and a shutter speed around 1/1000.

As for range, I like having a lot of the environment, the landscape in my wildlife photos. Capturing more of a “is it a wildlife photo or a landscape photo”. However, if you want a lens that can photograph every scratch on an Orca’s body or every barnacle on the Humpback Whale then you might want to consider a different lens that will provide that reach.

For reference below are some photos that I took on the tour, keep in mind they are post-processed.

victoria-287.jpg
victoria-278.jpg
victoria-284.jpg

POSITIONING

Where to Stand on the Boat

I found the tricky part while photographing the whales was where to stand on the boat. After experimenting and moving around a while I finally found a spot that worked for me - the stairs/top of the stairs.

I’m a short person so standing on the front deck doesn’t work the greatest for me, even when I got a spot at the railing I still struggled because other people were leaning over trying to take a photo themselves. The shoulders of the front deck could work but if the whales go to the other side then you’re stuck.

The top of the stairs/on the stairs is perfect because you’re not in the way of other people (mostly), you have a clear vantage point of the whales at the front and both sides of the boat, and you have places for extra stabilization.

Stabilization

Stabilization is important because while you’re on the boat I don’t recommend using a tripod because it could get in the way or someone could trip over a leg but if you’re going handheld then you might need to find some extra stabilization on the boat. I found the best for me was bracing my back against a part of the boat, or bracing my legs on a seat or part of the boat (railing). This just adds a little extra stabilization than what you would experience with your two feet planted on a moving boat.

OTHER TIPS

When to Go Whale Watching

Before we booked our whale watching tour I googled when a good time to go whale watching was on Vancouver Island and the response I got was between May and October so since we were going in August I thought it was a fairly good chance of seeing some whales.

I also thought about the time that we were going. Most cases when I’m photographing wildlife I like to go out early but the tour operator only offered an afternoon or sunset tour. We opted to go for the afternoon tour for two reasons:

  1. If we didn’t see any whales on our trip than we had a second opportunity to go the same day by going on the sunset tour

  2. I was worried about the evening light and that it would get dark really fast so I opted for afternoon light instead (it ended up being perfect, because of the overcast, cloudy weather the lightening was really even and softer)

Learning About the Whales

Before the trip I took some time to learn about the whales. I watched a number of nature documentaries on Netflix and Disney+. I also read several articles about whales and photographing them.

The best thing we did that I wish we had done before our tour was visit the Victoria BC Museum that had a special Orca Exhibit. The Exhibit was so interesting and informative we learned so much about the Orca Pod in the area, facts about the Orca’s, impacts, etc.,

Finding the Right Company

I wanted to find the right company to go whale watching with, one that cared about the whales and promoted responsible whale watching. After some digging I found Prince of Whales that I really loved. Prince of Whales Catamaran Tour has 2-3 naturalists on board that give you facts about the whales that you are seeing, they adhere and go above and beyond whale watching guidelines, and they have a custom-built Catamaran specifically for whale watching that reduces their impact on the ocean (jet propulsion engine so sea life doesn’t get caught in it, catamaran style so less of the boat is in the water, etc.,)


I really enjoyed our whale watching tour. I hope I get other opportunities to photograph them. Being on the boat, listening to the naturalists talk about them, seeing them with my own two eyes, you feel close to them and I think that feeling trickles into other aspects of your life that we’ll get into in another episode.

Beautifully Wander | Robynne MacLeod

What's in my New Camera Bag ft. Peak Design Everyday Sling 6L

A few videos ago I mentioned that I was in need of a new/additional camera bag that was smaller than my camera backpack but more versatile than my Ona for outdoorsy activities that I do - hiking, going out on a boat, outdoor excursions. After some researching I decided to pick up the Peak Design Everyday Sling and today episode I wanted to do an updated what’s in my camera bag and chat about my first impressions of this bag!


Happy Photographing!

Beautifully Wander | Robynne Ikesaka

Photography Lessons from Past Trips | Tips for Your Next Trip

I think we’ve established by now that I love to travel! I know “travel” and “vacation” are uncertain topics because of where you live or the restrictions, but I have definitely noticed in the Okanagan that people are travelling again - including myself! A couple weeks ago I went to Osoyoos, next week I’m going to go camping by Salmon Arm and next month I’ll be visiting Victoria, BC! Thus, in todays episode I wanted to share some photography tips pertaining to travel and vacation photography!

Consider Why You’re Taking the Photos

Posting the photos to Instagram? Documenting your journey? Writing a book or article?

I find having an idea of why I am taking the photos helps me understand and gives me ideas of what photos I need to take.

The photos I took for my Osoyoos trip were drastically different than the photos I took for Greece, Denver, Vancouver and that’s because the reasons behind why I was taking the photos were different.

For Greece, Denver, Vancouver I was photographing for the purpose of posting to social media. For Osoyoos I was trying to create a story about my trip so I had more context shots that made the story make sense.

Slow Your Pace

I’m notorious for cramming my days with activities, especially when I have a short time frame at a location because I want to squeeze everything in.

Thus, I have to remember not to cram. I find the best is to do one major activity in the morning and one in the afternoon (anything else covered that day is a bonus).

By slowing down I get to enjoy the moment more and if I am photographing the day I have more time to marinate over the experience and capture what I want.

Sometimes You Have to Think Outside the Box

I knew when I was travelling to Osoyoos that I might have some difficulty because I was travelling with other people. I can’t just pull over when I want, or take my time at a location.

So I had to come up with a way to photograph the outdoors, where I was going, our journey from where I was and with the parameters I had. So, I started photographing from inside the vehicle using the windows and windshield to frame my subject. This ended up being one of my favourite ways to show what we were doing and where we were going.

Don’t Forget Those Candid Moments

It’s great to capture the portrait-style, front-facing photos of your family and yourselves but I love the candid moments. The slices of time that display a genuine smile, laugh, and other beautiful moments.

To make sure I can do this whenever we arrive at our new location I set my camera up for the environment we are in and I leave my camera on. Then when a moment happens I can quickly capture it!

Go Simple

This is more personable preference but I want you to consider going simple with your camera gear. If you know why you’re taking the photos, what you’re roughly going to take photos of then you know what kind of gear you need to bring.

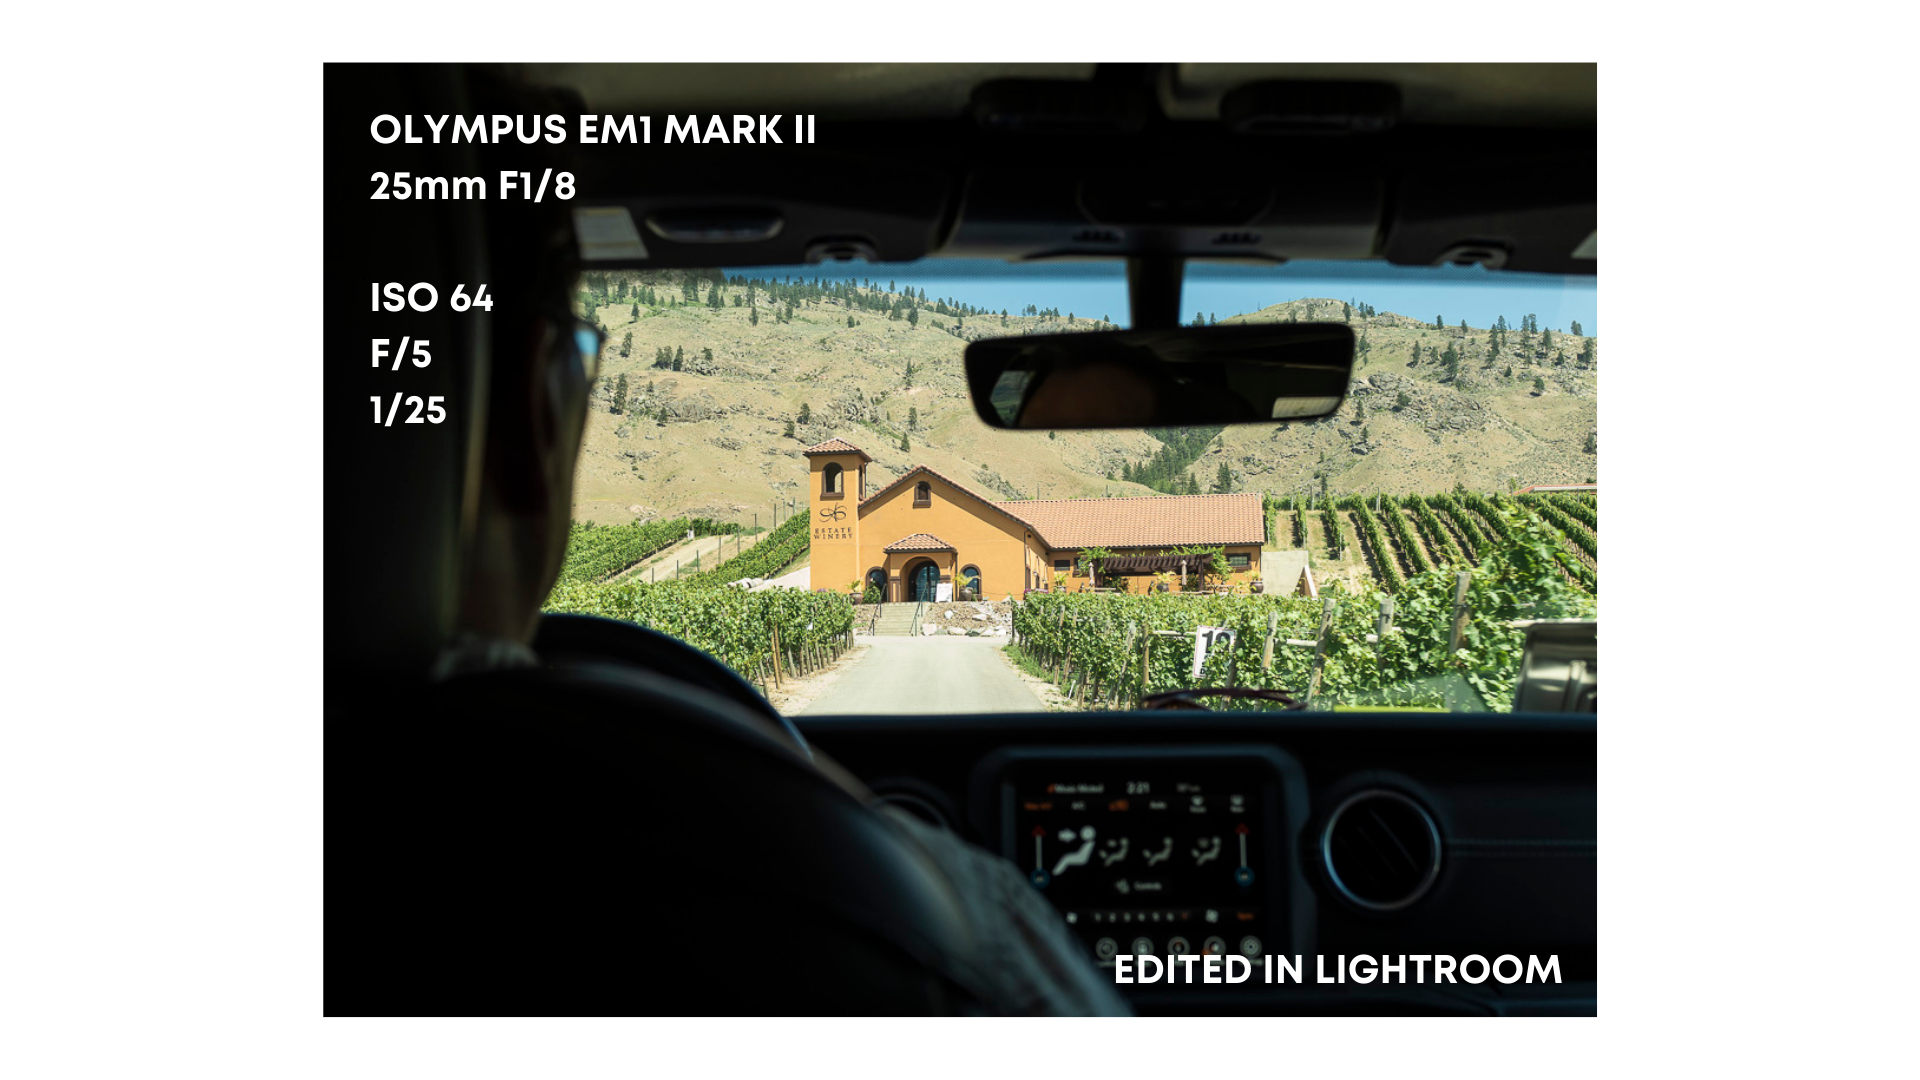
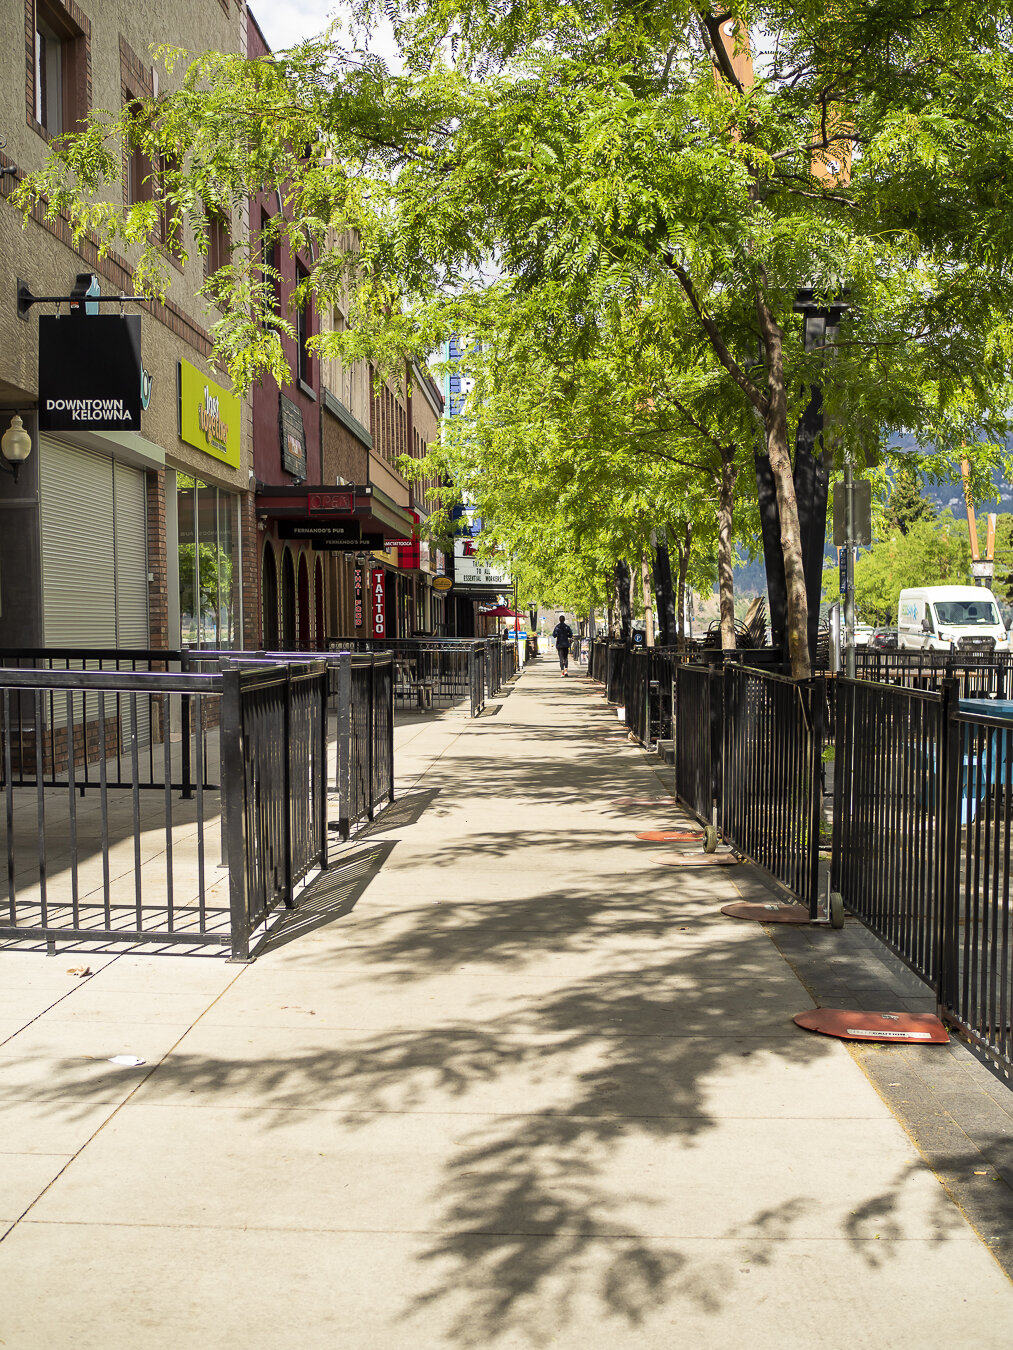
For Osoyoos I only photographed with the Olympus 25mm (partly because I was still doing the one lens challenge) but going simple meant I was able to bring my camera everywhere!

I love the Olympus for how small and lightweight it is!

Have Multiple SD Cards and Batteries

When I went to Vancouver I made the mistake of having too small of a memory card in my camera. As I was photographing at the Capilano Suspension Bridge I ran out of memory and had to delete photos on the go.

Do yourself a favor and make sure you have enough memory and battery to keep you going!

Backup Your Photos

At the end of every day backup your photos. Because I had a small memory card with Vancouver I had to move the photos off the SD card to my hard drive at the end of every day (leaving me with one copy of the photos).

Several months later I have invested in getting more and bigger memory cards so now I can backup the photos onto my hard drive (leaving me with two copies of the photos). Then when I get home I create a third copy.

The point of the story…backup your photos!

Practice Locally Before the Trip

David Duchemin did a podcast episode once about “becoming”. You are becoming the person to take that photo, write that book, become that person…

So when you practice locally, and experiment with different compositions and techniques you are adding to your photography toolbox so when you are travelling you have more freedom to pull from that toolbox to create the photo that you envision.


Happy Photographing!

Beautifully Wander | Robynne Ikesaka

Minimalistic Setup + One Lens Challenge with the Olympus 25mm F1.8

At the beginning of the month I mentioned that I was going to try a minimalistic setup for June. In this episode we chat about the benefits and challenges I had with going simple and doing a one lens challenge.

Why the minimalistic setup and the one lens challenge?

What sparked this interest in doing a minimalistic setup for this past month and the one lens challenge was a video I watched on YouTube. B&H does this amazing series called 21 Questions where they feature different kinds of photographers. A few months ago they featured Paola or @Monaris on Instagram and something from that video inspired me to try a simplistic setup for June!

Why did I choose the 25mm F1.8?

When it came down to choosing which lens for the minimalistic setup I went with the Olympus 25mm F1.8 for a couple reasons:

  1. It is the only prime lens that I own

  2. It’s versatile for all the kinds of photography that I was going to be doing this month

Benefits of going minimalistic?

  1. It was very simple and easy to get out the door: Going with the simplistic setup of one camera body and one lens made for getting out the door very simple. I usually carried a handful of items (phone, wallet, keys, camera and sometimes a water bottle if it’s hot). I didn’t have to hassle with what to bring with me, if I should leave something behind because of the activity I was doing. It was so extremely easy to get out the door.

  2. I found myself bringing my camera everywhere with me more often: Due to the lightweight, compact system of the EM1 Mark II with the 25mm F1.8 I overall found myself bringing my camera everywhere with me - into restaurants, to personal events, for evening walks.

  3. It was discrete for public spaces: With the weather warming up in Kelowna more and more people are hitting the beaches, parks, streets. Thus, it’s been nice having a smaller setup that is more discrete in public spaces rather a camera backpack with all the lenses.

  4. I was more aware of my surroundings, composition and perspective: Using a fixed lens overall made me more aware of my surroundings and what I needed to do to get the shot. I found it made me linger on a moment longer to make sure my composition was right, my settings were right, etc.,

  5. It pushed me outside my comfort zone: Now that we are in full swing of summer I have been working on Summer in the Okanagan my seasonal photography collection that documents what it’s like summer in the Okanagan - how others and I experience it. Since I’ve also been only using the 25mm it’s forcing me to get closer to the scene. I can’t use the zoom of the 12-40 or the 40-150 to keep my self far away. I have to get closer which can be uncomfortable for me.

Challenges of going minimalistic?

The main challenge I had with going minimalistic this month was photographing in tight spaces. A few weeks ago my Fiance and I ate indoors at our favourite sushi restaurant which we hadn’t done since indoor dining was suspended. I brought my camera along to document the moment but I struggled because we were in a tight space. Our table was a half booth and I couldn’t physically move any farther back to get the framing that I wanted.

Most generally, I am outside with my photography. However, I have been making a more active effort in documenting the personal moments - birthdays, fathers day, moments with my family.

Photos from this Challenge

Final Thoughts

I quite enjoyed doing this one lens challenge for June and going simple. I definitely recommend trying out the one lens challenge for yourself.

Leave a comment over on the channel if you’ve ever done a one lens challenge and what you liked about it or if you plan to do one now.

I hope you enjoyed and found this article useful and if you did please consider Buying Me A Cup of Coffee!


Happy Photographing!

Beautifully Wander | Robynne Ikesaka

Best Places to Photograph the Arrowleaf Balsamroot in the Okanagan

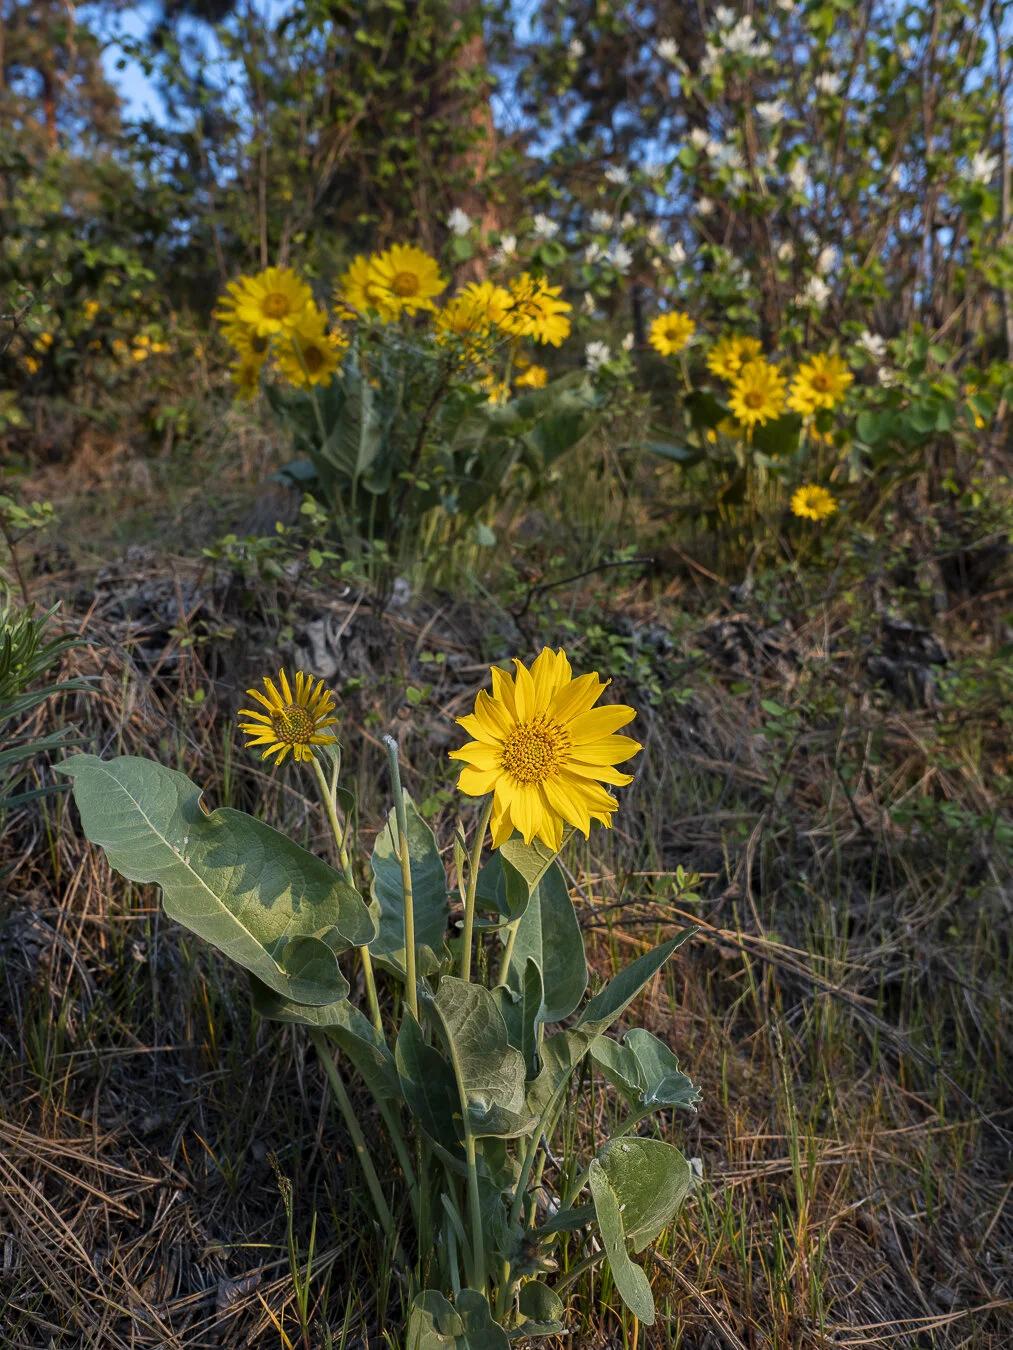
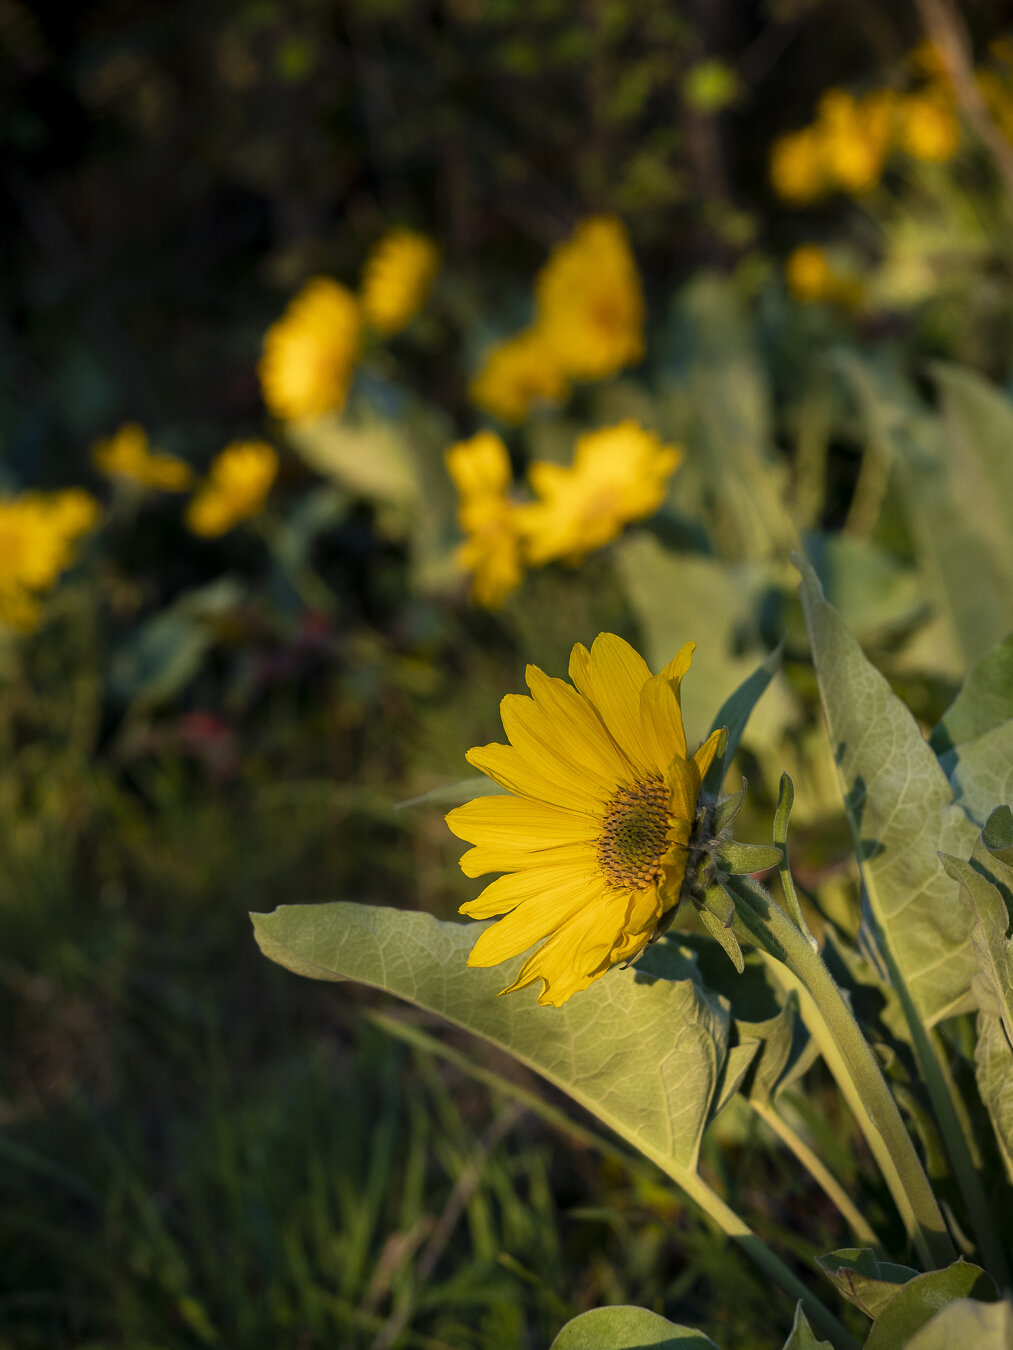
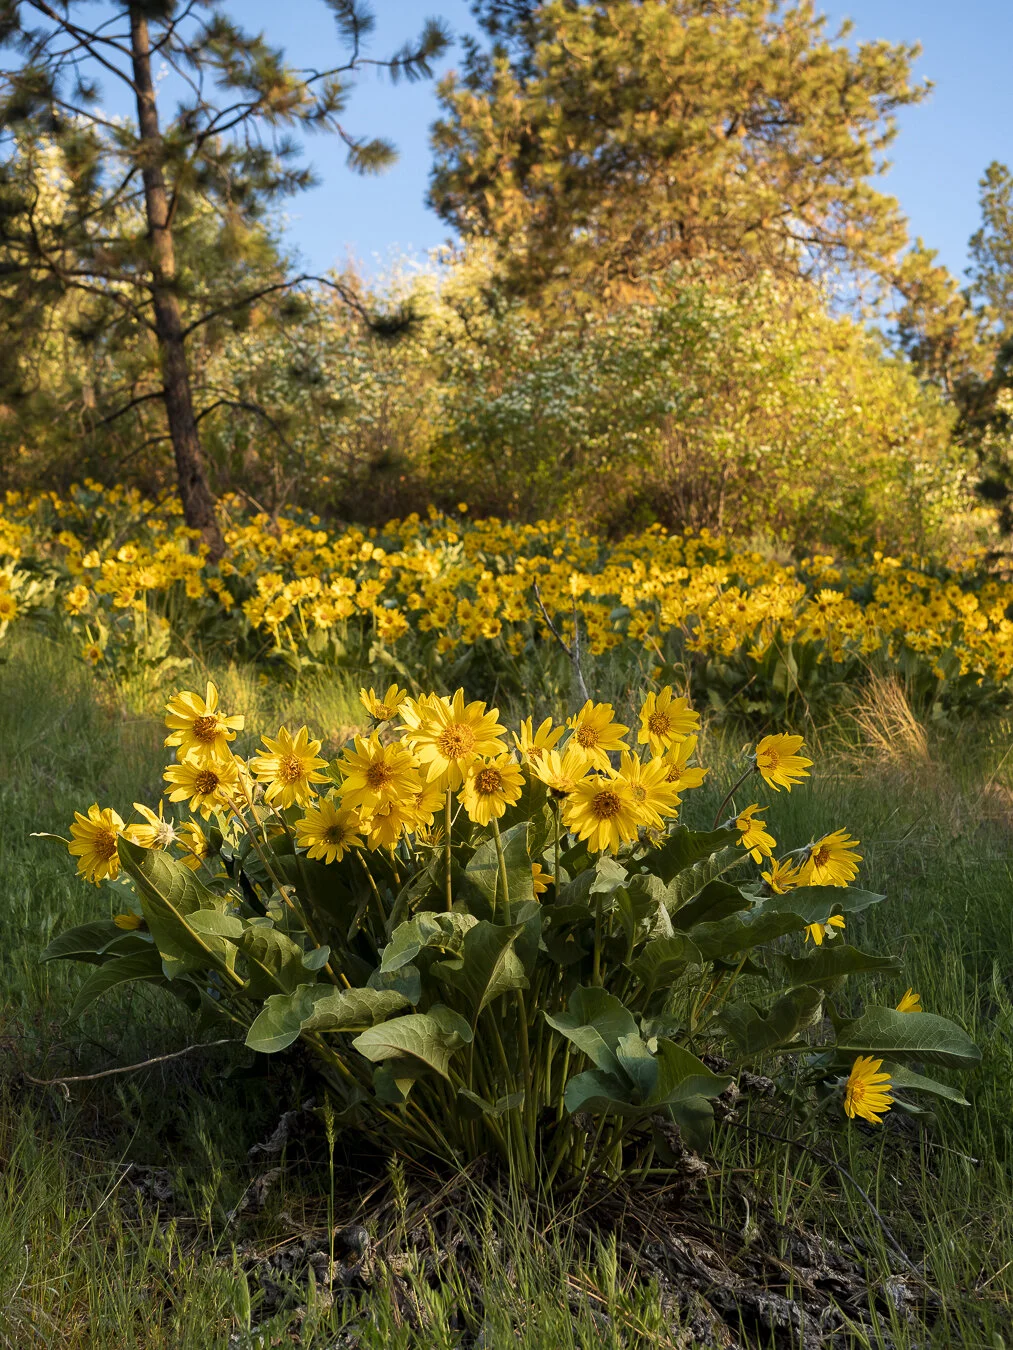
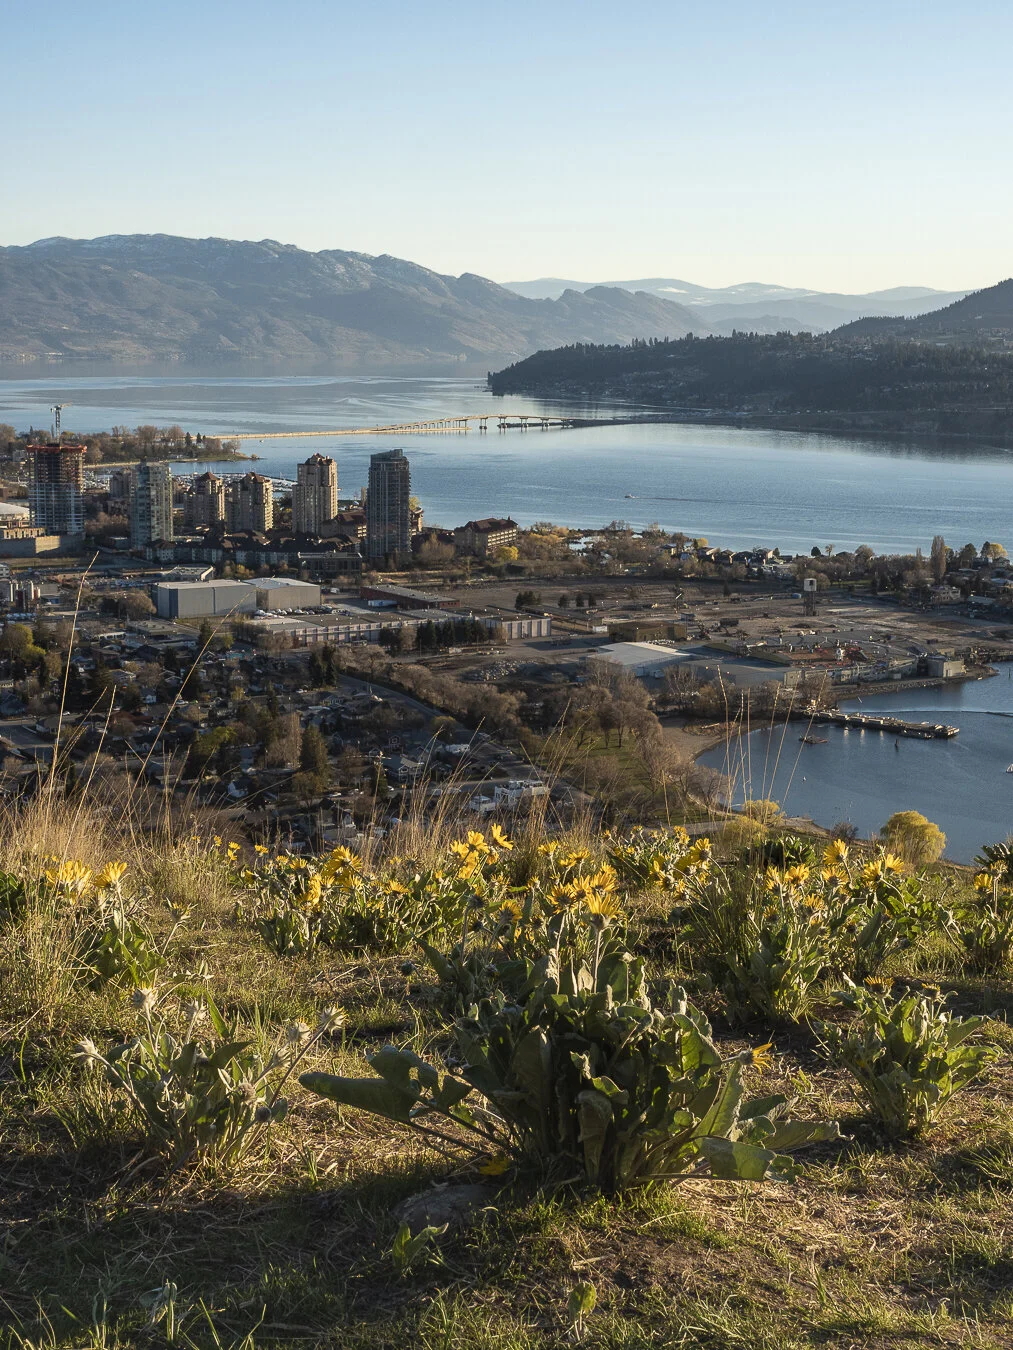
I was excited when Spring started to bloom here in the Okanagan because that meant the Arrowleaf Balsamroot in Kelowna will start to dust the south-facing slopes with their golden blossoms. During a particularly hot and sunny week in the valley I travelled around the area trying to find the best places to photograph the Arrowleaf Balsamroot.

Captured here is what I found in Kelowna and West Kelowna.

To see the full series of Arrowleaf photos visit my collection page!

Kalamoir Regional Park

My favourite place to see, photograph and has the densest Arrowleaf Balsamroot’s have got to be Kalamoir Regional Park which is located on the shores of the Okanagan Lake in West Kelowna. I had visited Kalamoir earlier in the Spring and noticed the bushes that would one day form to create the Arrowleaves. When I came back when it was warmer the Arrowleaves were in fuller bloom… it was magical.

If you’re going to visit this park there is a small parking lot at the entrance, I visited the park for sunrise, however, if you visit at sunset you will get beautiful golden backlight.

kalamoir-park-3.jpg
kalamoir-park-4.jpg
kalamoir-park-7.jpg

Bear Creek Provincial Park

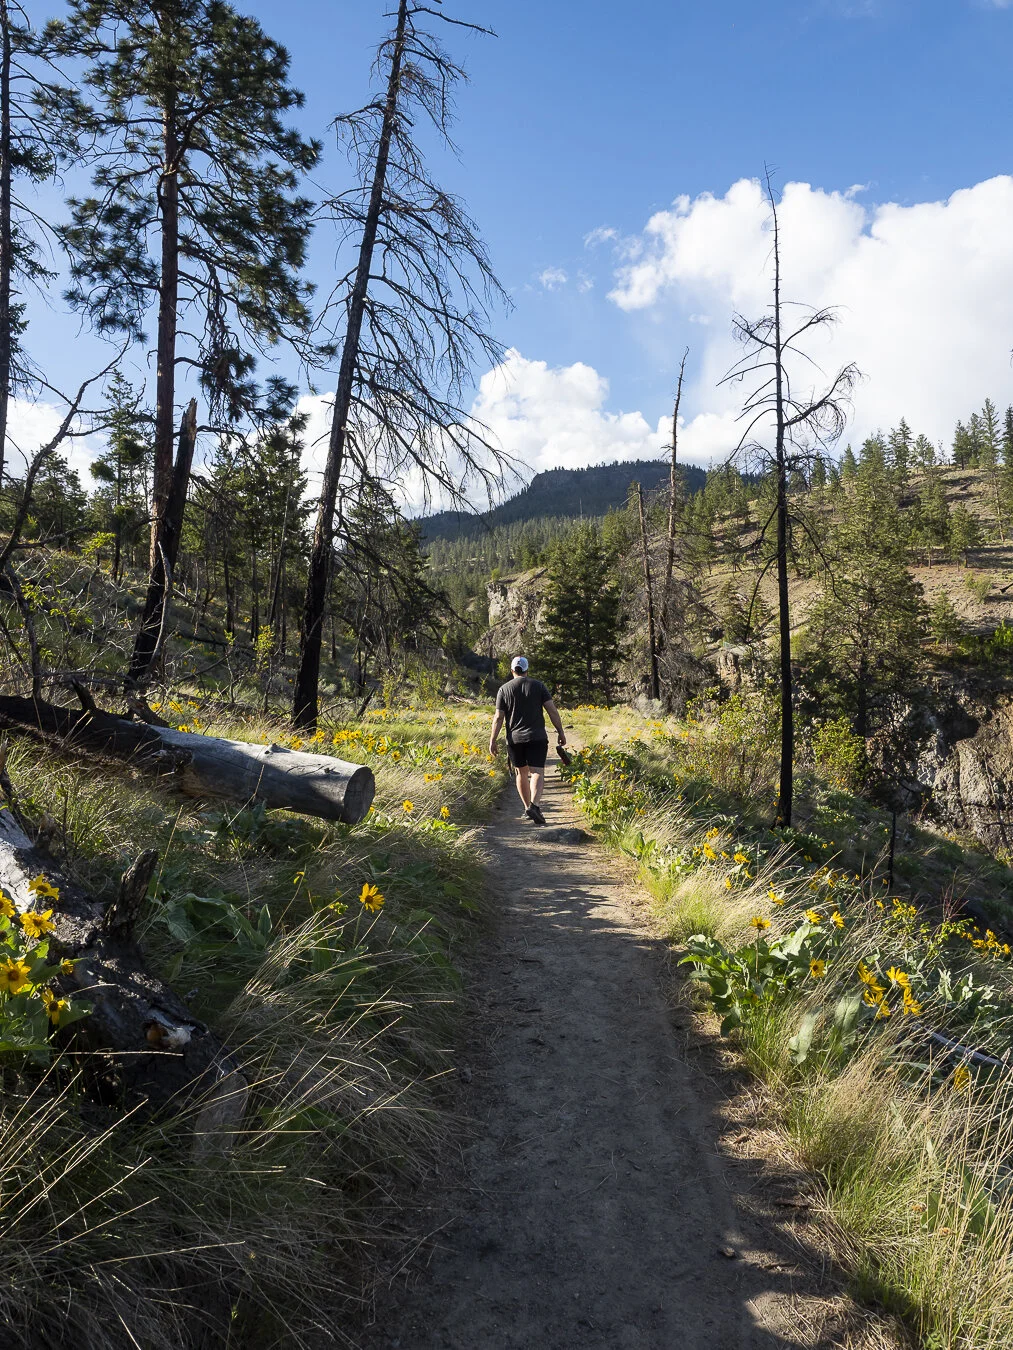
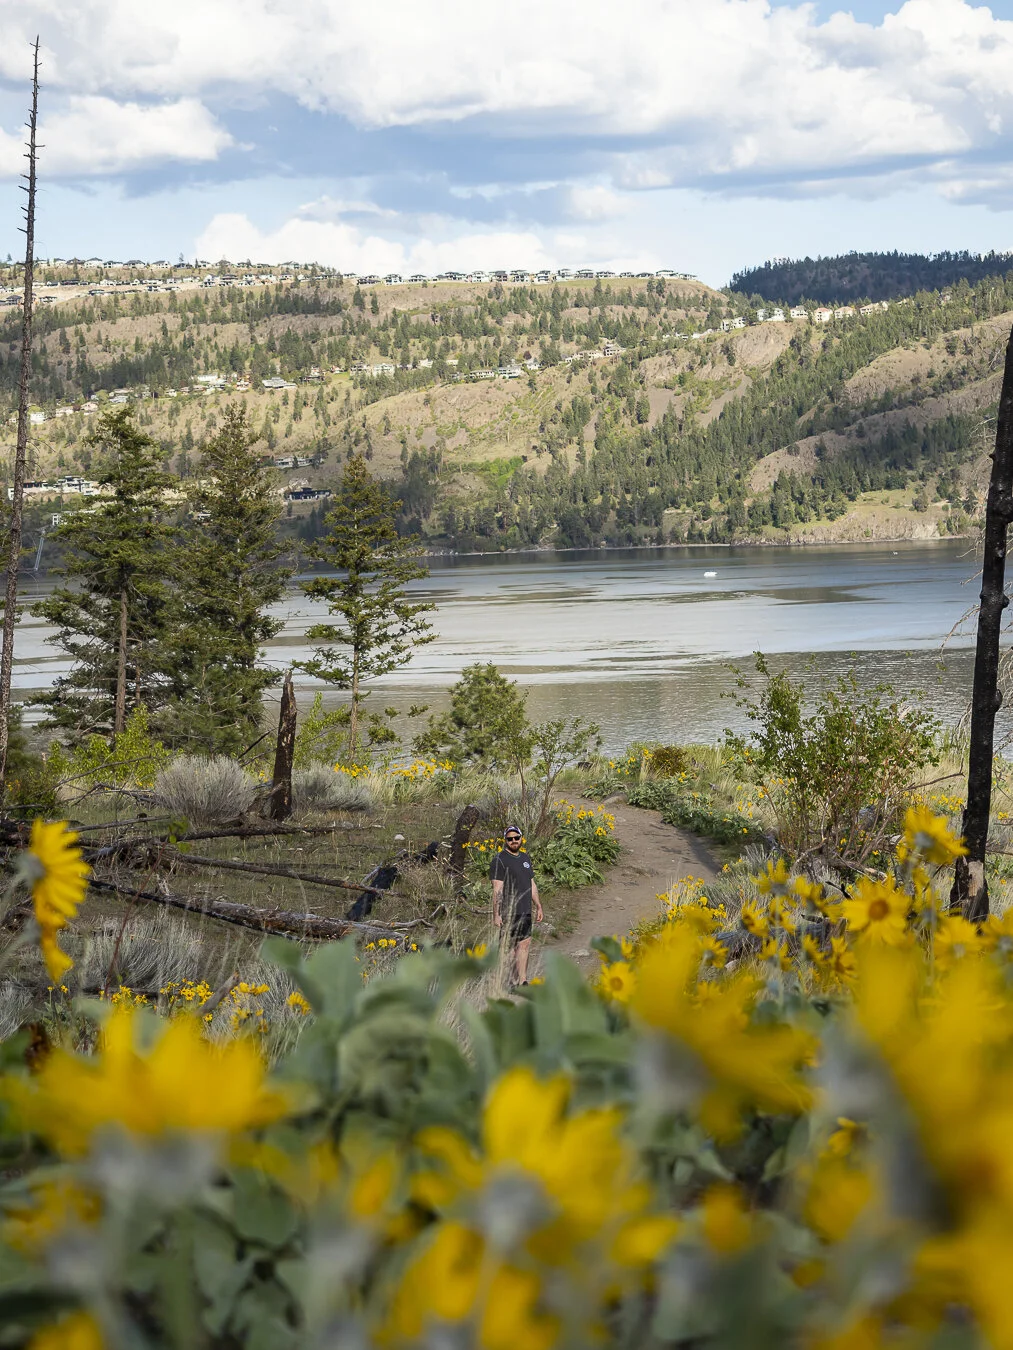
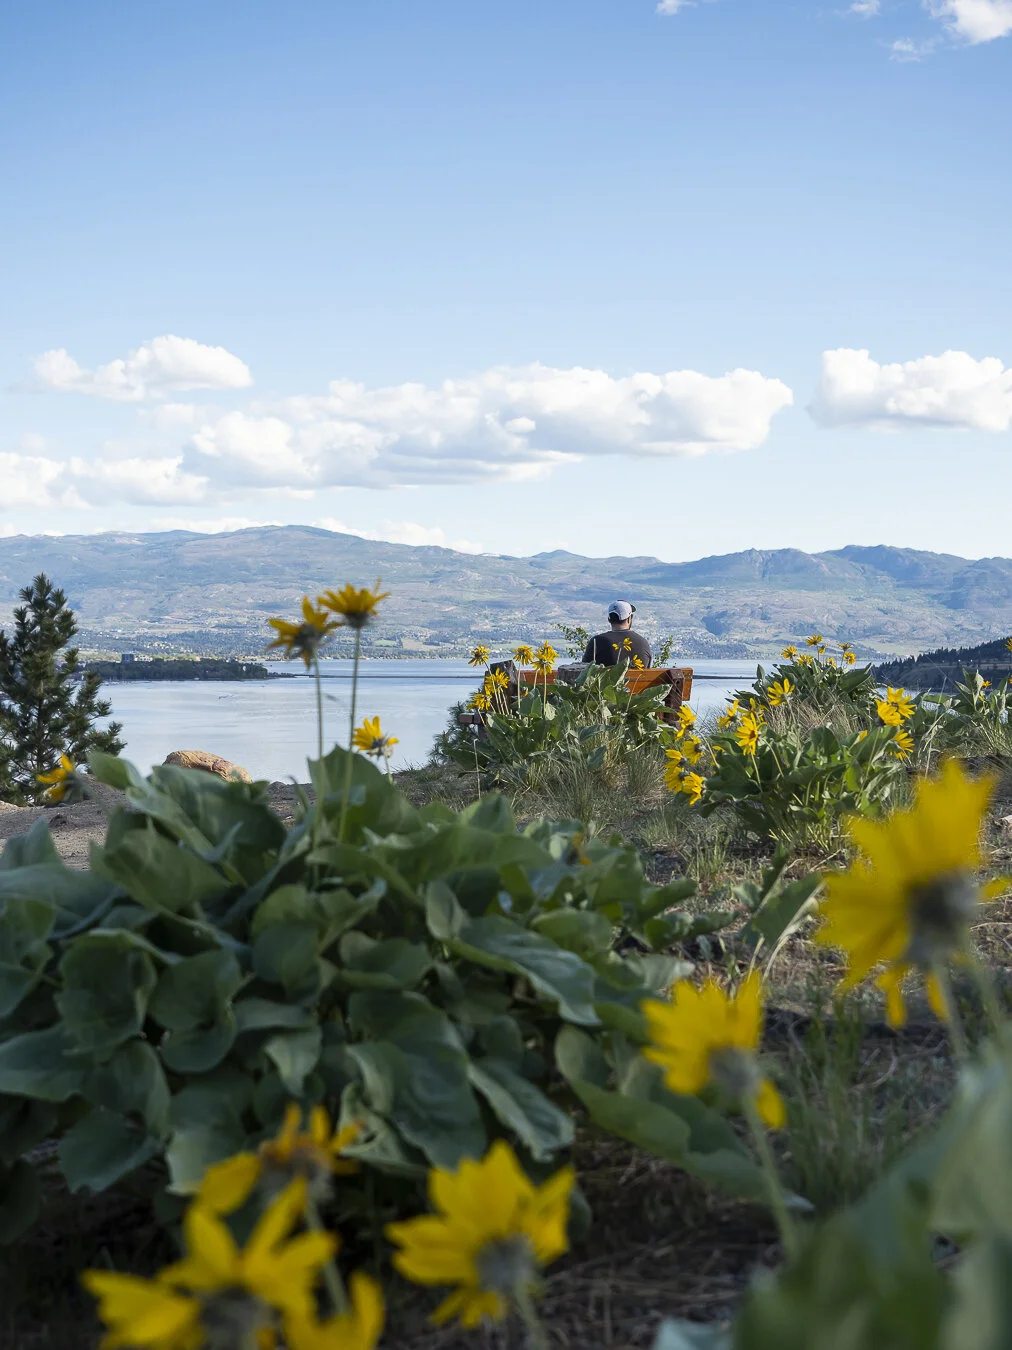
Bear Creek is another wonderful location to hike with the Arrowleaves and photograph them! You can do a nice and easy 45-minute hike to a beautiful viewpoint of the Lake or do the long 1+ hour Canyon Rim Trail.

If you want to do the easier trail take a left at the map of the park, at the fork follow right and continue on the trail. An even shorter hike would be to follow left at the fork.

I found the Arrowleaves here weren’t as dense as Kalamoir Regional Park but denser than Knox Mountain Park.

bear-creek-park-3.jpg
bear-creek-park-22.jpg
bear-creek-park-16.jpg

Knox Mountain Park

Knox Mountain is another excellent location to photograph the Arrowleaf and witness a sunset. At sunset the whole mountains bathes in golden hour glow which makes for backighting the Arrowleaves beautiful.

I found when I hiked from the bottom of Knox Mountain to the top via the Apex Trail that majority of the Arrowleaf were at the bottom or in the middle of the mountain. I saw almost none when I made my way to the top.

The downside with Knox Mountain Park is that it’s extremely busy. Parking can be hard to come by. If you’re looking for less crowds avoid the weekend.

knox-mountain-apex-trail-2.jpg
knox-mountain-apex-trail-4.jpg
knox-mountain-apex-trail-5.jpg

Dilworth Mountain Park

Dilworth Mountain Park is a great location to photograph and visit the Arrowleaf if you’re not looking to do a serious hike. You can drive to the small parking lot they have on the mountain, and you don’t have to walk far to start seeing the Arrowleaf. No intense hiking is required at this location.

Dilworth Mountain Park faces Kelowna and the Okanagan Lake which means it’s a great location if you want to photograph the sunset. However, if you visit in the morning the sun does rise behind the park but if you stick around until it breaks past the houses it will shower parts of the mountain with a golden glow.

dilworth-in-am-1.jpg

When the weather gets sunnier and warmer the Arrowleaf Balsamroot starts to come out and fill the south-facing slopes with their golden beauty. In early Spring you’ll start to see a few early Arrowleaves but this year mid to late April is when the Arrowleaves started to fully bloom.

I thoroughly enjoyed chasing these sunflower looking beauties and I look forward to seeing them again next year!

Timelapse Photography and Editing Workflow using the Olympus EM1 Mark II | Create with Me

I started the ‘Create with Me’ series over on my YouTube channel because I wanted to experiment with other kinds of photography. Instead of just posting the result to Instagram I decided to document the journey, the process, and share it on my YouTube.

Today, I get back to the reason I started this series and bring you along with me as I create another cloud timelapse.

What is a Timelapse?

You can create a photo or video timelapse but essentially your footage/photos are taken over a long period of time but are shown quite quickly. Thus, something that takes a long time like the clouds moving in the sky, the sun setting, etc., are shown as a short clip.

Setting Up for My Timelapse

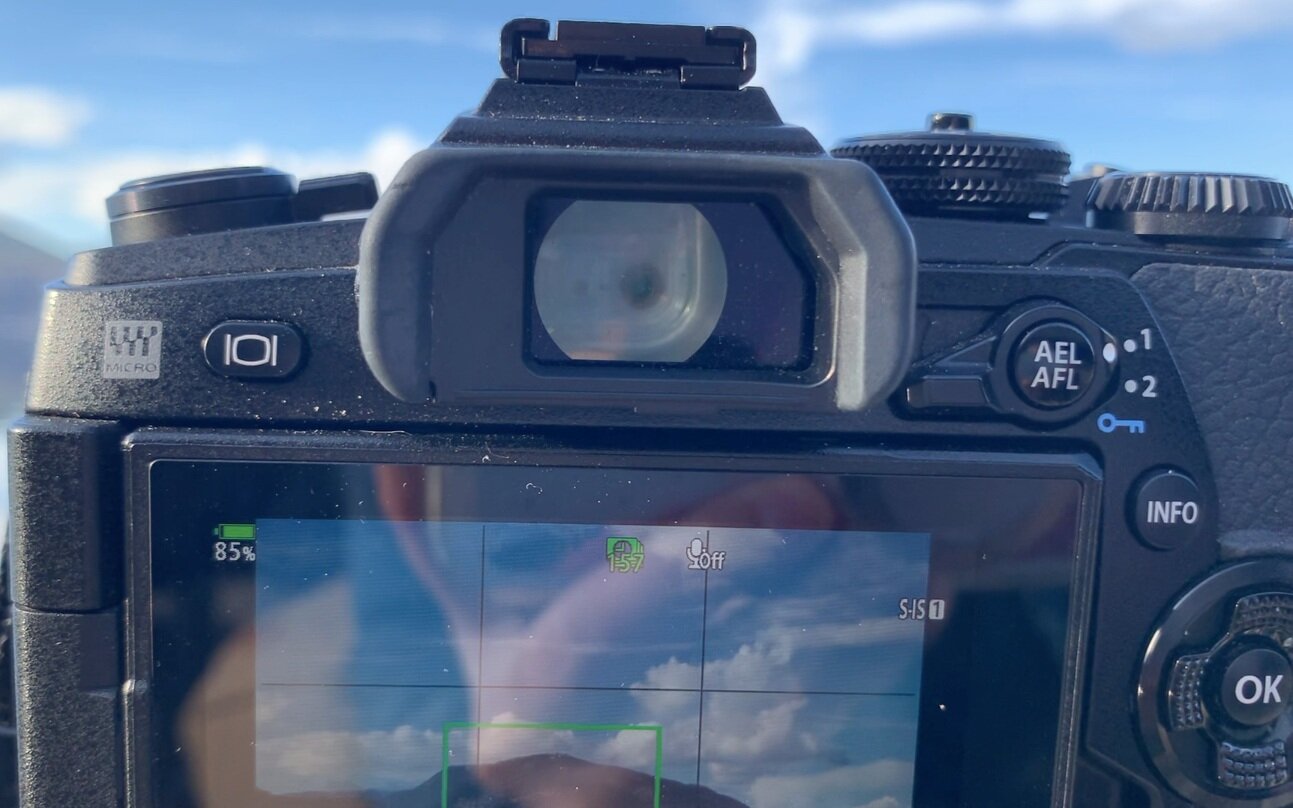
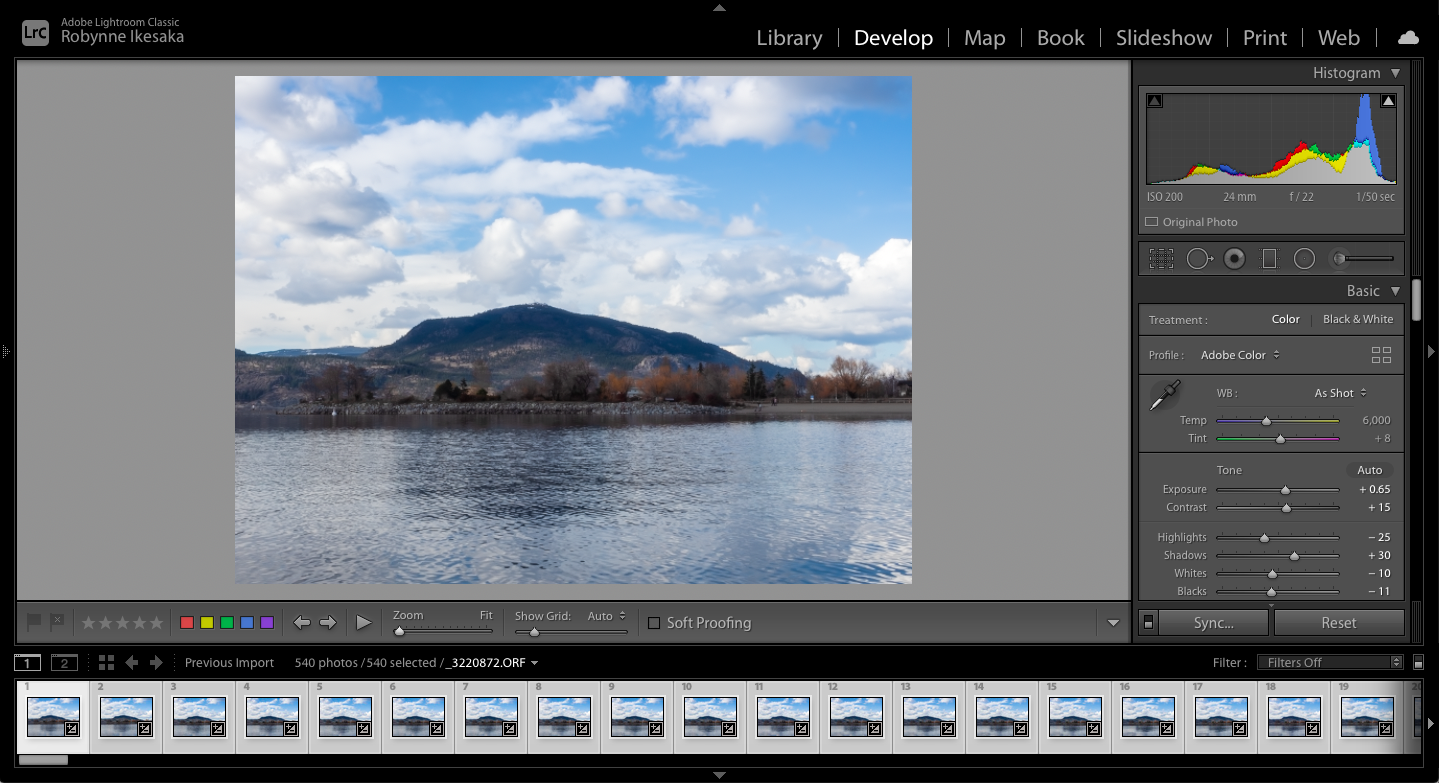
To setup for my timelapse I have my Olympus EM1 Mark II with the M.Zuiko 12-40mm F2.8 PRO lens setup on my tripod. I set my in-camera settings to an ISO 200, 1/50 and an aperture of F22

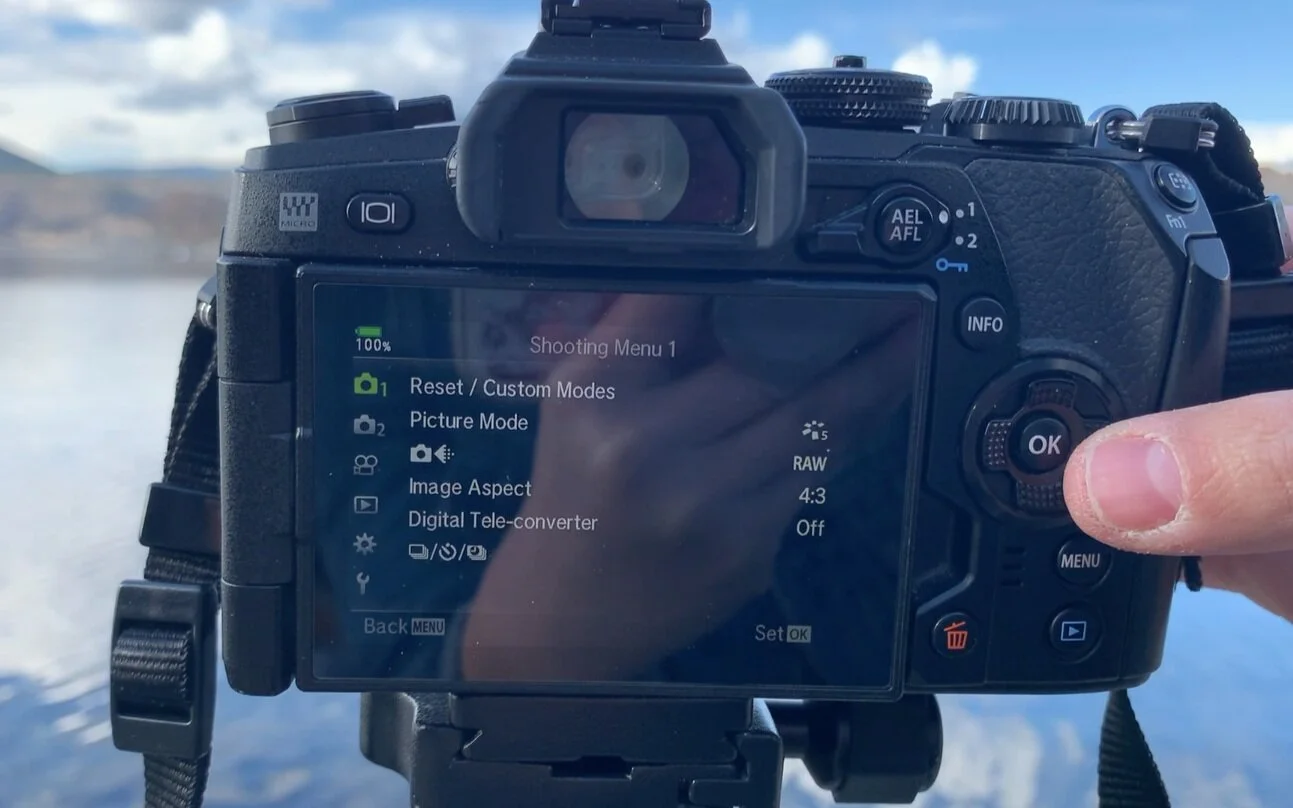
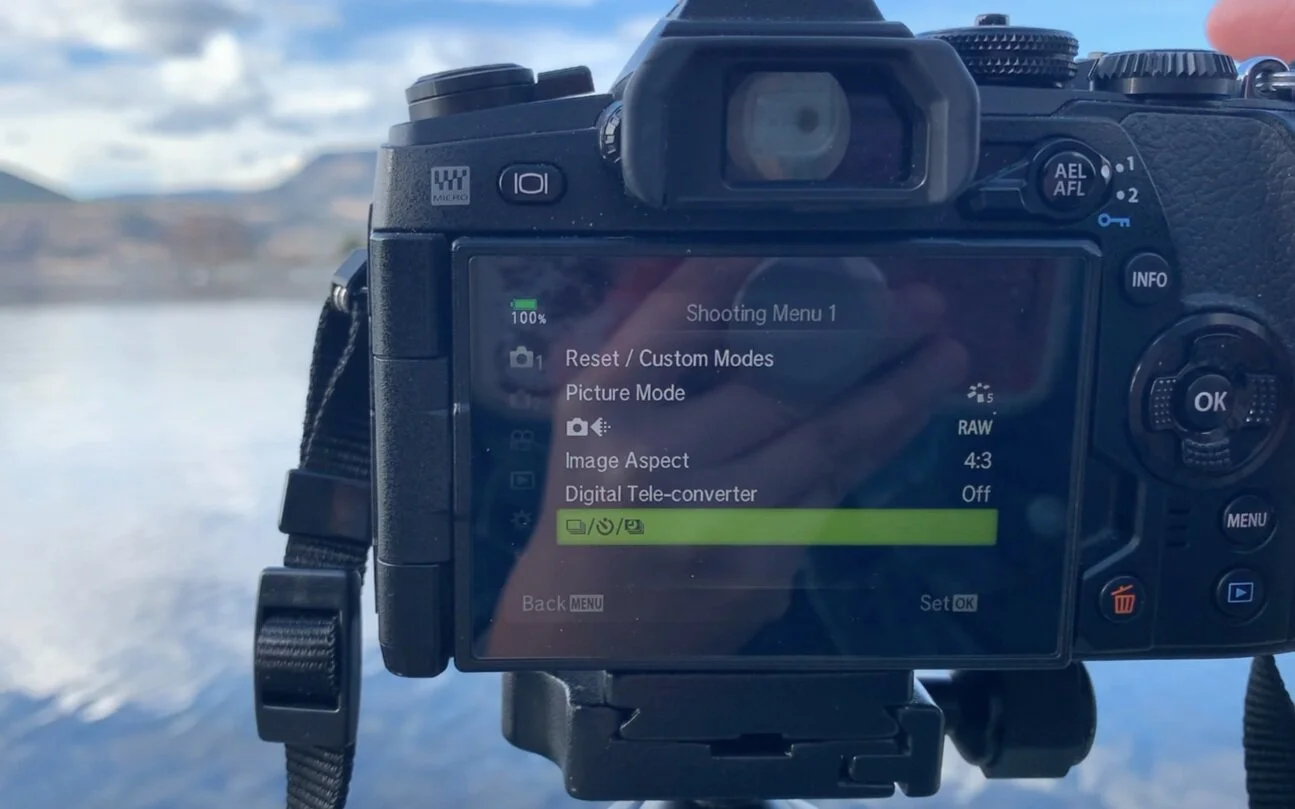
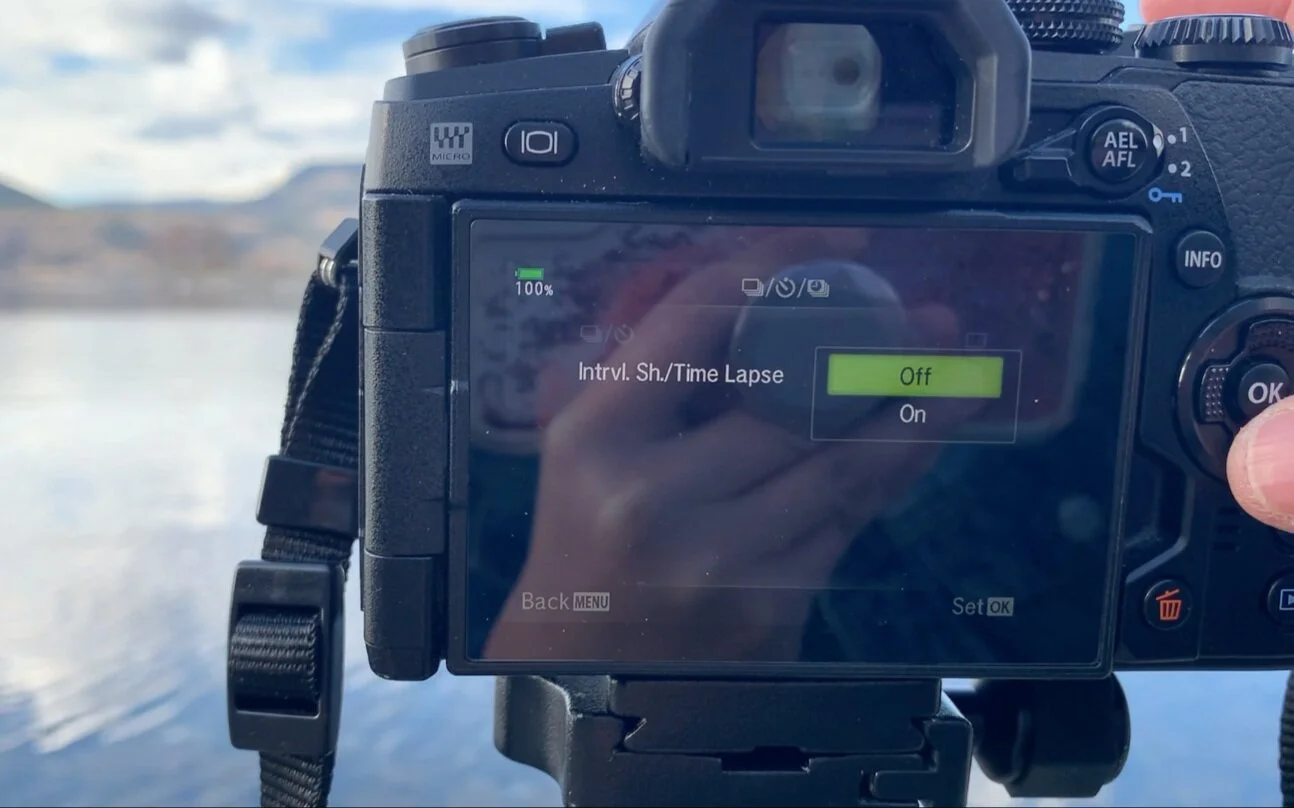
To enable the timelapse setting on my camera:

  • Select MENU

  • Go to CAMERA 1

  • Go all the way down to the bottom

  • Turn the timelapse setting ON

Screen+Shot+2021-03-26+at+9.48.32+AM.jpg
Screen+Shot+2021-03-26+at+9.48.46+AM.jpg
Screen+Shot+2021-03-26+at+9.48.59+AM.jpg

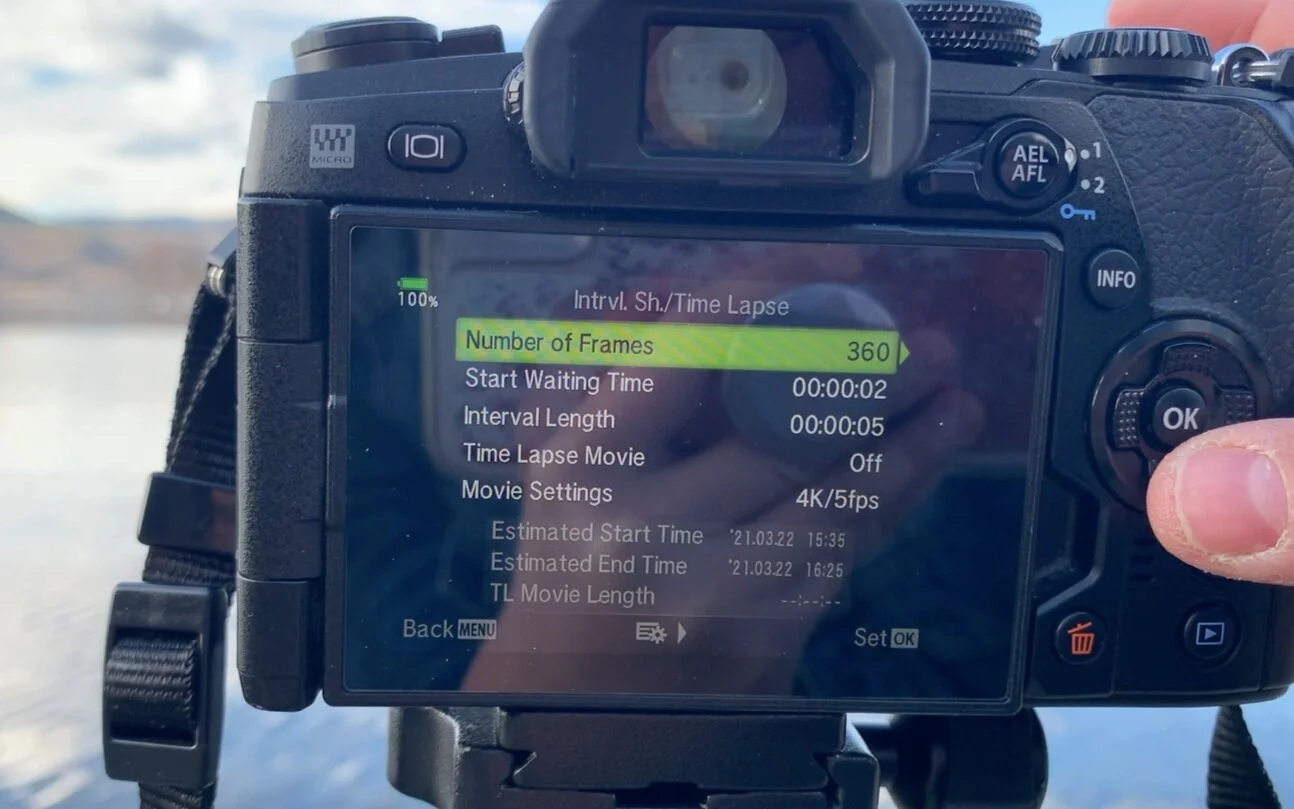
To change my timelapse setting I went further into the timelapse menu and adjusted my frame count and interval length. I ended up with a frame count of 540 frames, a start waiting time of 2 seconds and an interval length of 5 seconds.

Screen+Shot+2021-03-26+at+9.49.12+AM.jpg

I forgot to mention that I heard if you turn your TIMELAPSE MOVIE to ON instead of OFF your camera will capture both still photos and .AVI. However, I haven’t fully experimented with this or creating a timelapse in camera.

You’ll know your timelapse is ON because on your camera screen a number with your frame count will appear in white at the top of the screen. Once it is going the frame count will go green and start counting down.

Of course, this entire process might differ if you are using a different camera.

Screen+Shot+2021-03-26+at+9.56.51+AM.jpg

What’s Interesting About Timelapses

Up until a few weeks ago I wasn’t interested in doing timelapses, however, I’ve enjoyed the pursuit of creating and experimenting with timelapses. I love the essence of capturing something slow and seeing the magic when it comes together. I think it offers something different to the eye and the mind.

Editing Workflow

To edit my timelapses I have been manually editing them. I pull the photos into Lightroom and do some light post-processing. To make this process easier I edit the first photo to how I like and sync the edits to the rest by selecting them all and hitting sync. The pastings of the edit takes a while but after it is done I go in and check to make sure the edits are how I like.

Screen Shot 2021-03-26 at 10.02.17 AM.png

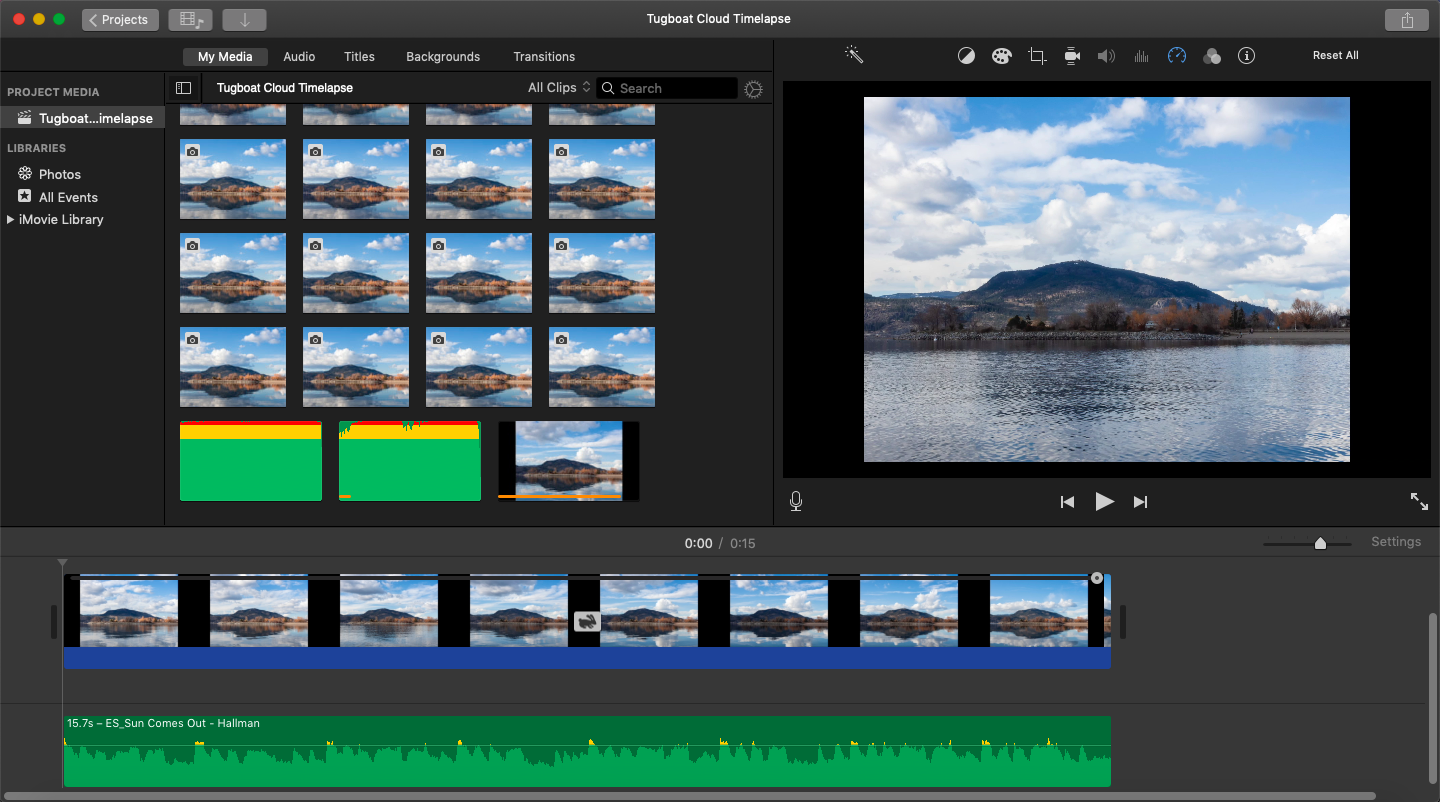
After the photos are all edited and exported I pull the images into iMovie to do some manual control of stringing the photos together. Similar to how I edit my stop motions in iMovie I shorten each clip to its shortest length - .10 seconds. .This clip length is still too slow for my liking of a cloud timelapse so to get around this limitation I further export the whole thing and re-import it into the timeline. Once it’s re-imported I can adjust the speed of the timelapse. Depending on the timelapse I have played around with a custom speed of 250-400%.

For this timelapse I settled with a custom speed of 400%.

The last step was to add music! I find all my music for my YouTube videos, stop motion and timelapse clips on Epidemic Sound. For this timelapse I selected the song Sun Comes Out.

After the music is added it’s finished!

Screen Shot 2021-03-26 at 10.05.08 AM.png

Manual vs. In-Camera Timelapses

I personally haven’t experimented with in-camera timelapses yet. I’ve manually created the timelapses so far by capturing still photos, editing in Lightroom and stringing together in iMovie. I love the manual control to change the speed of my subject.

Final Thoughts

I love the result of a timelapse! Cloud timelapses have been my favourite with sunset timelapses being a close second. However, sitting around for 45-minutes and waiting for the timelapse to finish is kind of boring. The post-processing of the timelapse manually does take a long time but I have yet to try creating a timelapse in camera.

I hope you enjoyed todays Create with Me! If you have any tips on creating timelapses leave a comment on the video!

Organizing and Planning with Milanote | How I Use Milanote to Plan My YouTube and Projects

Welcome back to Beautifully Wander! I’ve used all kinds of note taking softwares - OneNote, Evernote, Notion, Trello and right now I use Milanote every single day to plan my YouTube content and various projects. In today’s video let me tell you why Milanote is great for photographers and creatives!

This video was not sponsored I just personally love and have used Milanote since last September and I genuinely hope you find this post useful!

Enjoy the videos and music you love, upload original content, and share it all with friends, family, and the world on YouTube.

What is Milanote?

Milanote is an online tool that you can use to organize your tasks, projects, business, travel, life.

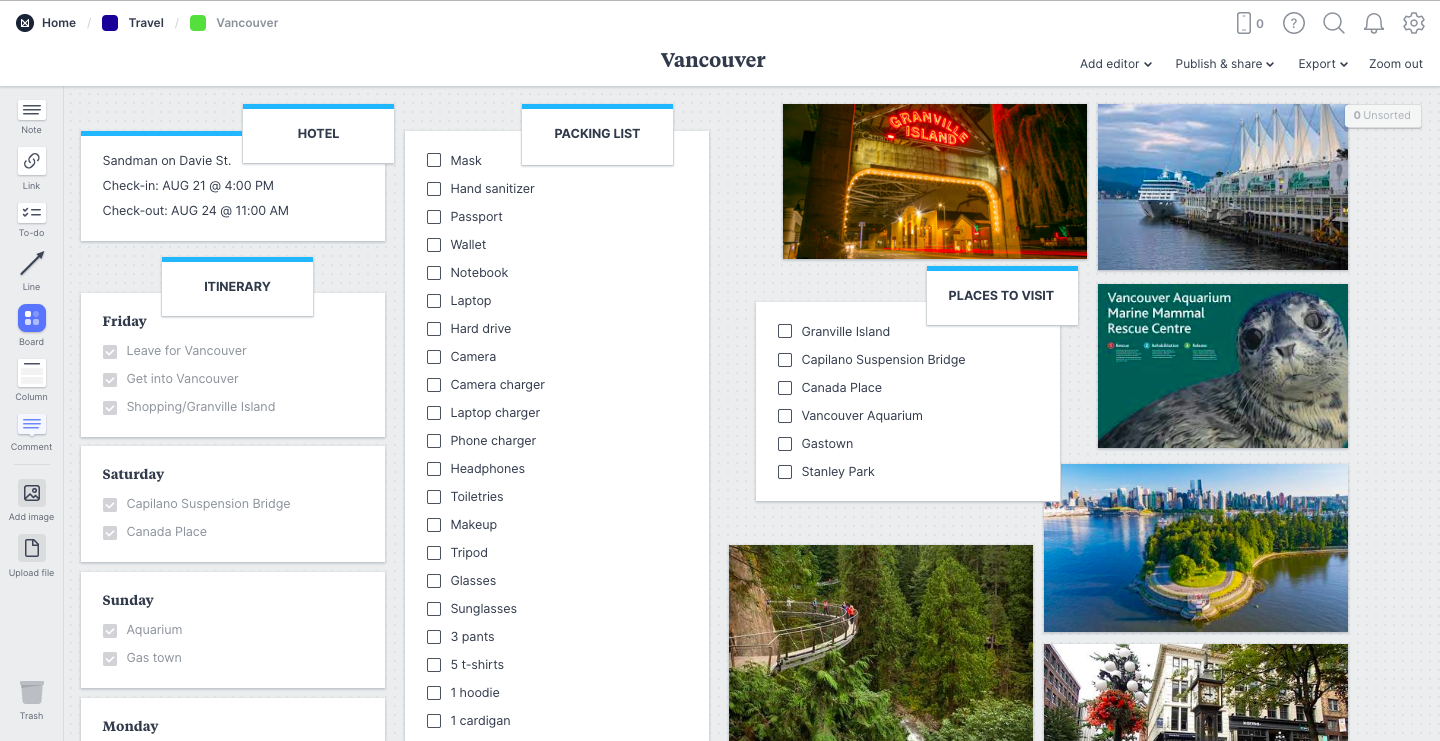
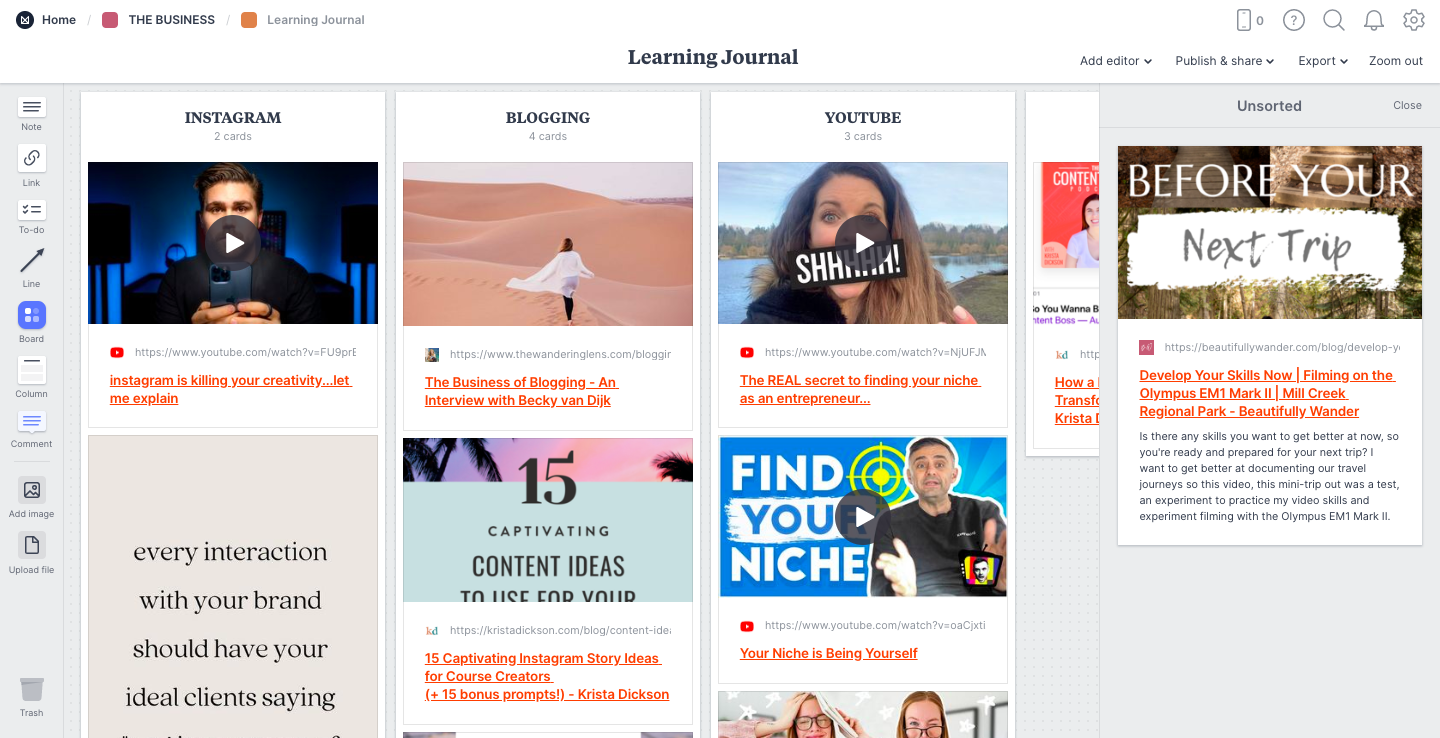
Using Milanote to Plan a Vacation Trip

The best part of Milanote and why I think it’s great for photographers and creatives is it’s flexibility. I can lay out my content how I want it. I’m not confined to particular boundaries or formatting like I am with other note-taking apps.

I can structure it so it’s text blocks only, I can create a mindmap mood board for a photography shoot, or use it to plan my next adventure.

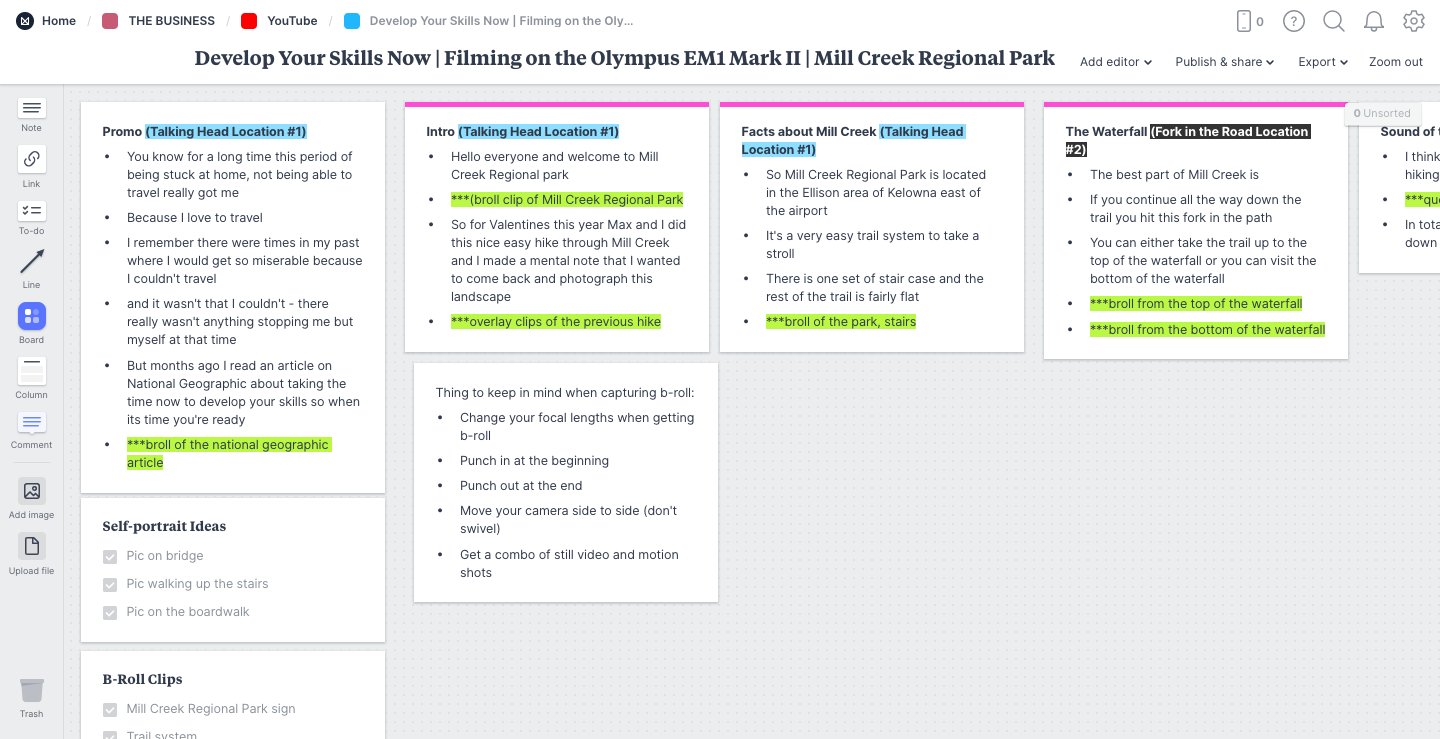
Using Milanote to Plan a Video

In my mind Milanote is like a mashup of the other softwares and Pinterest.

Here are a couple of examples of how I use Milanote.

How I Use Milanote

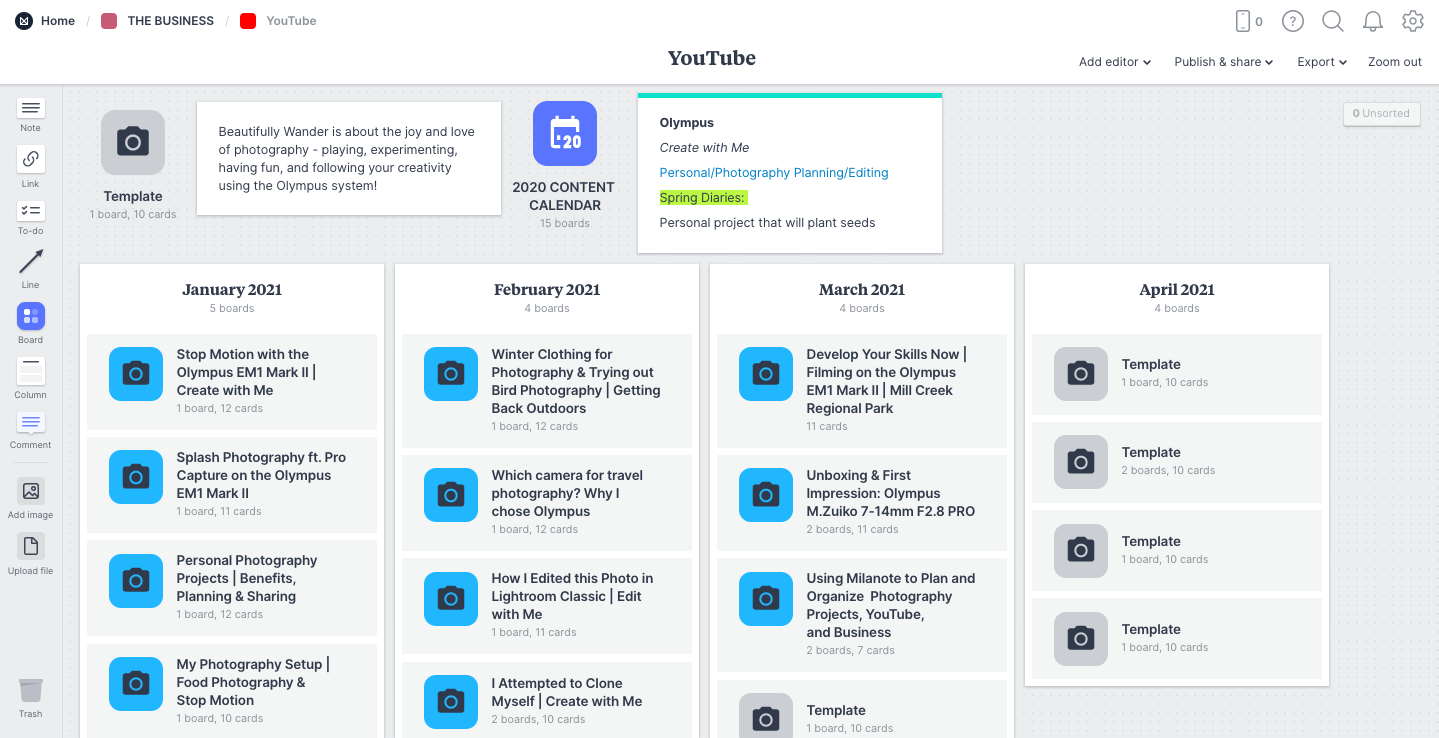
Example #1 - Planning my YouTube Content

I use Milanote every week to plan my YouTube content for the month and coming months. I create a series of columns and label them according to the month. Under each month I have blank template boards that I use as placeholders that correlate to a Saturday of the month. If I have a video idea I’ll change the name of the board but if I don’t I’ll leave it as Template.

Beneath my monthly columns I have more columns, text blocks and boards with video ideas and inspiration.

Within a board I can create note blocks, add links, create to-do lists, create a board within a board, create columns, add images and files.

I can also bold text, italicize text, change text color, highlight text, and change the card color.

As well, I can continue to work vertically or move horizontally if I need more space.

Using Milanote to Plan a YouTube video

Example #2 - Planning my Gallery Wall

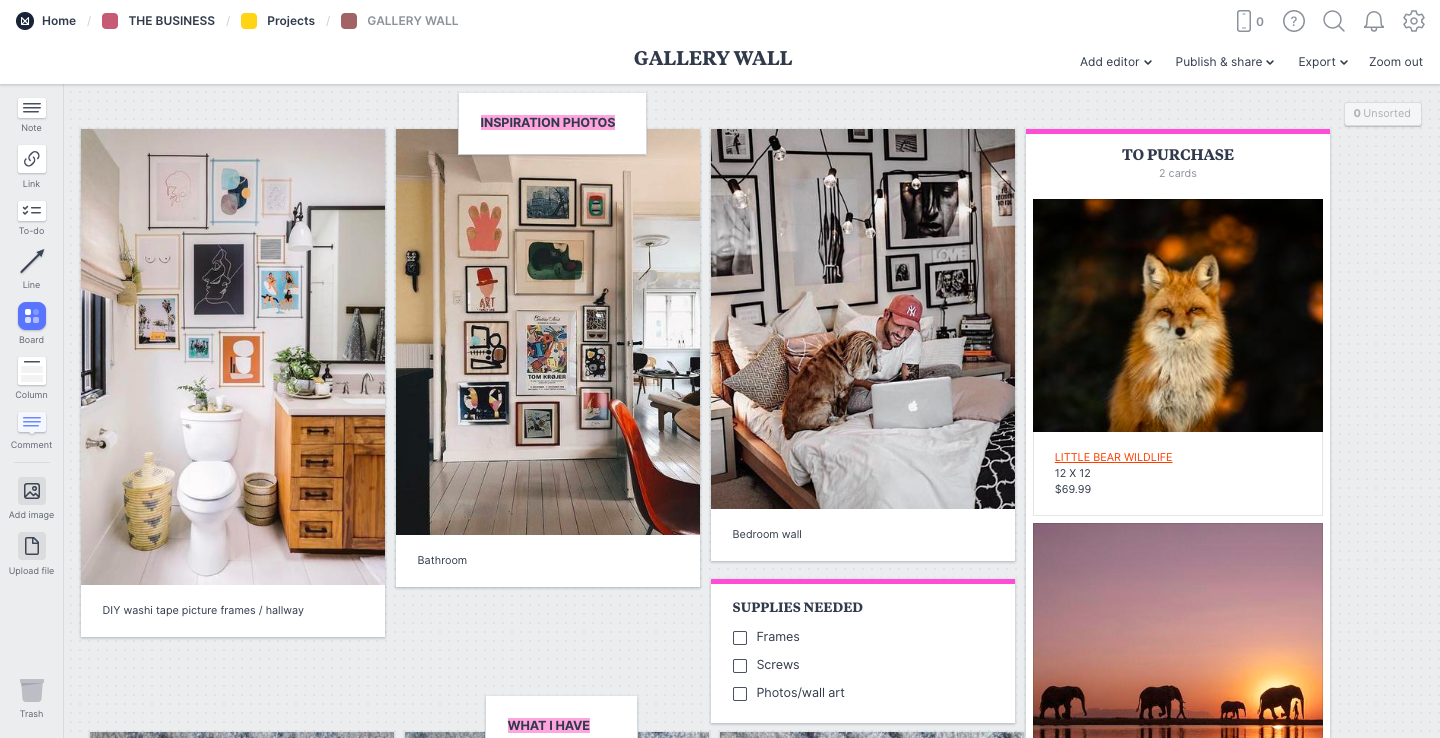
Another example I wanted to show you was how I use Milanote to plan a project. A personal project I have for my home is a huge gallery wall. With Milanote I can add a bunch of images to a board and organize them how I want. For this project board I have inspirational photos for how I want to layout my gallery wall, I have a column with photos that I want to purchase, a to-do list of items that I need to complete the gallery wall, photos that I have taken of what I currently have for the gallery wall and photos of my own that I want to print and add.

You can do a variety with Milanote and depending on the type of project the layout varies - this project board was picture heavy with lots of visuals.

Using Milanote to Plan a Gallery Wall Project

Milanote Save Function

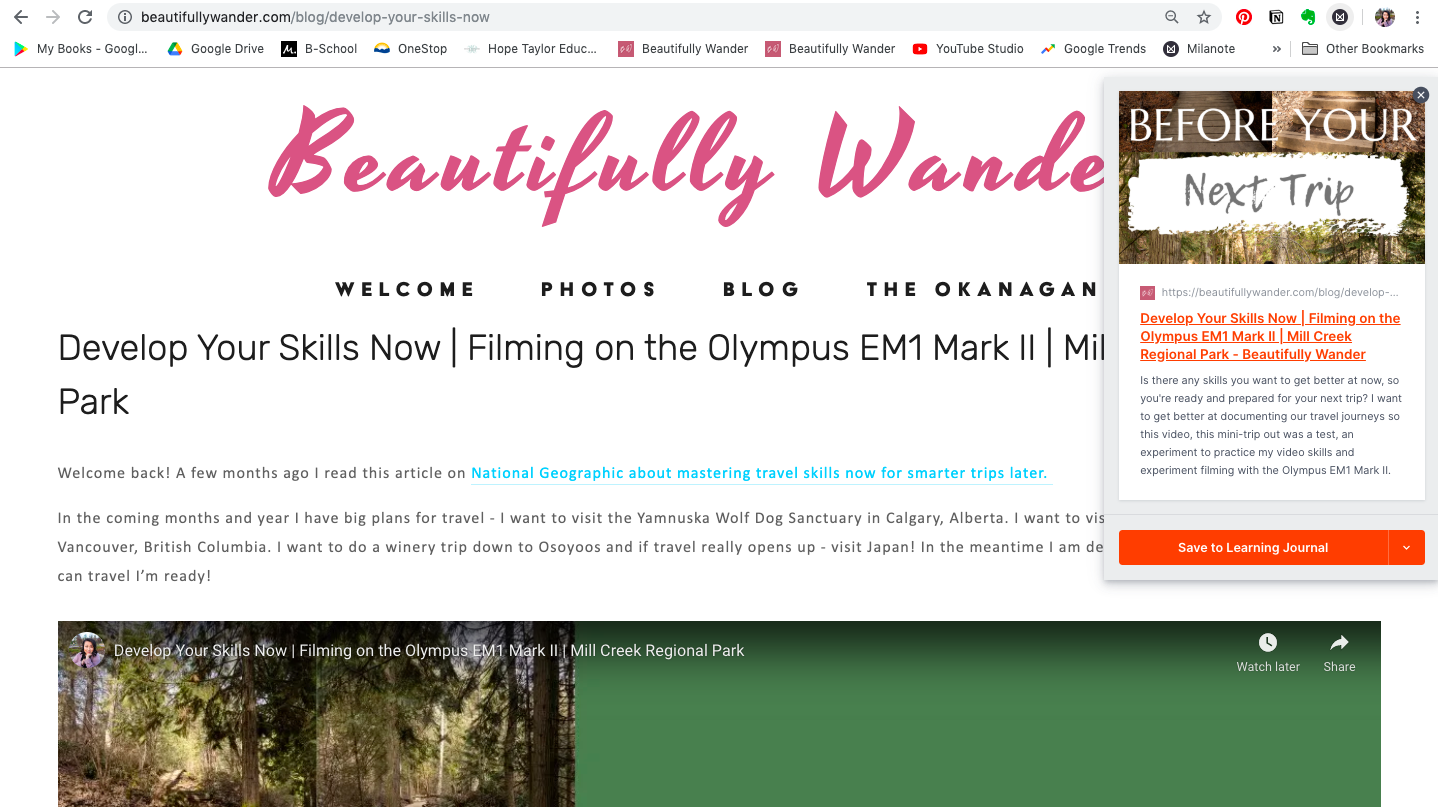
Another great feature of Milanote that I love having is the save button function that you can install and enable on your internet browser. If I find an article, quote, video that I want to save for future reference I can save it to a board on Milanote by selecting the icon on my browser.

Using the Milanote Save Function on Google Chrome

It will come up as ‘Unsorted’ on my board and then I can drag it to where I would like.

How to Use the Milanote Save Function

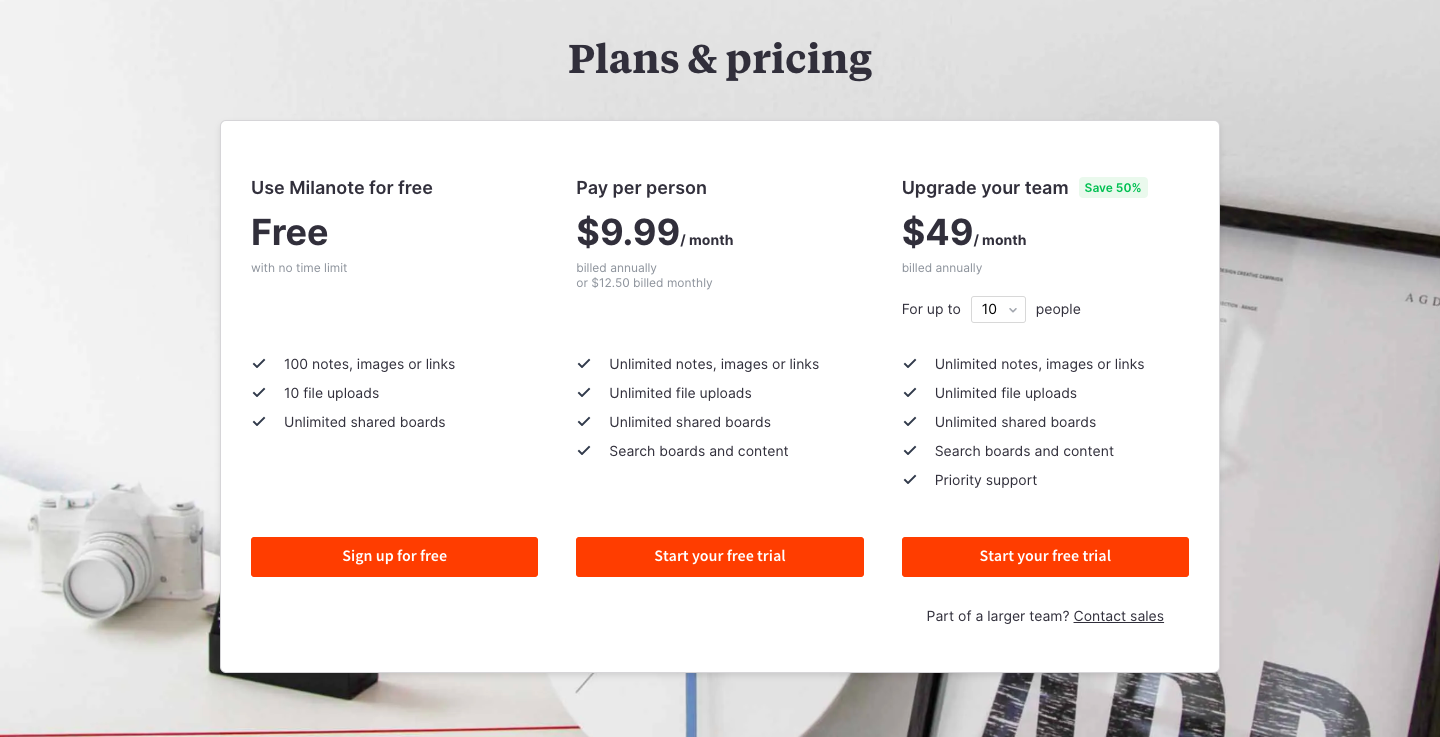
Cost

At first when I started using Milanote I used the free version but with how heavily I was using it to plan and organize my YouTube content and my photography projects I opted to upgrade to the next version which was $9.99/month billed annually. With how much I use it the cost was worth it for me.

Milanote pricing

Final Thoughts

I love Milanote because I can layout in a more organized fashion the chaos that is in my head. I’m a very visual person so Milanote is perfect for me! If you need more inspiration on how others use Milanote check out their website and select ‘How People Use Milanote.’

How People Use Milanote on their Website

Let me know over on the channel if you use any online tools to help you plan.

Thank you for reading and I hope you found this post useful!

Unboxing & First Impression: Olympus M.Zuiko 7-14mm F2.8 PRO

Welcome back! In todays episode I take you through one of my favourite kinds of videos to watch an unboxing of a new lens, as well my first impressions of the lens and what I hope to get out of it.

Full disclaimer, this post/video is not sponsored, this is not a paid promotion, I was not asked to make this video but I did receive this lens as part of collaborations with Olympus.

Basic Details

This is the M.Zuiko 7-14mm F2.8 PRO lens which in full-frame terms is a 14-28mm. This lens’s maximum aperture is F2.8 and its minimum is F22. It sits at 4.17 inches long and 3.11 inches wide and weighs in at 1.18 pounds.

If you want more technical aspects of the lens check out Olympus’s website!

First Impressions

Size

The Olympus M.Zuiko 7-14mm lens is a very familiar size to the M.Zuiko 12-40mm in length and width. The lens might fit a little longer but but it’s a nice compact size.

Weight

When I first held this lens I was surprised at its weight, in that it felt heavier than what I was expecting. However, given the quality of the lens - it’s made of sturdy material that doesn’t feel “plasticy” which indicates to me that its going to age well and whether the elements well.

Zoom Feature

The M.Zuiko 7-14mm is similar to the 40-150mm in that the length of the lens doesn’t get longer when you go from it’s one focal length to the other. For example, if you zoom from 12mm to 40mm on the M.Zuiko 12-40mm F2.8 PRO lens the mid-section gets longer. On the 40-150mm F2.8 PRO it doesn’t get any longer. However, with the 7-14mm the length doesn’t get longer but the lens part does move up and down.

Lens Cap

I really love the lens cap on the 7-14mm. The lens cap goes over and snuggly fits on the lens which in my opinion makes attaching and detaching the cap much easier.

Tight Zoom

At first I was concerned about the surface area of the 7-14mm and that it was a tight zoom when holding. However, once you get it on the body it was completely fine.

Protecting the Lens

I am also concerned on how I am going to protect this lens. On my other lenses I have a screw-on UV filter, however, with the 7-14mm and the dome-shape to the lens it cannot fit a screw-on filter.

Test Photos

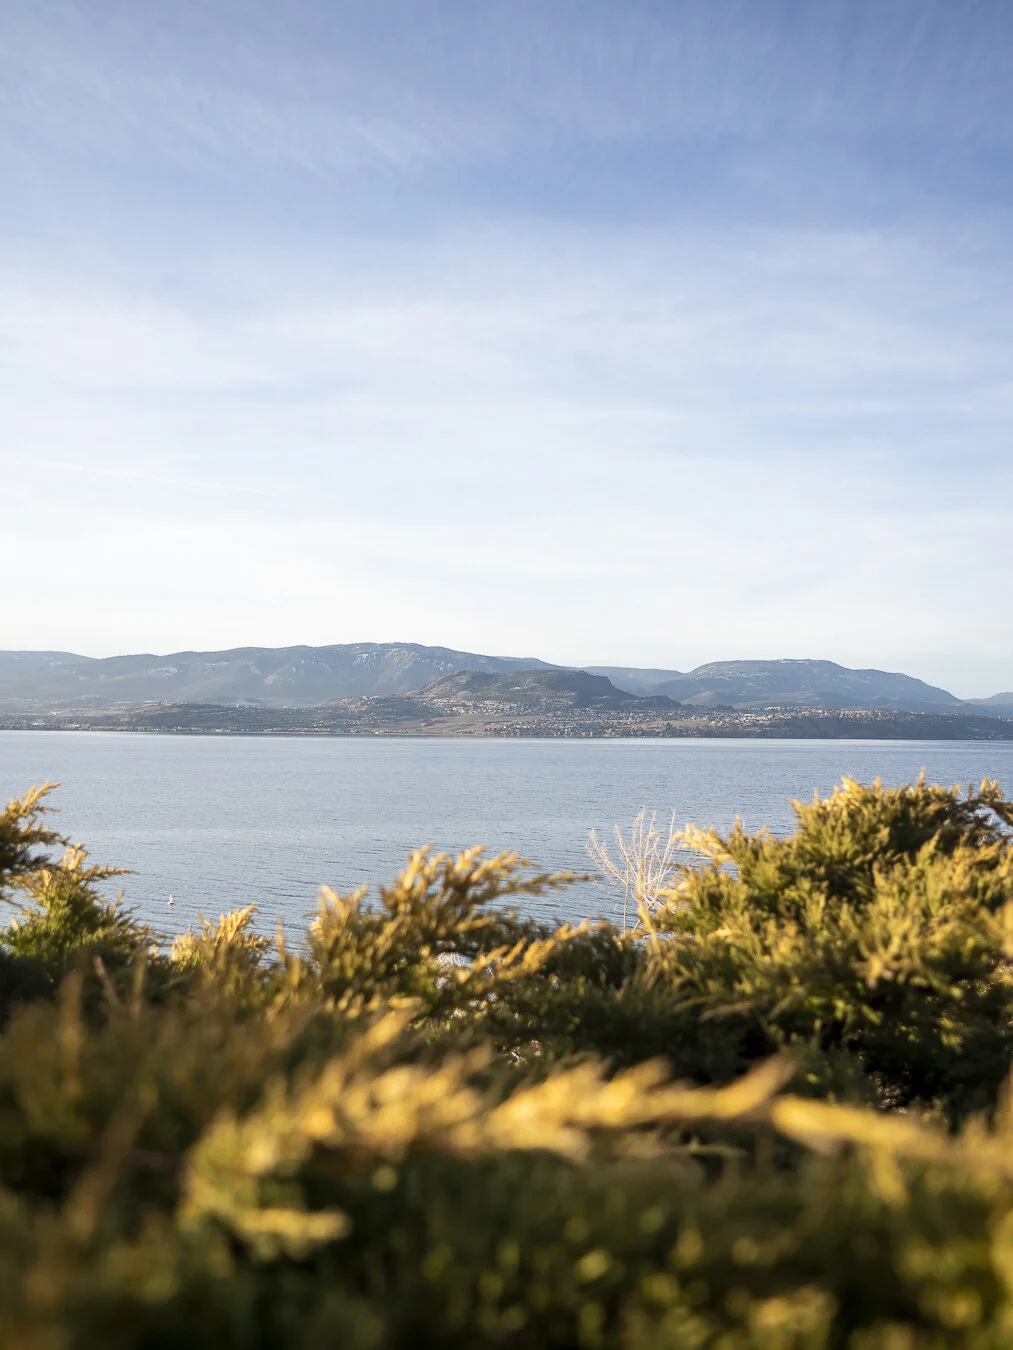
Of course, you have to take it for a spin and test the new lens. My first trip out with it was to Cedar Creek Park in Kelowna, BC.

Cedar-Creek-Park-3.jpg
Cedar-Creek-Park-6.jpg
Cedar-Creek-Park-8.jpg

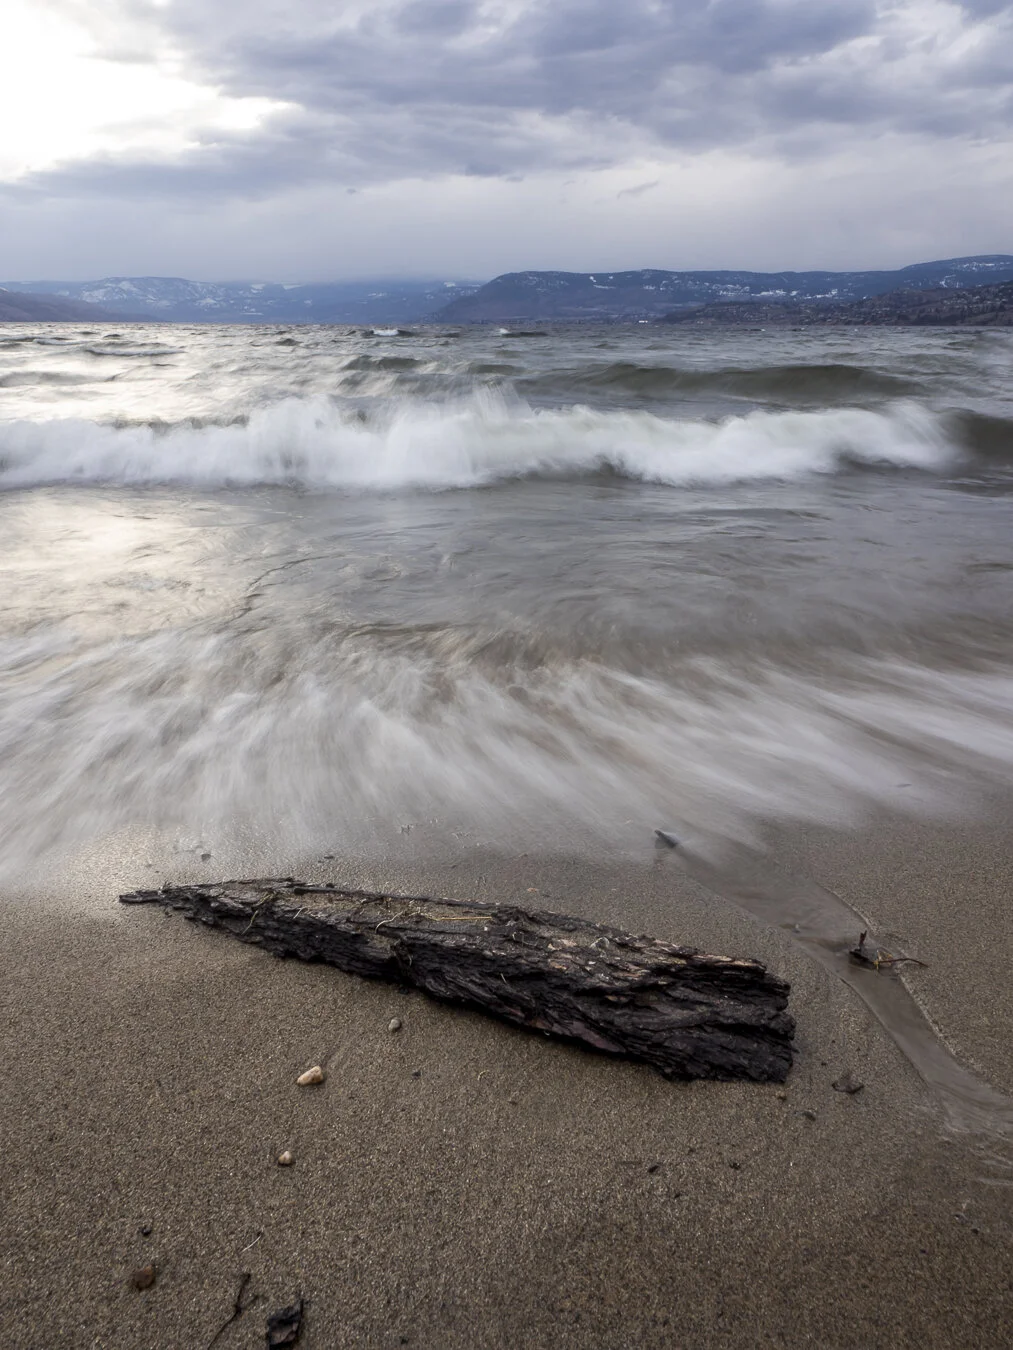
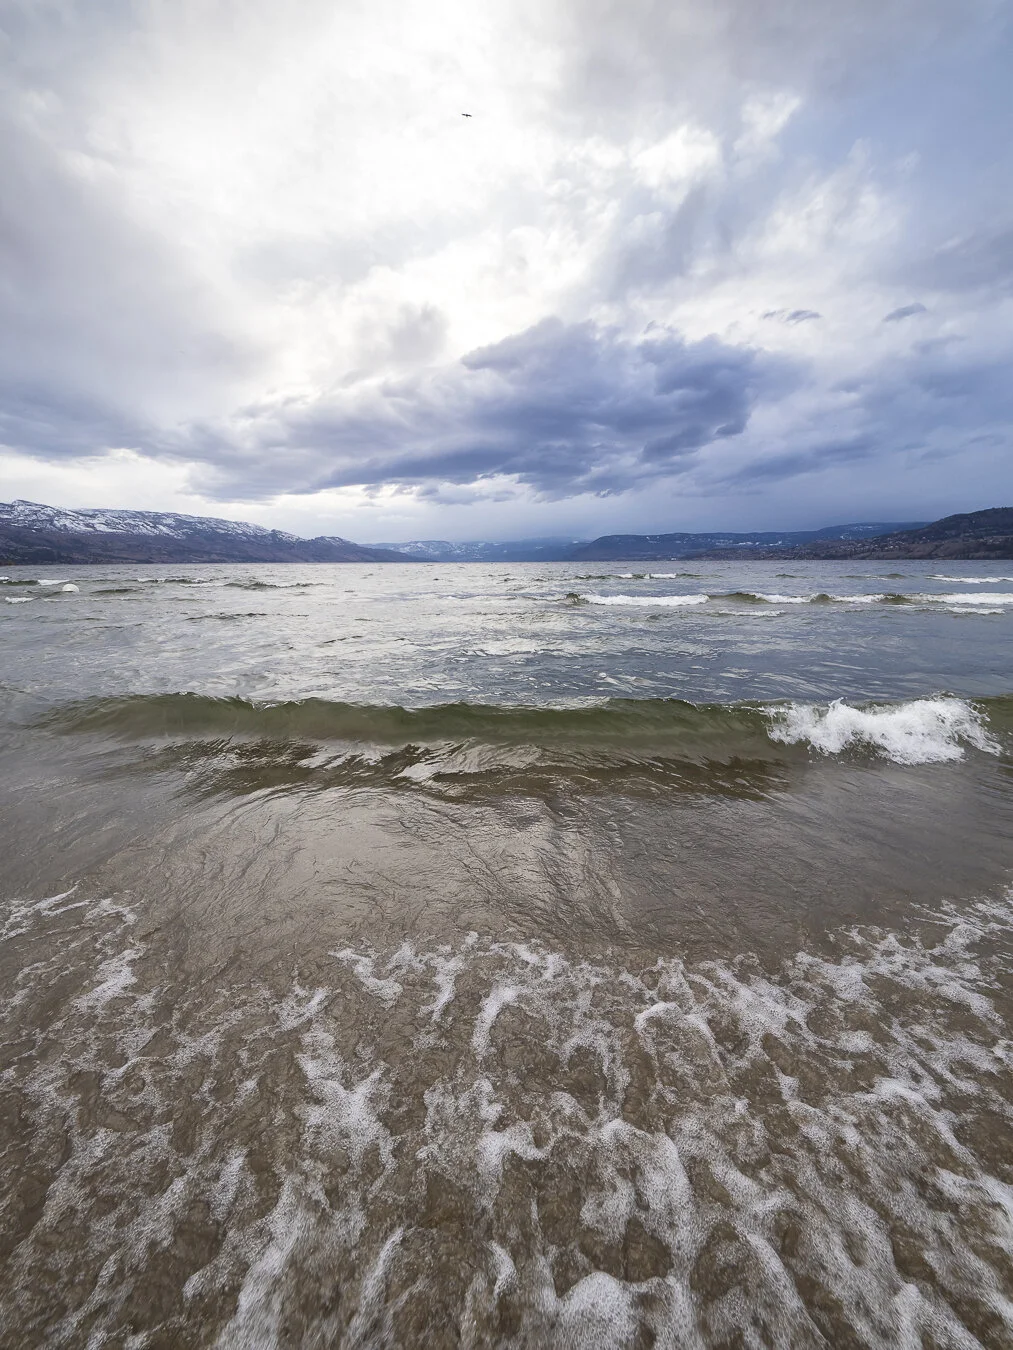
The second spot I took the new lens out for a spin was Bluebird Beach along Okanagan Lake on a particularly cloudy and stormy day.

Bluebird-Beach-1.jpg
Bluebird-Beach-2.jpg

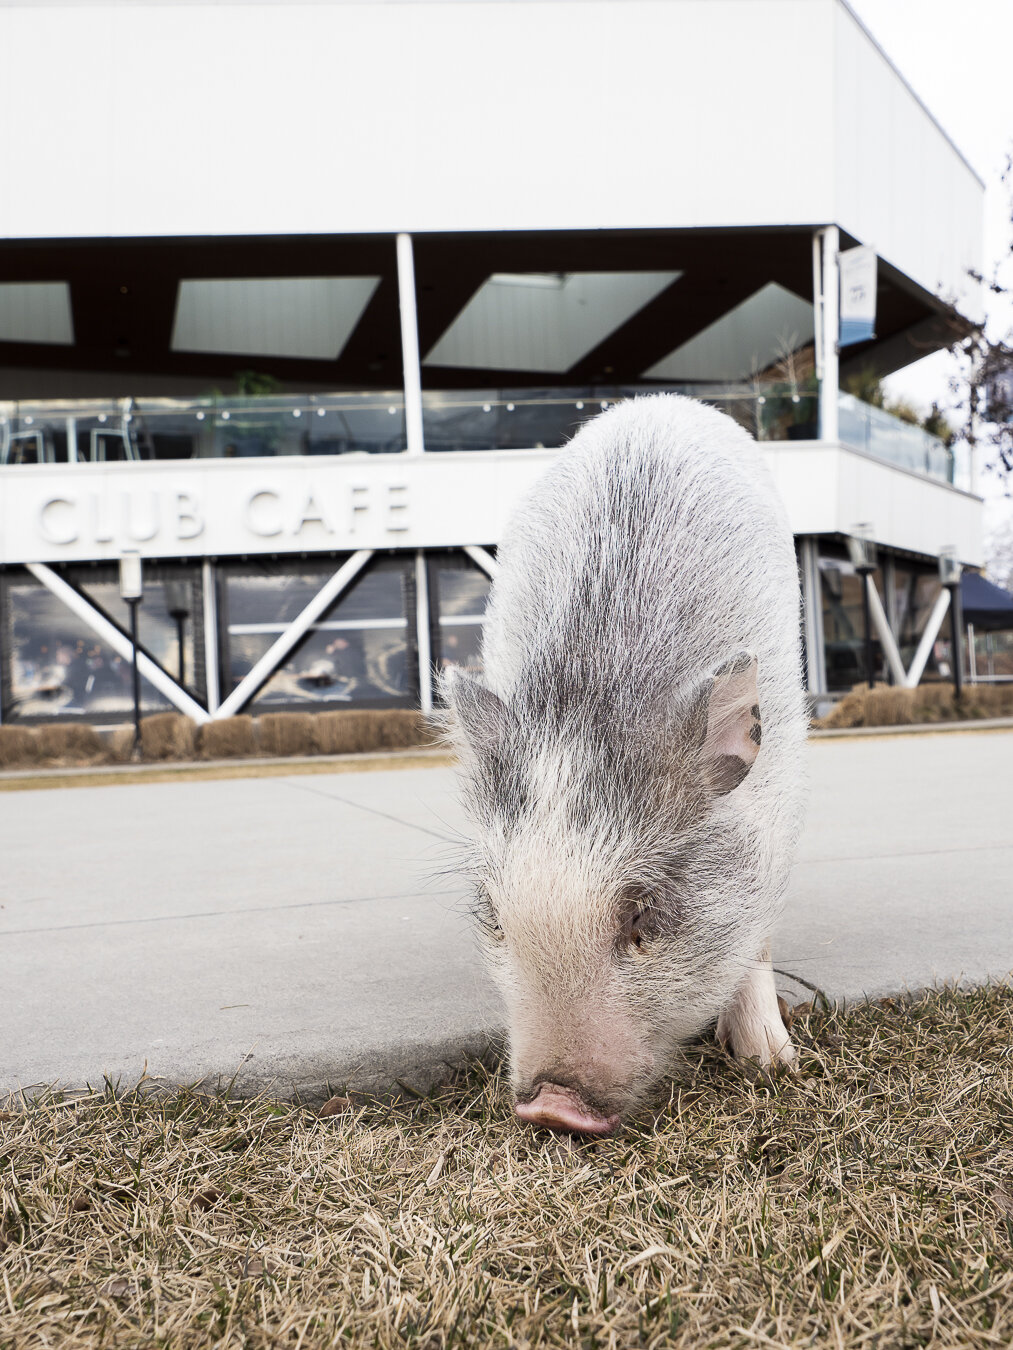
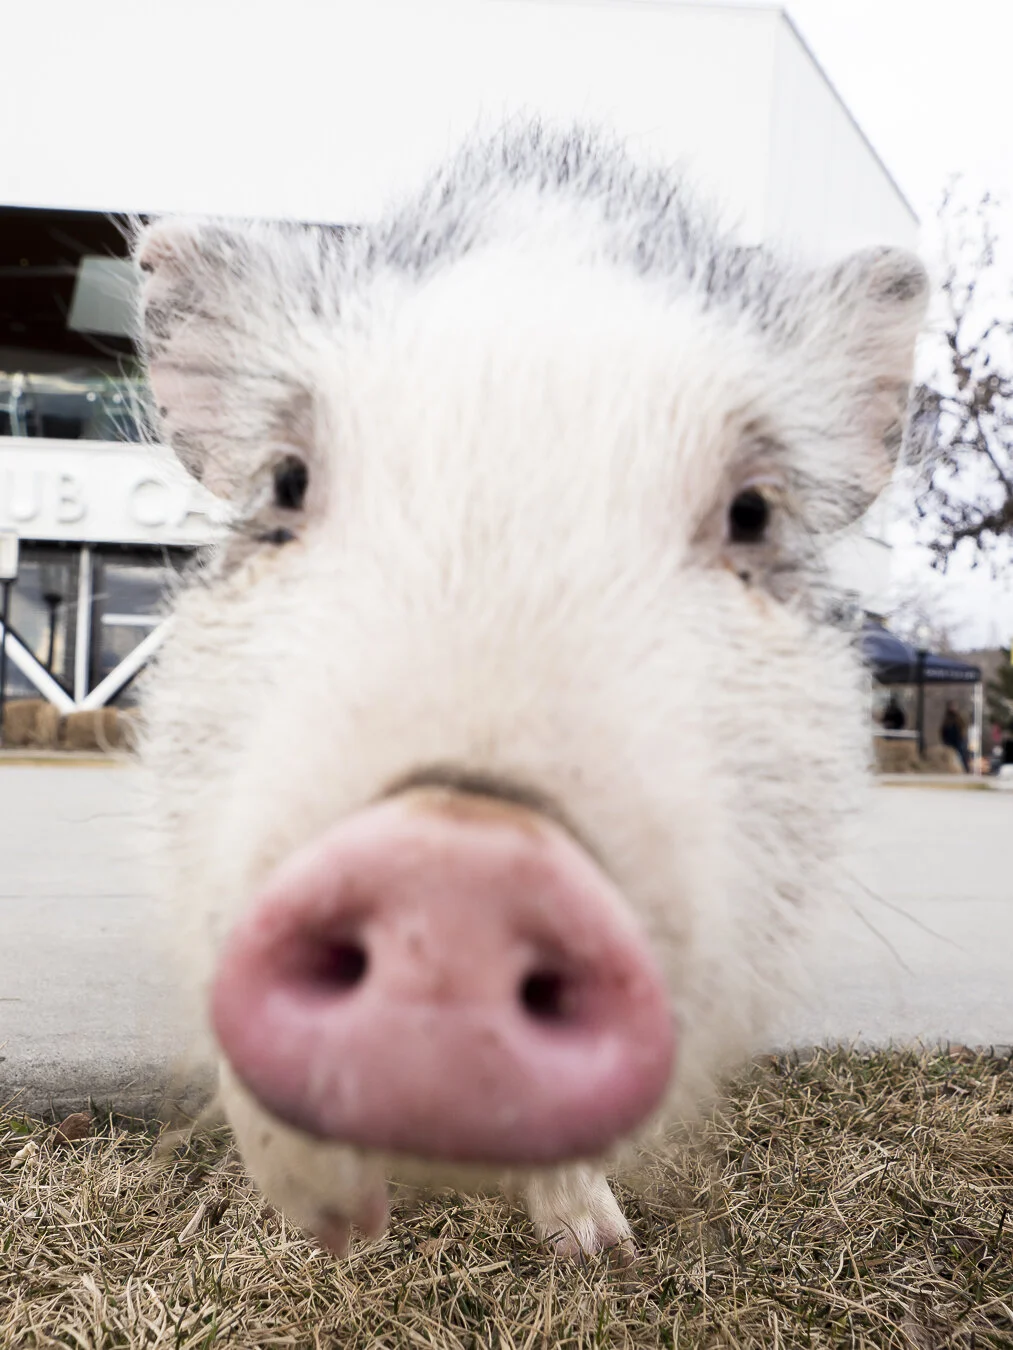
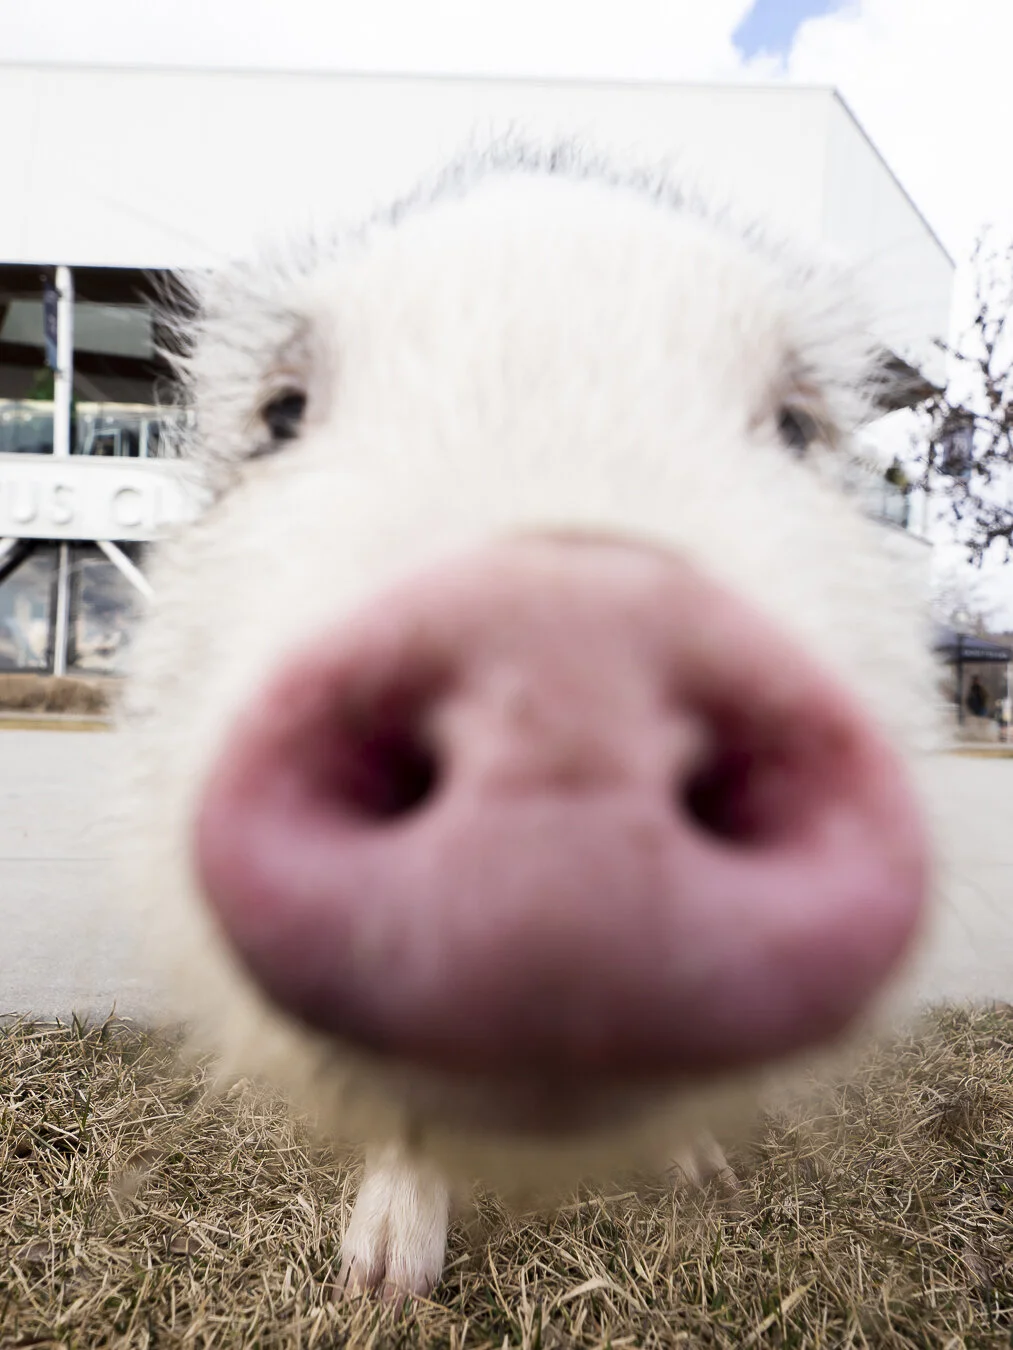
I also wanted to test it out around Downtown Kelowna. While we were walking around downtown we came across this little pig and his owner going for a walk!

Downtown-Kelowna-1.jpg
Downtown-Kelowna-2.jpg
Downtown-Kelowna-3.jpg

What I Hope to Get out of this Lens

There is a few things I want to get out of this lens.

Creative Distortion

The first thing I hope to play and experiment with is creative distortion. It’s not new that a wide angle lens can create a sense of distortion in your images but I have been particularly drawn to the distortion it creates so I want to create and experiment with this in my outdoor nature images.

Indoor Locations

The second thing I hope to to play with is photographing indoor places. I love taking my camera to new restaurants with me but I find the 12mm on my 12-40mm F2.8 PRO isn’t enough to really get a sense of a place or environment.

Self-portraits and Filming

The last thing I hope to experiment with is taking self-portraits with a wide angle lens and filming videos with it.


I’ve only had this lens for about two weeks so I haven’t used it enough to give a full-depth review, but I wanted to give my first impressions of this lens and what I hope to get out of this lens!

Happy photographing!

Which Camera for Travel Photography? Why I Chose Olympus | UPDATED

In this episode we chat about the hunt for the perfect camera for travel photography and why I personally chose Olympus (OM Digital Solutions). But before we get into it, I was not sponsored by Olympus to make this video I personally love the brand.

Considerations for a Travel Camera

I think it’s important to recognize that investing in a camera is a personal choice and what I find important in a travel camera might not be important to you and vice versa.

Here are some items I found important in a travel camera when I was searching:

1) Compactness and Weight

I prefer when I travel to travel carry-on only because I don’t like lugging around a lot of stuff (both when I’m travelling to a destination and when I’m travelling around that destination).

Thus, the size and weight of the camera was a HUGE factor that I considered in my decision. Which is why I knew I was in the market for a mirrorless camera system because they tend to be on the lighter and more compact side than a DSLR.

2) Lens Selection

I wasn’t just buying a camera and a lens, I was buying into my future so I also knew that whatever camera system I was buying it had to have a good variety of lenses.

I knew beforehand that I didn’t want to be a photographer that accumulates and accumulates gear that uses once and never again so it wasn’t about having this endless quantity of lenses but amazing, versatile, lightweight, lenses.

3) Budget

How much can you afford, what is your budget for your camera and its lenses? For me personally I had a budget of $2000 to buy a body and lens to start with and any subsequent lenses had to be affordable to me.

Something I did consider into my decision making was the capability of buying an older model of body, investing in the lenses and upgrading the body when I need to.

4) Articulating Screen

An important feature the camera needed to have was an articulating screen. It was a deal breaker if the camera system did not have an articulating screen because I knew I would want to use it for making travel videos, taking travel self-portraits, etc.,

It’s also proven to be extremely useful for photography in instances when I need to get close to the ground or position the camera in odd angles to get the shot.

5) WiFi Connection

Lastly, I wanted the ability to control the camera with my phone if I wanted to for those travel self-portraits or wirelessly send photos to my phone without having to connect to my laptop for on-the-go editing and publishing.

With local and domestic travel I typically travel with my laptop. However, for international trips (depending on the length) I don’t always and so the capability of editing and publishing off my phone is important.

Other Items

There are numerous other times you may want to consider - battery life, dual slot memory cards, mirrorless vs. DSLR, Full-Frame vs. Micro-Four-Thirds, etc.,

Therefore, my biggest suggestion on what camera to buy for travel is to make a list of all the things you find important and the camera NEEDS to have to help narrow your search.

Why I Chose Olympus

After quite a bit of time and research I decided to purchase into Olympus (OM Digital Solutions).

More specifically I purchased the Olympus OM-D E-M1 Mark II and the M.Zuiko 12-40mm F2.8 PRO lens.

Why? It had everything that I was looking for in a camera system:

  • Compact and lightweight

  • Solid lens selection

  • Capability to buy into an older model and upgrade later when I was ready

  • Within my budget

  • Had an articulating screen

  • Had WiFi capability

From my experience its had great battery life when travelling, it contains dual slot memory cards, and it’s very customizable.

An added bonus is that it’s got amazing weather proofing - it’s freeze-proof, dust-proof and splash-proof. Which means that I can take the camera out in any weather condition that travel and seasons throw at me.

If I was to boil down the three main reasons why I chose Olympus it’s because of:

1) Their camera design (it’s one of the best adventure/outdoor camera’s out there)

2) Their amazing lens quality and selection

3) Their supportive and encouraging community of photographers

It’s worth mentioning that at the time I purchased my OM-D E-M1 Mark II the Mark III was available, however, my budget for a camera and lens was $2000 and the Mark III with a lens would have pushed me far past that and where I was with my photography so I opted to invest in the Mark II then and upgrade when I was ready.

Final Thoughts

It ultimately comes down to personal choice.

What matters to you, what you need, and what you want. Olympus checks the boxes for me, however, a different camera brand such as Sony, Canon, Fujifilm, etc., might suit you better because like I said earlier what I find important to me might be different than what you find important.

I hope you found this post helpful in your search for your perfect travel camera!


Olympus 40-150 F2.8 PRO | Introducing My New Lens!

NOTE: Please note that I did receive this lens from Olympus from a collaboration I did with them previously, but this post/video itself is not a paid promotion, I was not asked to make this post/video, the photos and thoughts are my own.


A few weeks ago I collaborated with Olympus to write an article for their Olympus Learn Centre about Intimate Landscape Photography! From that collaboration I received the M.Zuiko 40-150mm f/2.8 PRO.

In todays short episode we look at the basic details of the lens, the benefit of zoom lenses, and why I chose the 40-150 f/2.8 PRO!

Basic Details

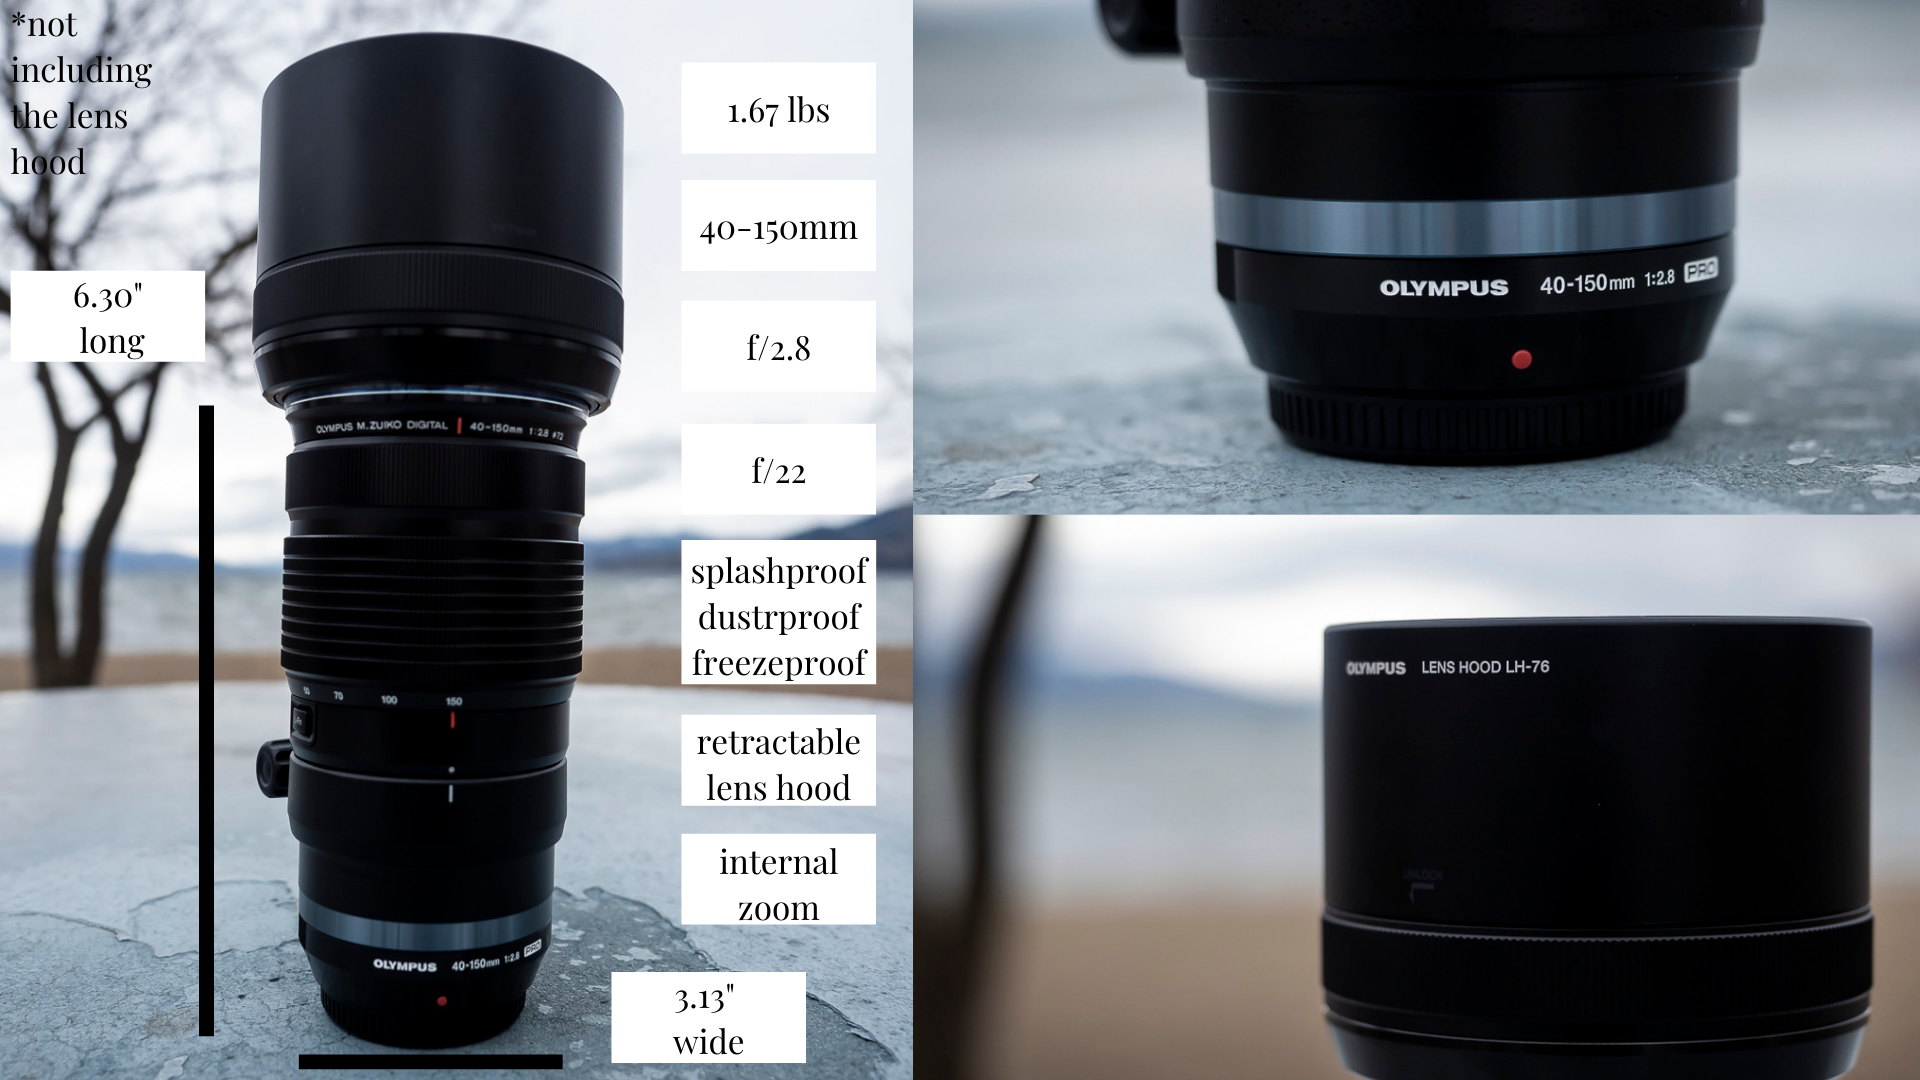
The Olympus 40-150 f/2.8 PRO weights in at 1.67 pounds, and has a focal length of 40-150mm (80-300mm full frame equivalent).

The maximum aperture is f/2.8 and the minimum is f/22. The length of the lens without the lens hood is 6.30” and 3.13” wide.

The lens is splashproof, dustproof and freezeproof! It also has a retractable lens hood and internal zoom so no matter if you use it at 40mm or 150mm the length of the lens does not get any longer.

YOUTUBE GRAPHICS (18).png

Benefit of Zoom Lenses

I know there are many die hard prime lens users out there, however, I found with my photography and what I want to create investing in zoom lenses was better for me - I prefer to focus on intimate frames and landscapes.

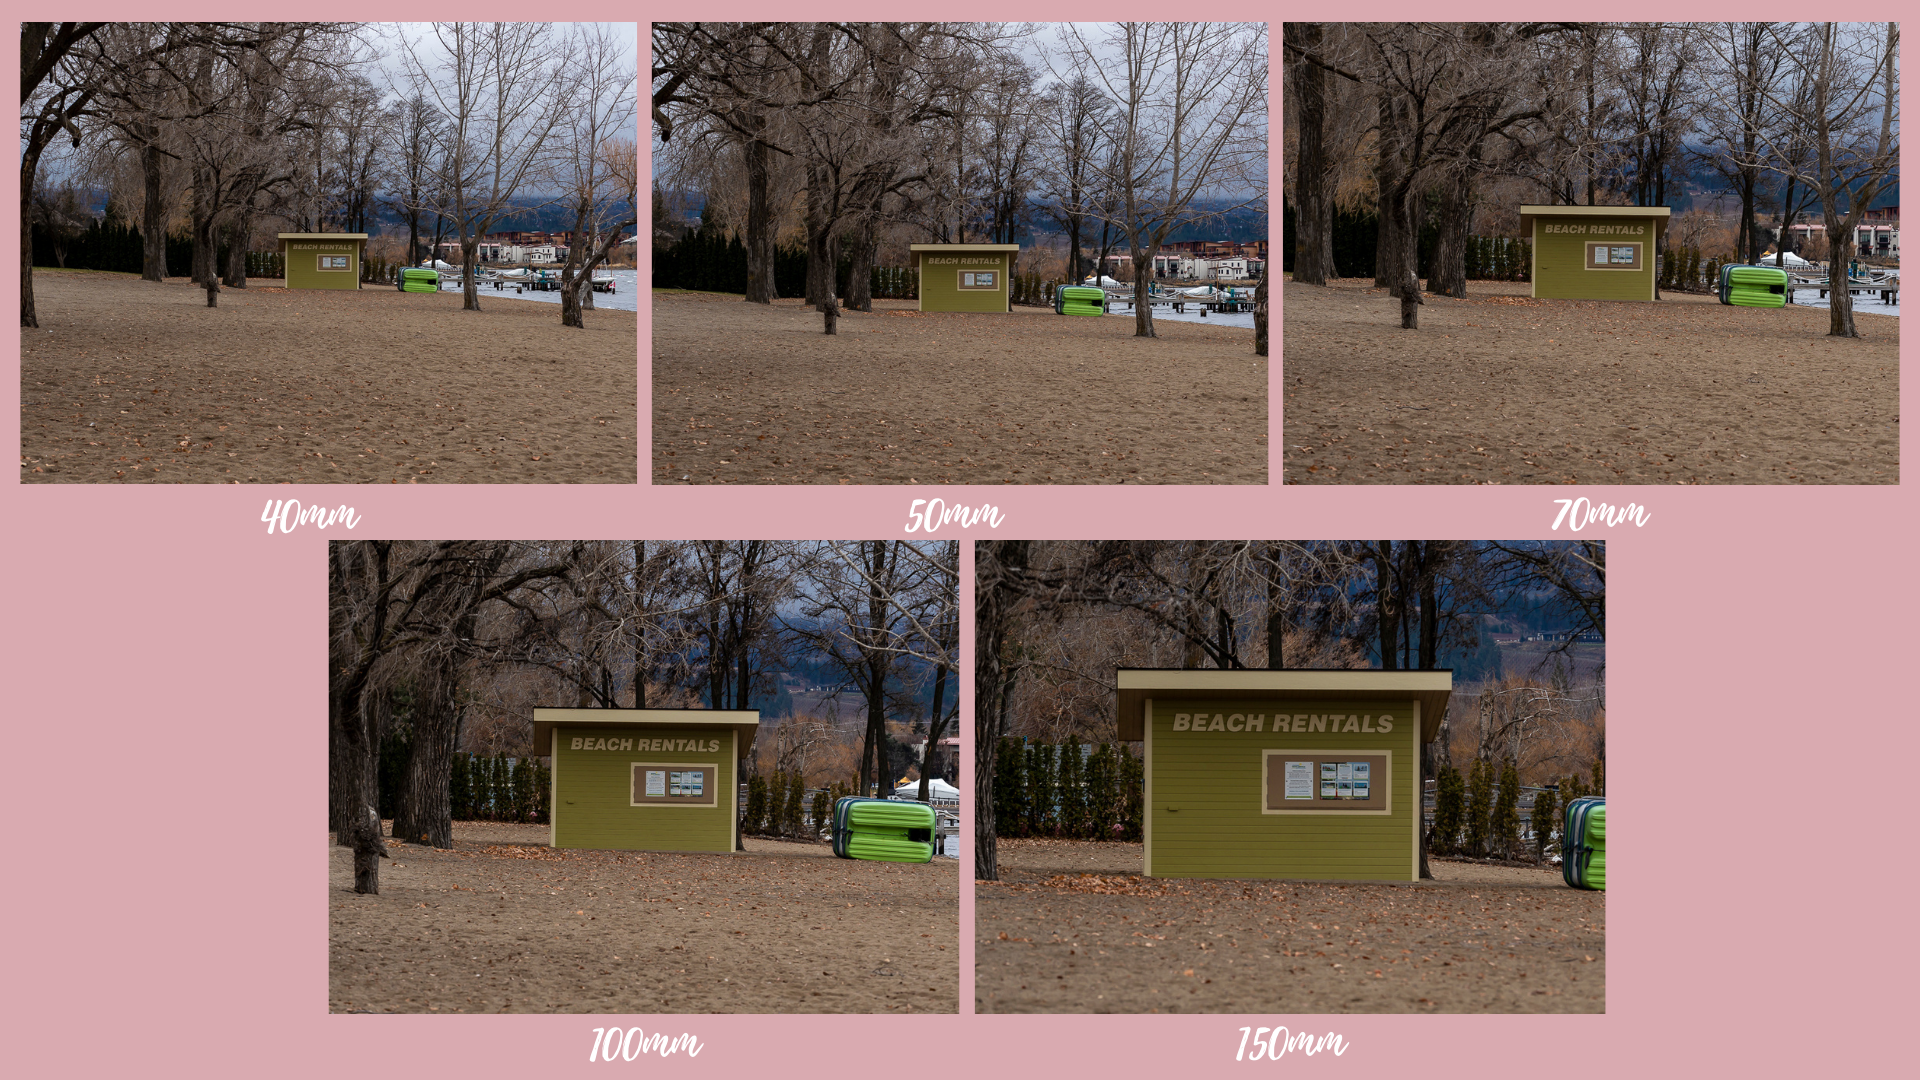
With zoom lenses like the 40-150 you have a wide array of focal lengths at your disposal.

YOUTUBE GRAPHICS (14) 2.png

And due to this it allows you to have a lightweight and compact setup - the power of this lens and the size of it is one of the reasons why I invested in Olympus in the first place!

Why I Chose the 40-150mm f/2.8 PRO

When I was deciding which lens to receive I knew deep down that it was going to be the 40-150mm f/2.8 even though I did have my eye on the 7-14mm as well.

I gravitated towards the 40-150mm because of the photography I was doing and saw the benefit over the long term. There were so many times before I got this lens that I wished I had it for its extra reach.

So far it’s been an AMAZING lens! It produces really sharp images, but it is a little heavier than what I am used to with my 12-40mm.

I’ve struggled finding a comfortable way to carry the lens - my Ona Bowery Bag can fit both my 12-40 and the 40-150 with the camera body but it gets tricky. It fits better if the 12-40 is on my EM1 Mark II body and the 40-150 is off to the side, but it doesn’t fit as nicely if the 40-150mm is on my camera body. I have a camera backpack but I find my stuff rolls a lot in the compartments which I don’t like.

I like using this lens when I am trying to capture something specifically far away and I can’t physically get any closer. For example, if the clouds over the mountains are doing something cool across the Okanagan Lake.

Or when I am trying to capture something in the distance at a longer focal length so it fills the frame quite nicely but I still want to incorporate some foreground interest

Photos Taken on the 40-150 F2.8 PRO

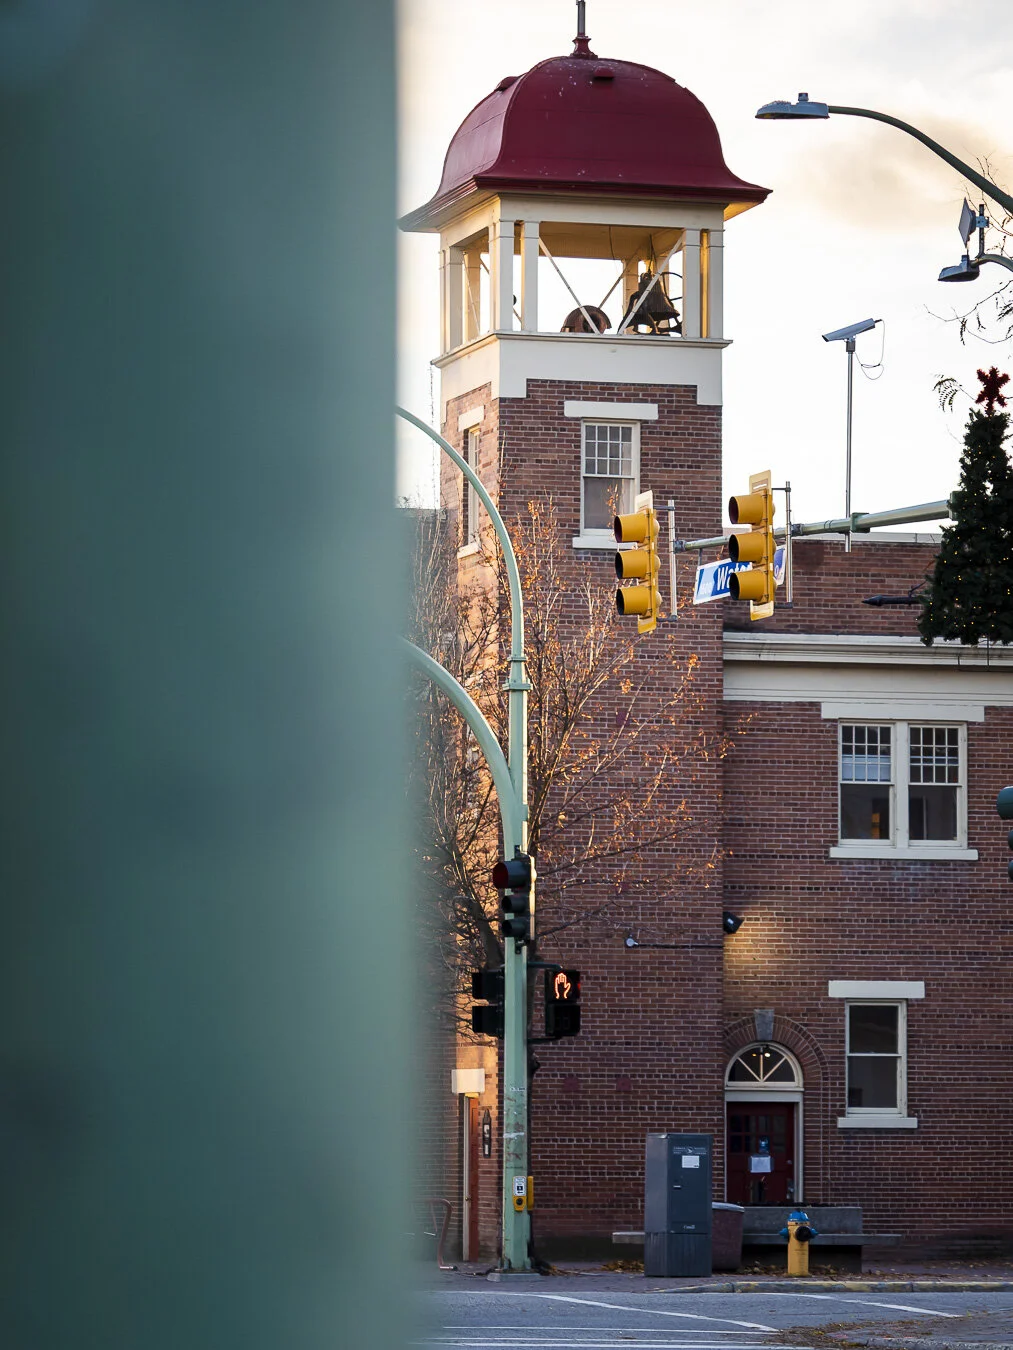
This is a photo of the Kelowna Firehall Downtown - to frame it creatively I used the light post to create some foreground interest.ISO 200 | f/2.8 | 1/200

This is a photo of the Kelowna Firehall Downtown - to frame it creatively I used the light post to create some foreground interest.

ISO 200 | f/2.8 | 1/200

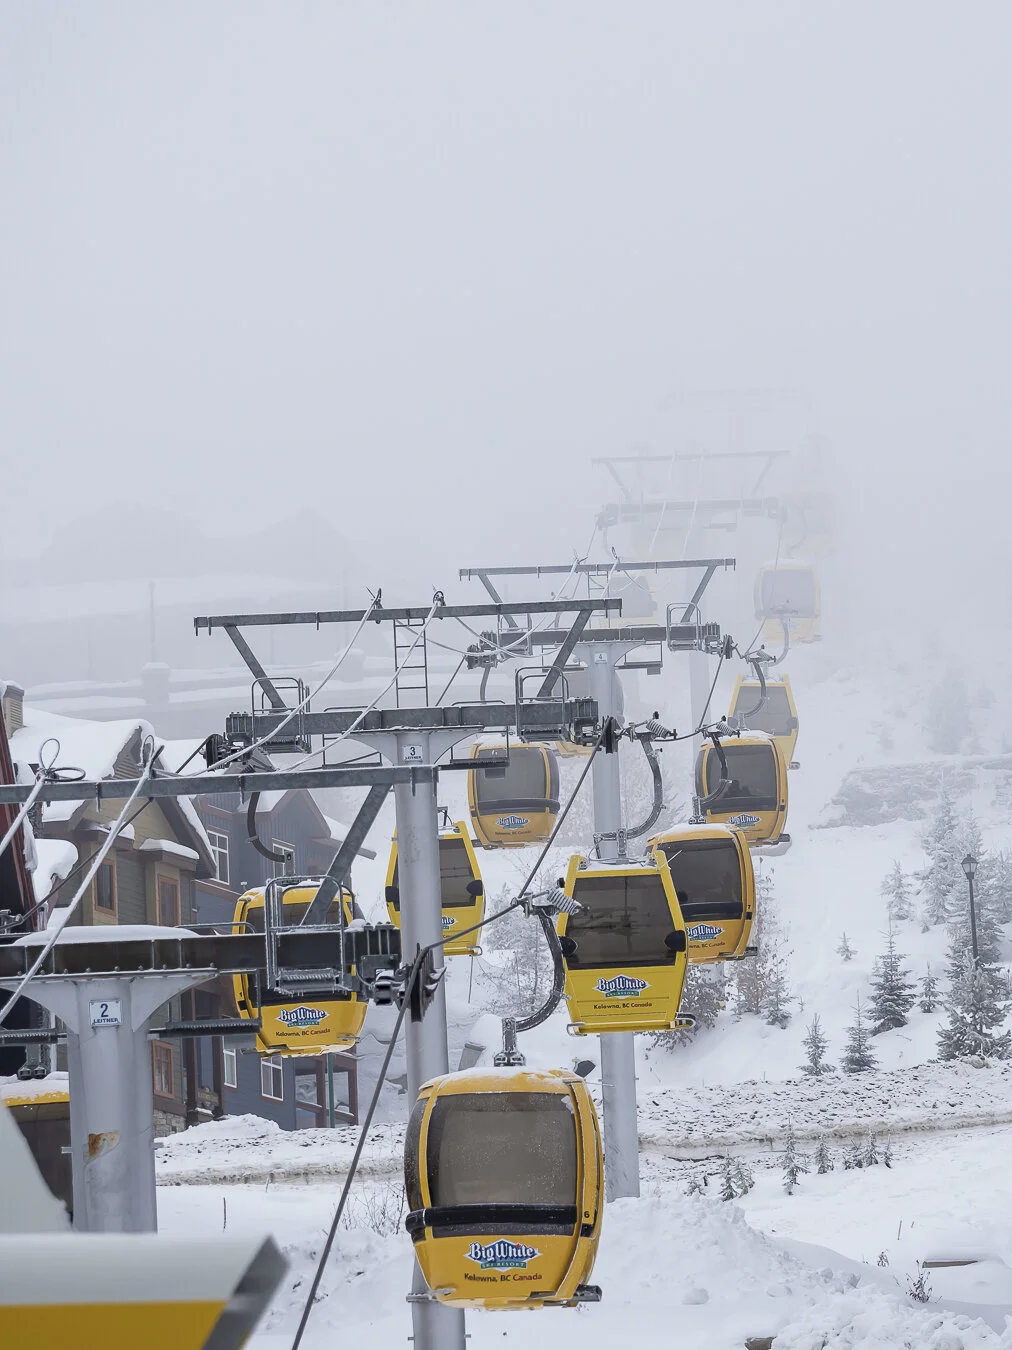
This is a photo of the gondola’s at Big White going up and down - on this day it was particularly foggy so it added interesting dimension and atmosphere to the photo!ISO 250 | f/3.5 | 1/400

This is a photo of the gondola’s at Big White going up and down - on this day it was particularly foggy so it added interesting dimension and atmosphere to the photo!

ISO 250 | f/3.5 | 1/400

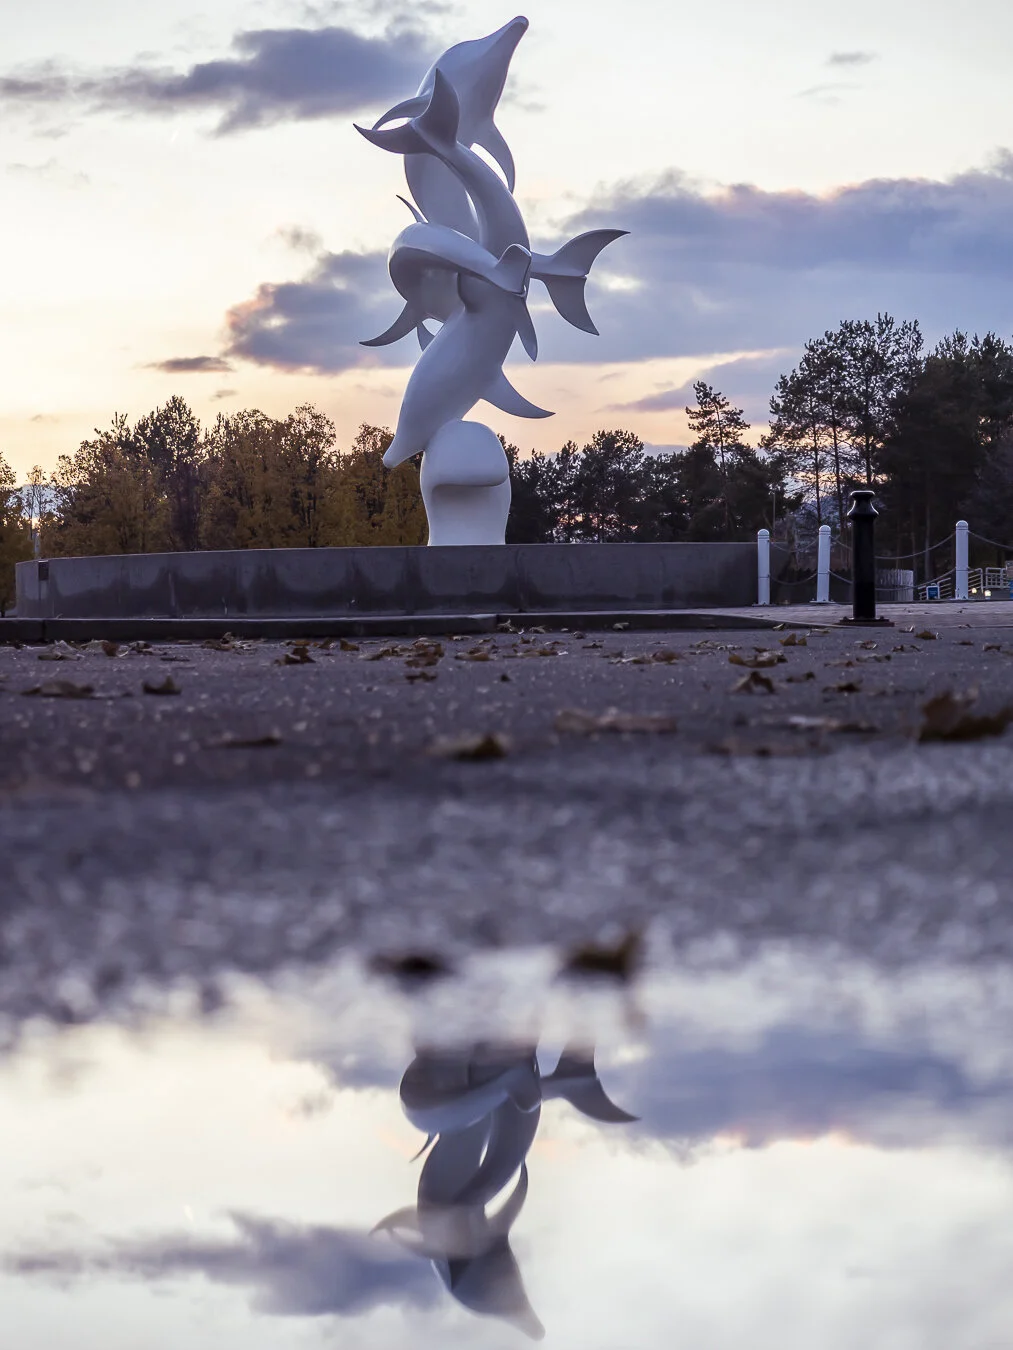
In this photo I created a reflection of the Dolphin Statue at Rhapsody Plaza in Kelowna by using a puddle that was in the middle of the parking lot!ISO 250 | f/2.8 | 1/400

In this photo I created a reflection of the Dolphin Statue at Rhapsody Plaza in Kelowna by using a puddle that was in the middle of the parking lot!

ISO 250 | f/2.8 | 1/400

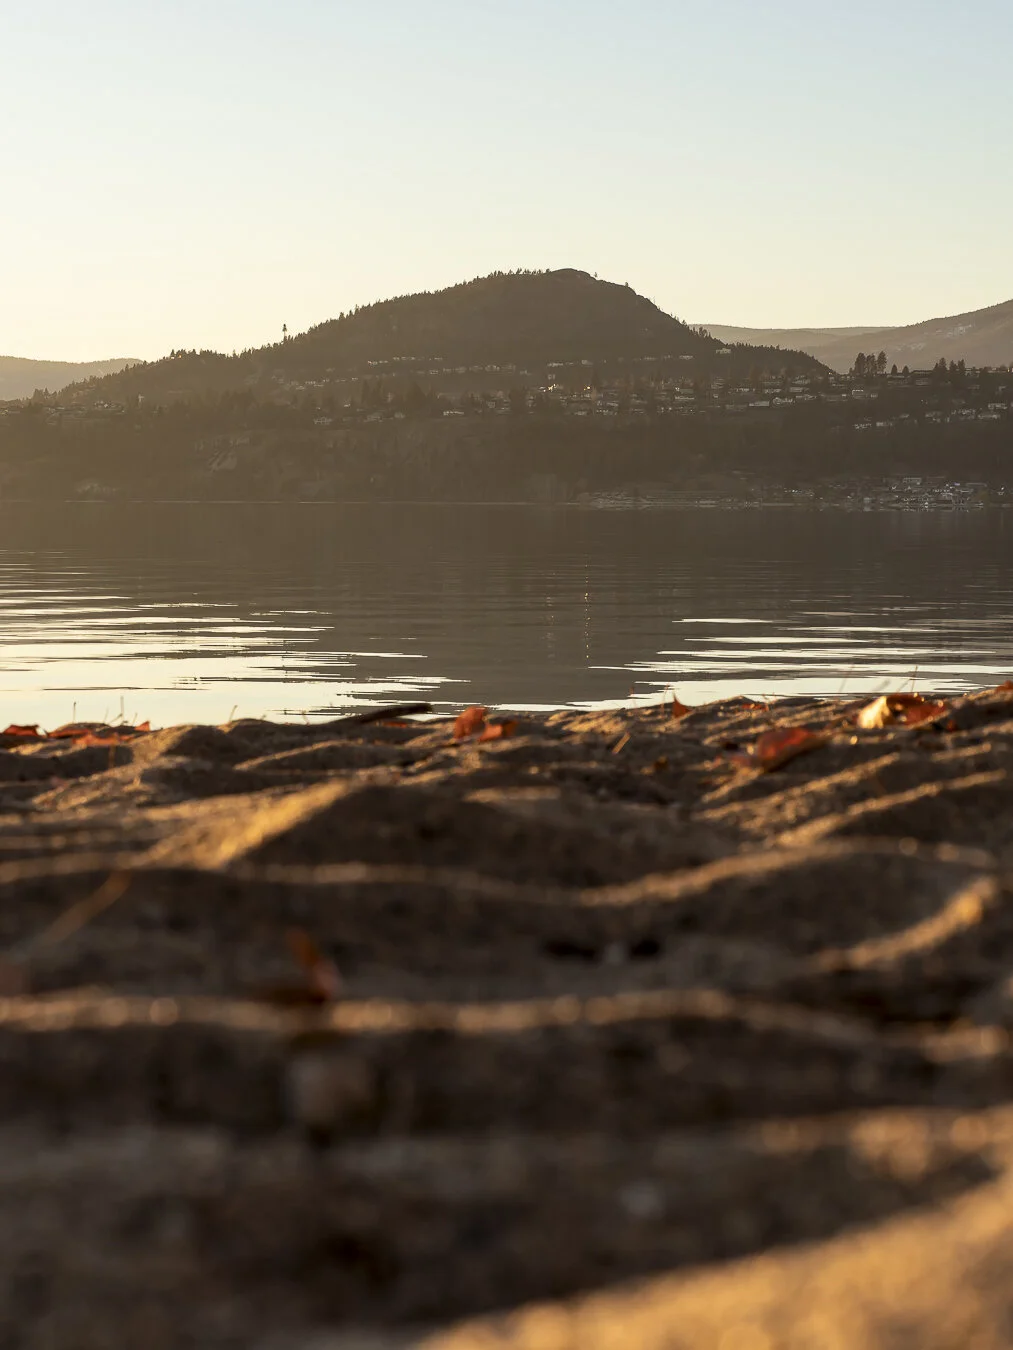
In this photo I fell in love with the light, shadows, and lines of the golden sand at the beach so I decided to get my camera really low to capture the golden peaks!ISO 64 | f/8 | 1/50

In this photo I fell in love with the light, shadows, and lines of the golden sand at the beach so I decided to get my camera really low to capture the golden peaks!

ISO 64 | f/8 | 1/50

Final Thoughts

The M.Zuiko 40-150mm F/2.8 PRO has been a great lens so far! I can’t wait to take it on many more adventures!

ONA BOWERY CAMERA BAG | FIRST IMPRESSION

When we were in Vancouver, Canada a couple weekends ago I bought the Ona Bowery Camera Bag! In this episode I’ll show you up-close what the bag looks like and give you my first impressions!

Regularly on the Ona website the bag is $259 US. I bought this jewel at Broadway Camera in Vancouver for $309 CAD (before taxes).

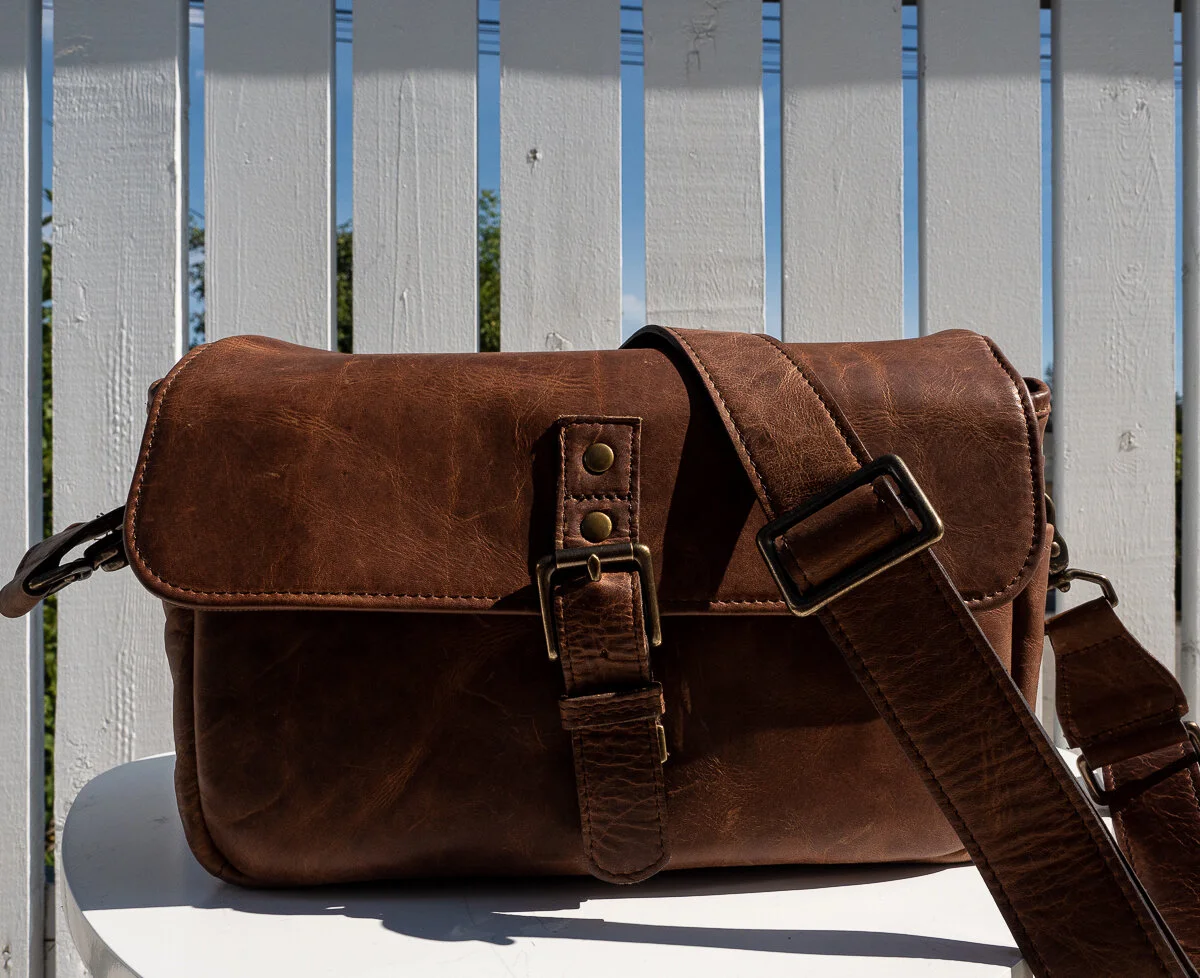
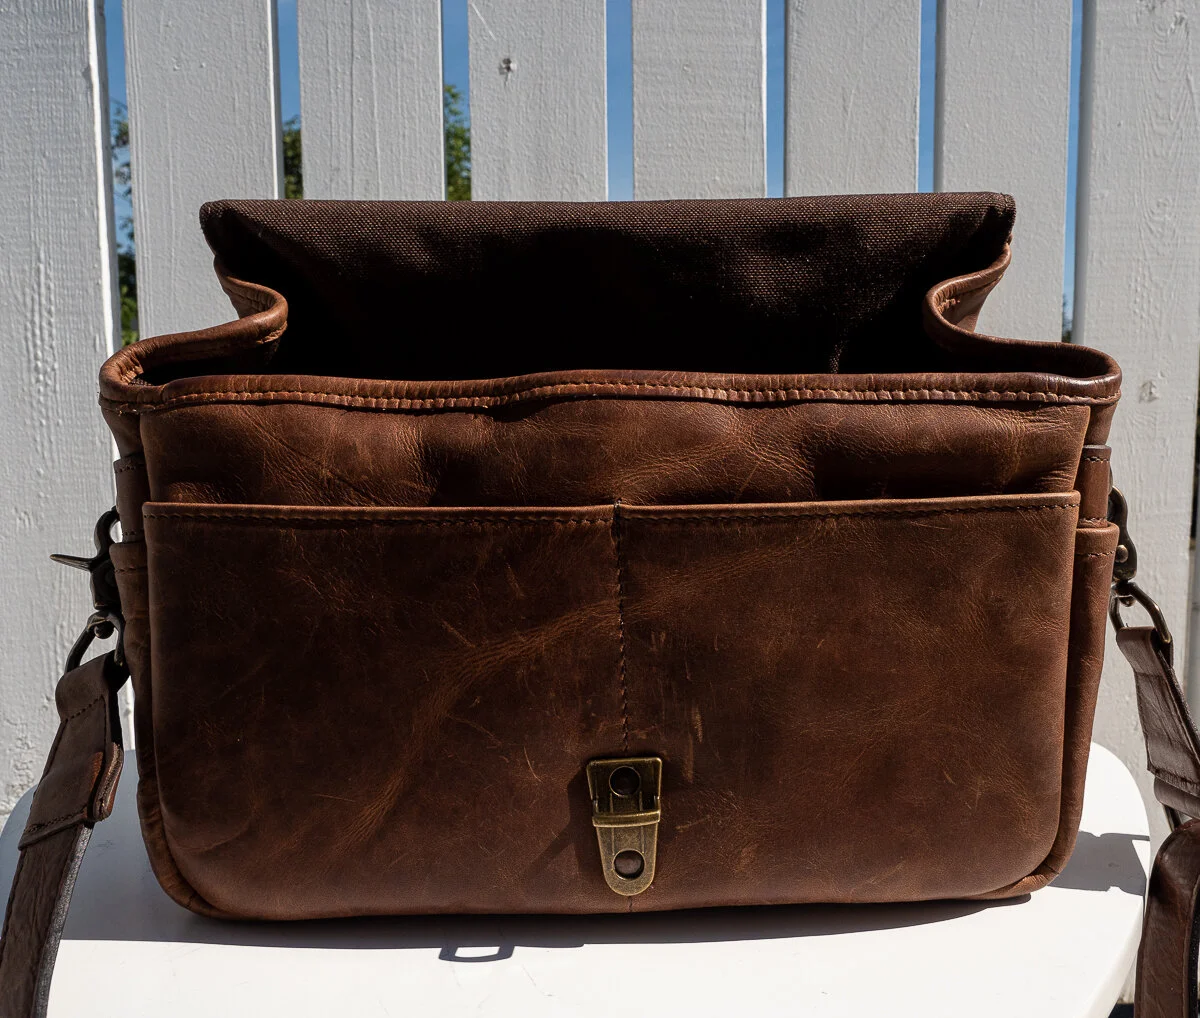
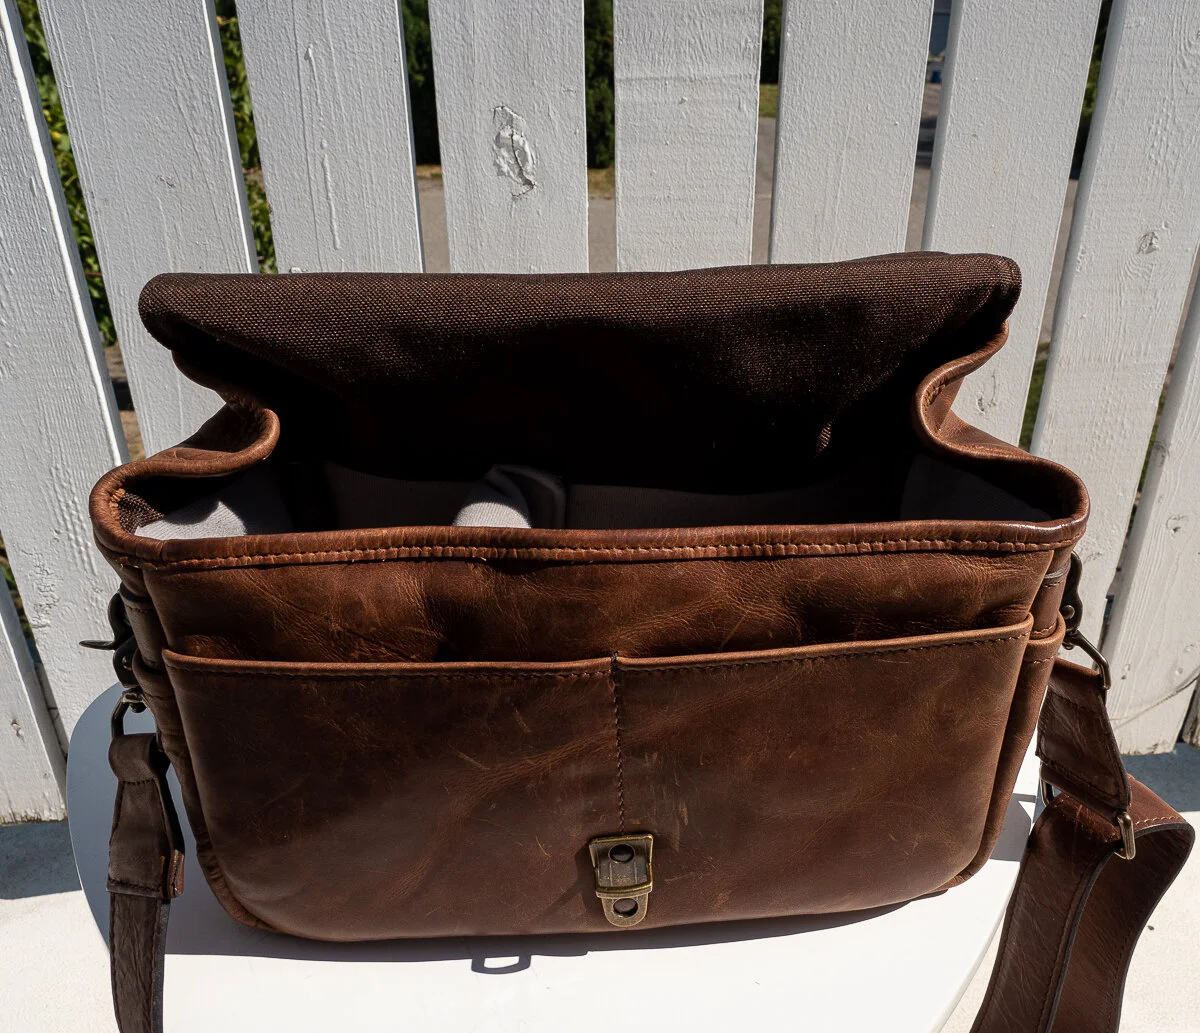
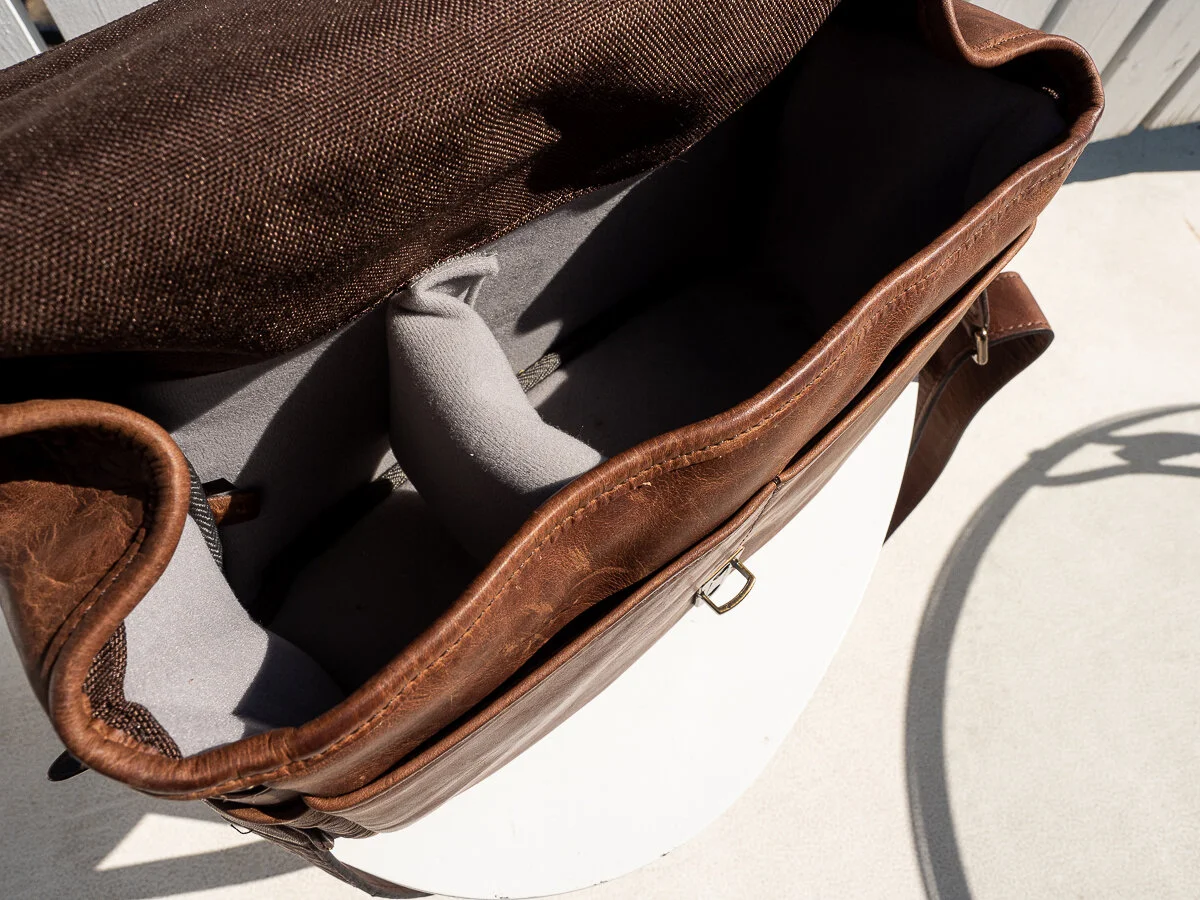
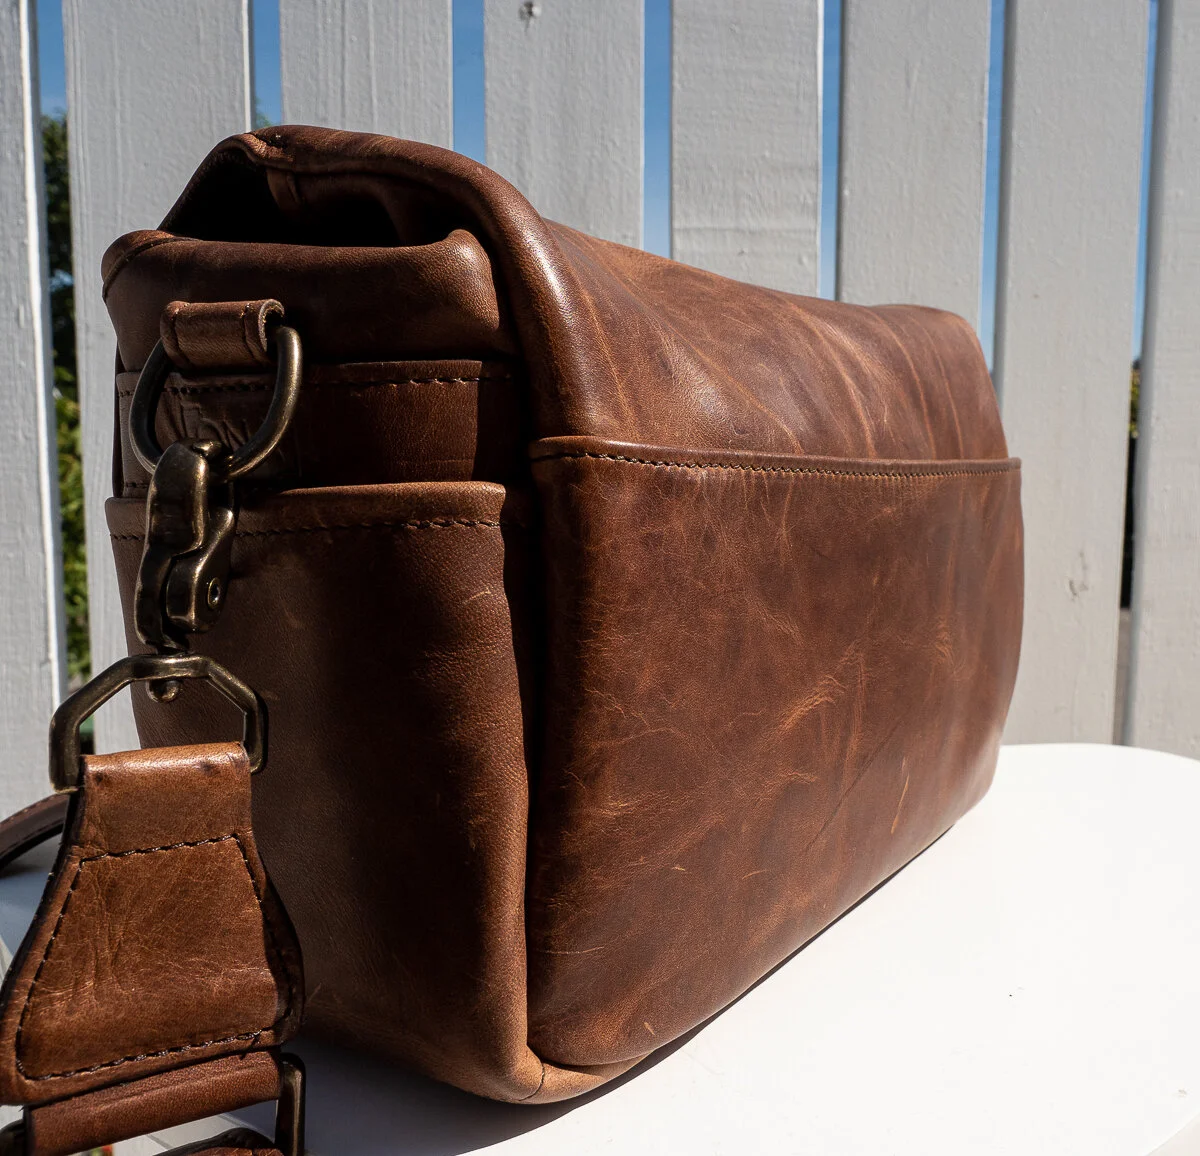
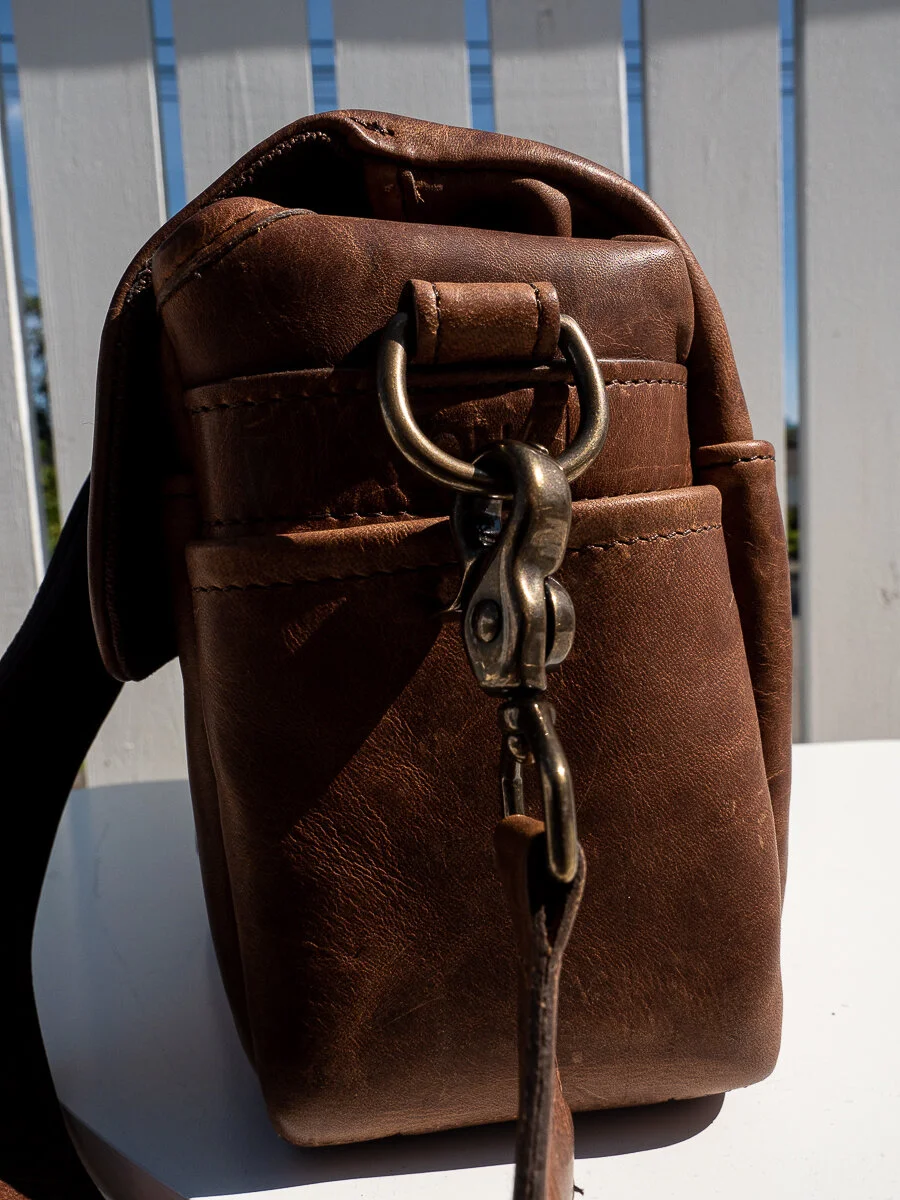
The Ona bag has 2 front pockets, 2 side pockets, 1 large back pocket, and 1 main compartment with 1 re-adjustable insert.

My First Impressions:

  • The material of the bag feels good and high-quality, however, the bag seems to scratch easily (I do find this adds to the texture and style of the bag)

  • The leather will feel stiff at first but after a couple weeks of use it’s softened

  • The push clasp is nice for securing the bag instead of a magnet, however, it can be tricky opening and closing the bag with one hand

  • The bag is roomy in that it can carry all of my essentials, however, it can probably carry at most a camera body and 2 lenses

  • Sometimes I wished it had a top handle for easy picking up and putting it in the car

  • You can “make shift” carry a tripod by inserting the camera bag strap in-between the tripod legs and resting it horizontally on the bag, however, doing this makes it hard to access the bag

front view of ona bowery bag
ona-bowery-bag-8.jpg
open view of ona bowery bag
inside ona bowery bag
back view of ona bowery bag
side view of ona bowery bag

P.s. this post is not sponsored by Ona! I have wanted this bag personally for a long time and bought it with my own money when my fiance and I visited Vancouver, Canada.